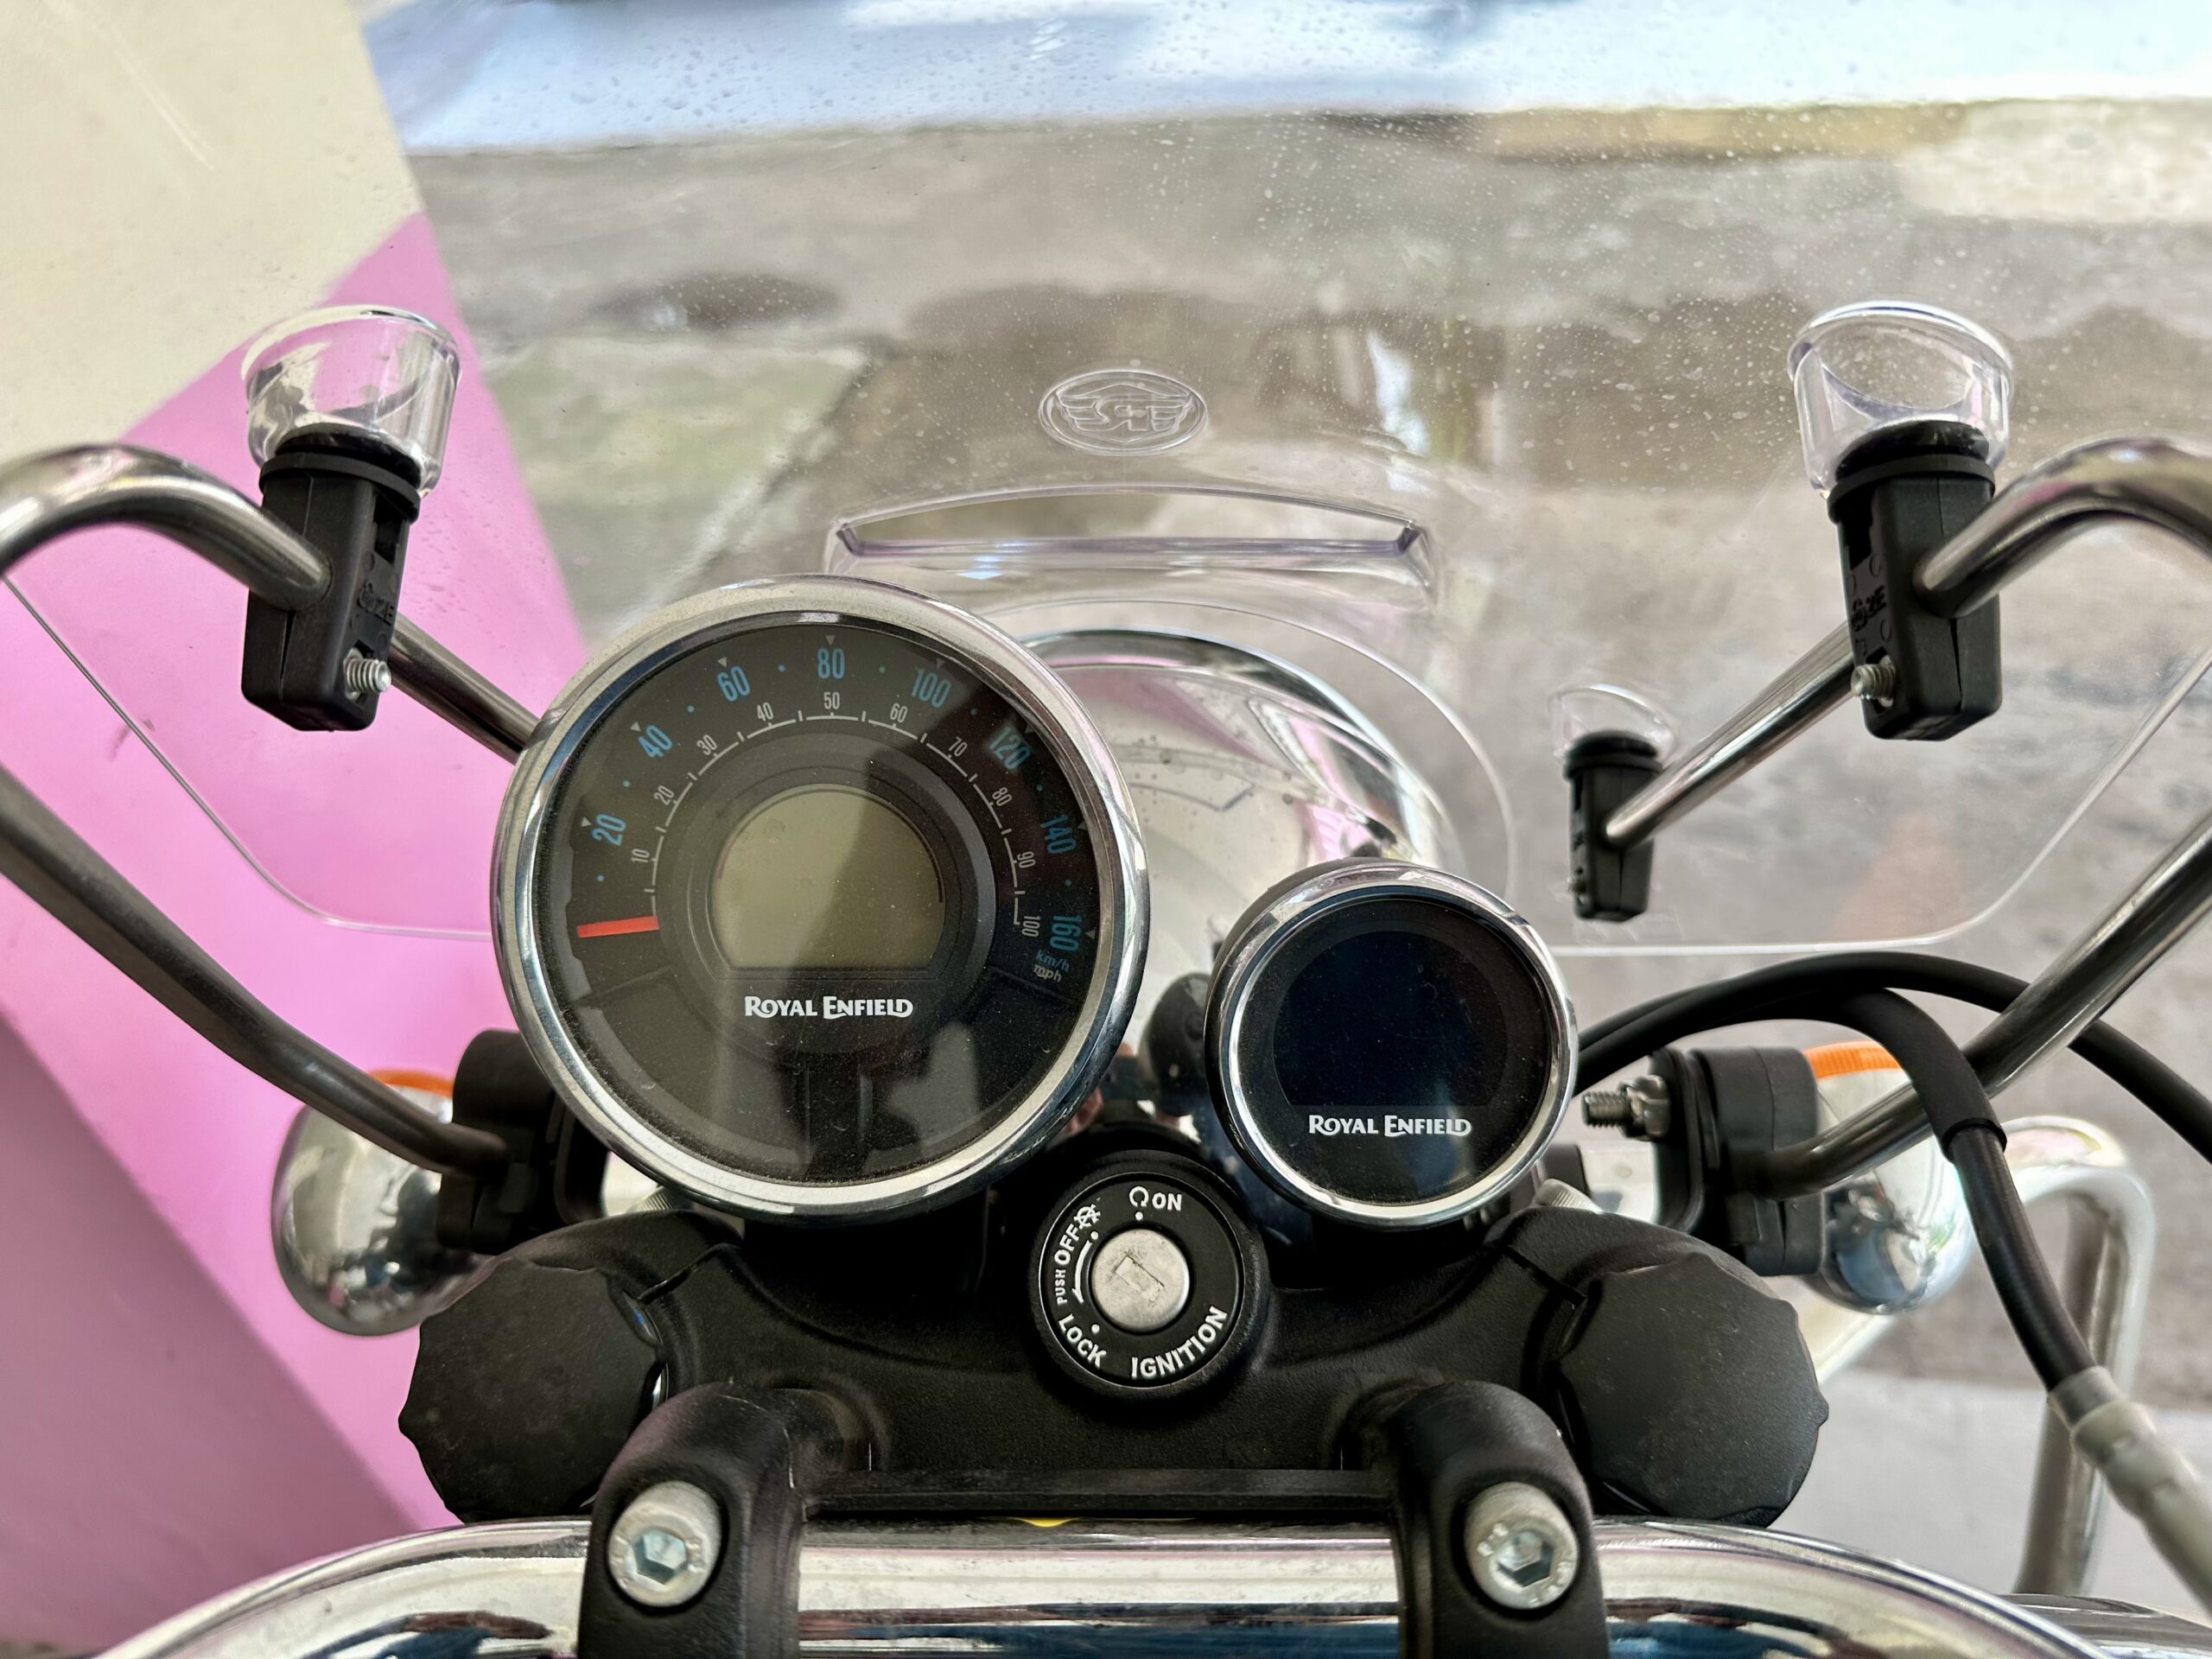
As you know, I have been going on road trips infrequently & relying on Royal Enfield’s tripper navigation system for directions. Although, initially I was impressed by the simple nature of the tripper, eventually I found it a bit too simplistic for road trips. I took wrong turns one too many times and got lost. Overall, I must have spent many hours re-tracing my steps. Also, it was not compatible with my polarised sunglasses (Had to tilt my head to see).
Before my next trip, I decided to upgrade the navigation system on my Meteor 350. I initially considered dedicated units from Garmin and TomTom, but found them too expensive and the ongoing subscription fees too cumbersome.
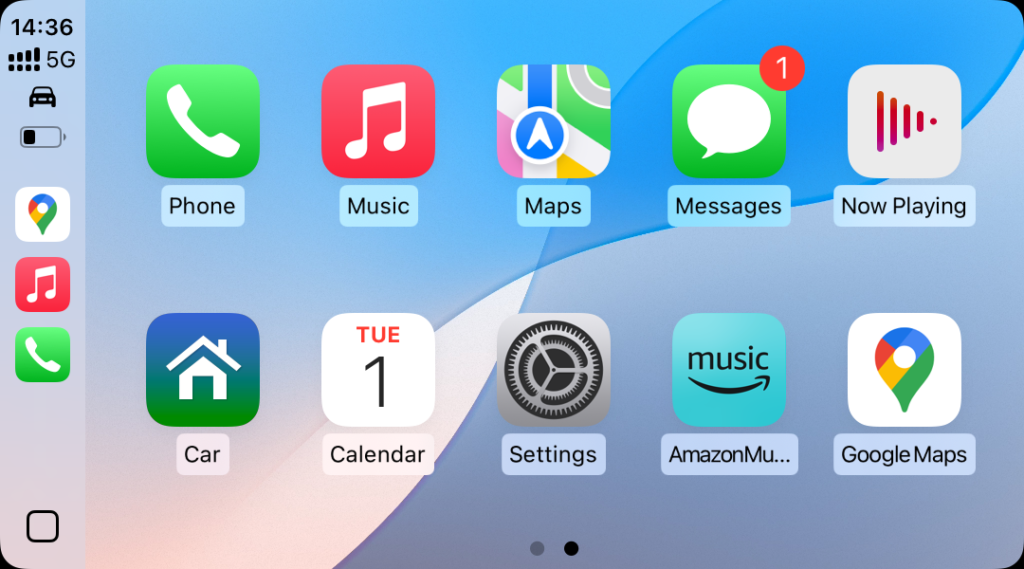
Eventually, I found out that they make Apple CarPlay systems for motorcycles and decided on getting one.
I did some research and found out that there are no “reputable” companies that make Apple CarPlay systems for motorcycles. However, there are many Chinese brands, all cheap as dirt. I decided to get one with the highest ratings on Lazada. It was so cheap, I had almost no expectations from it.
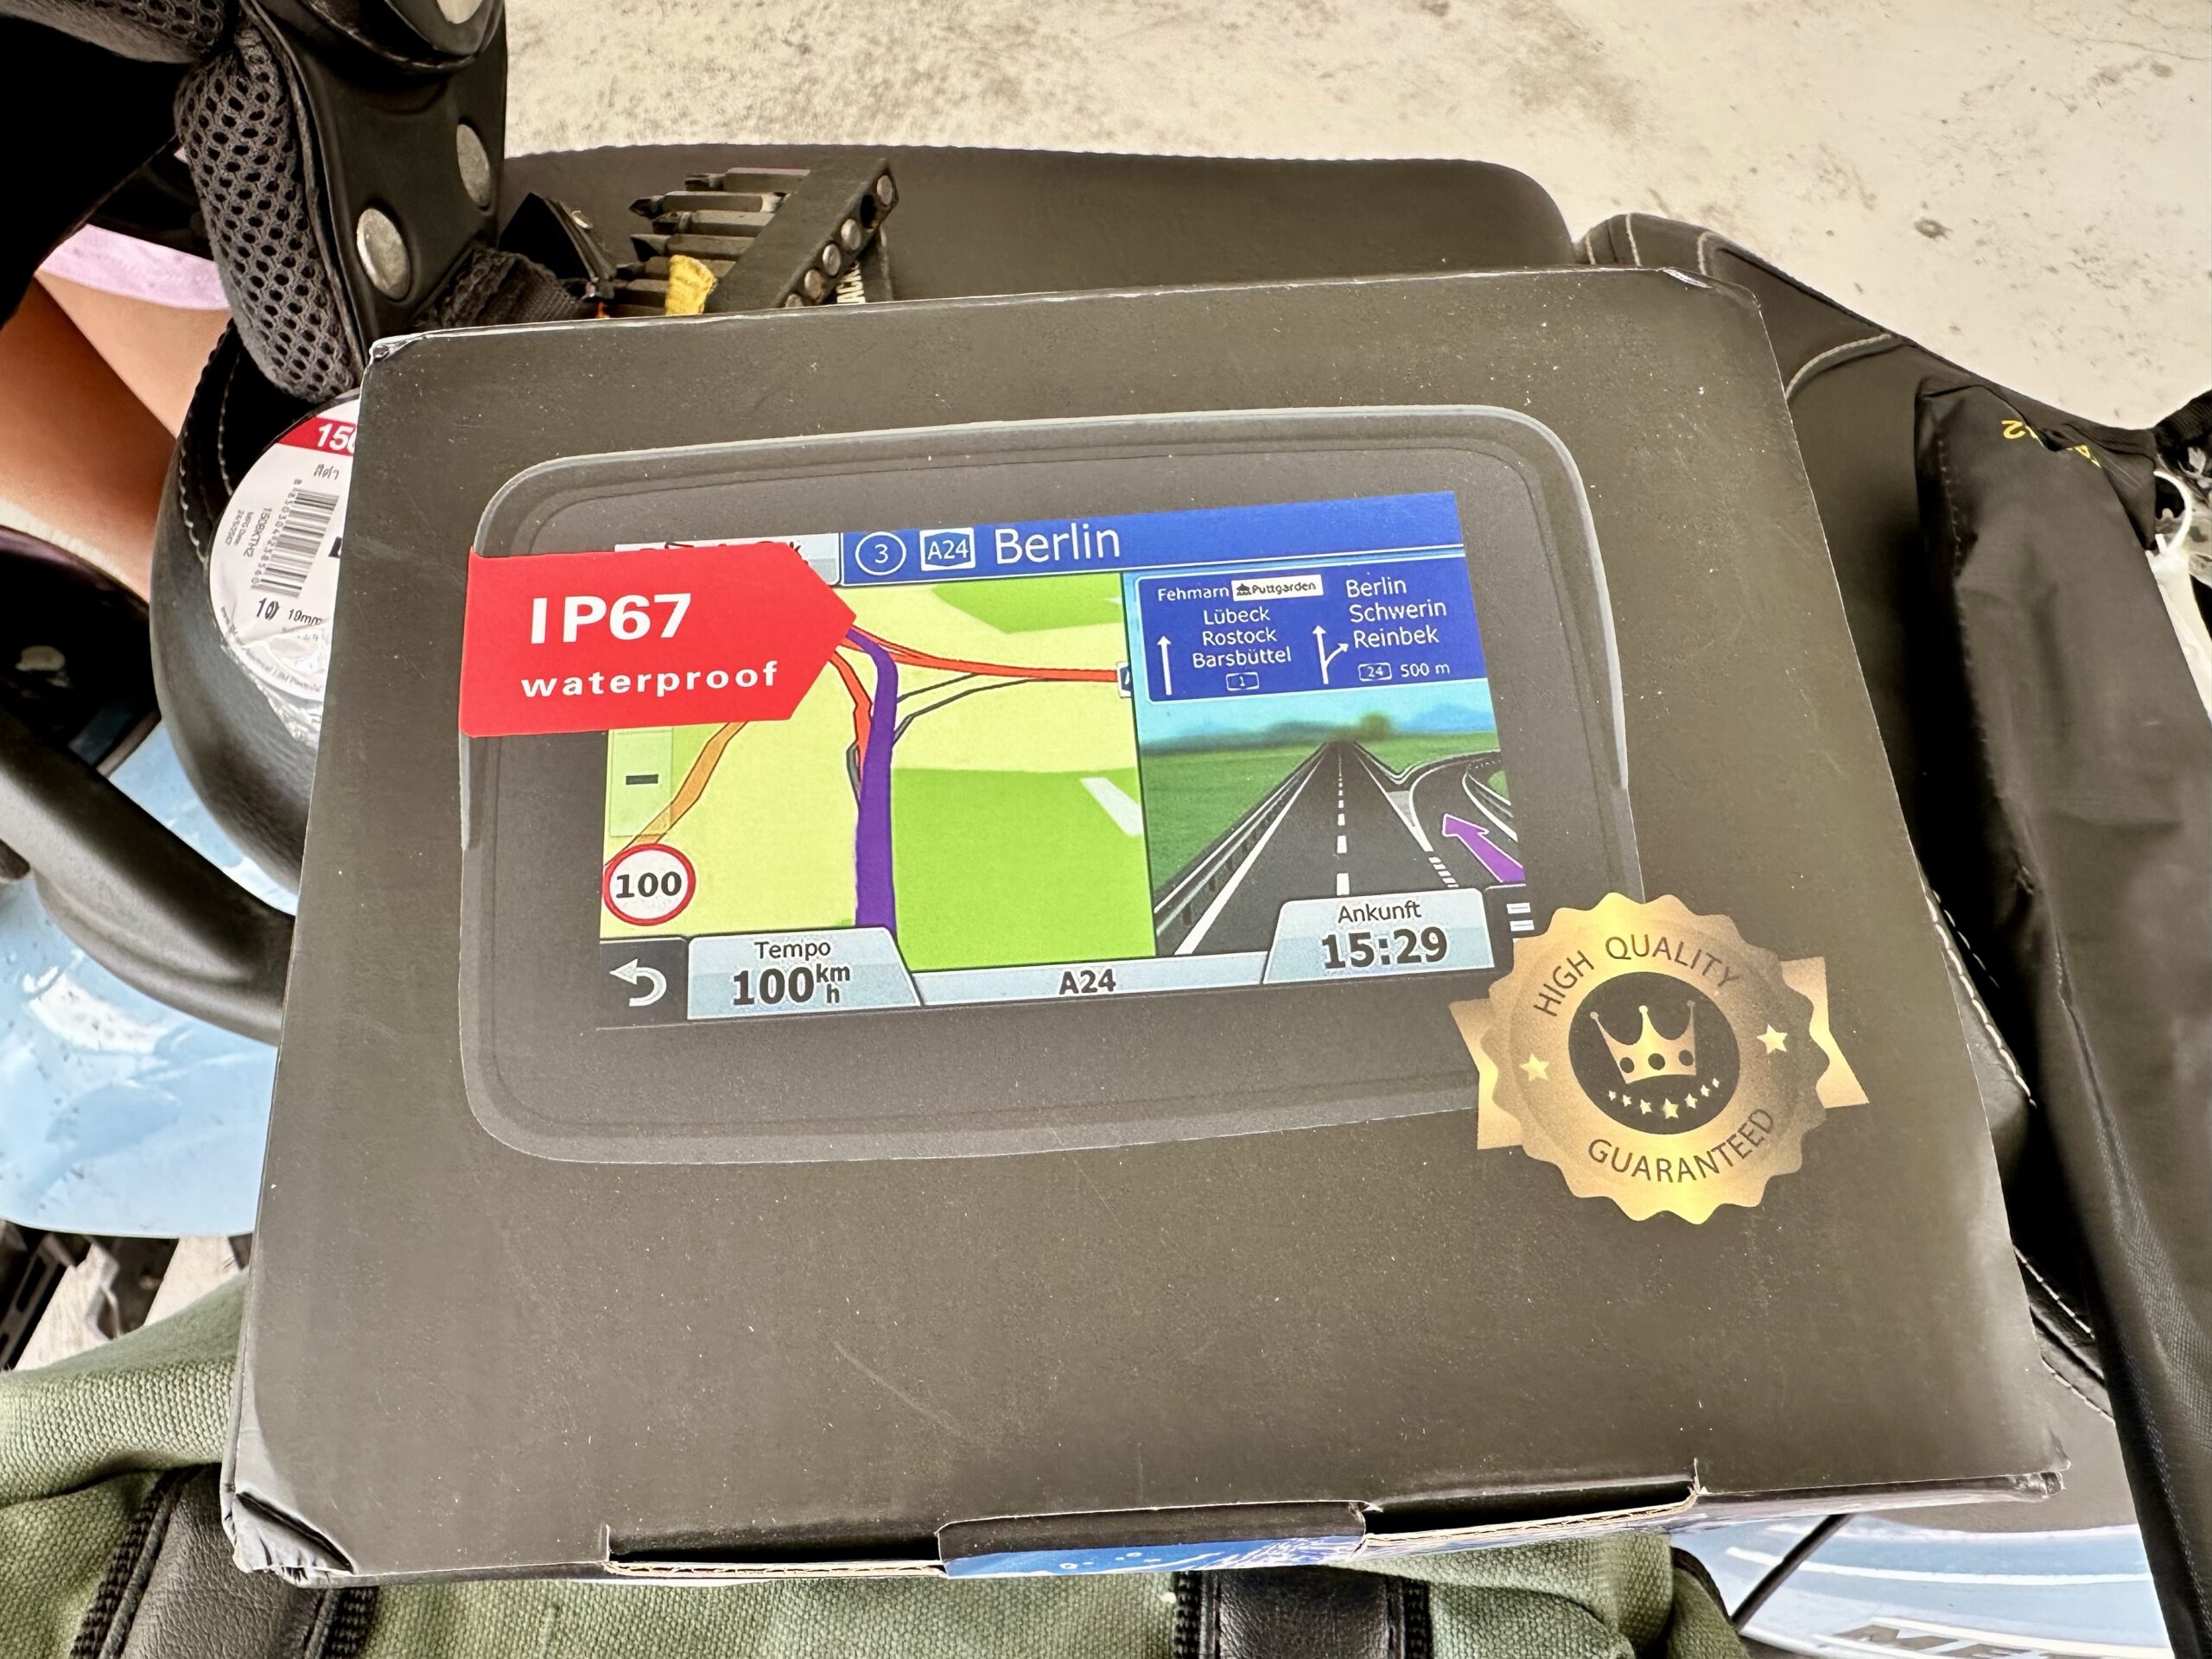
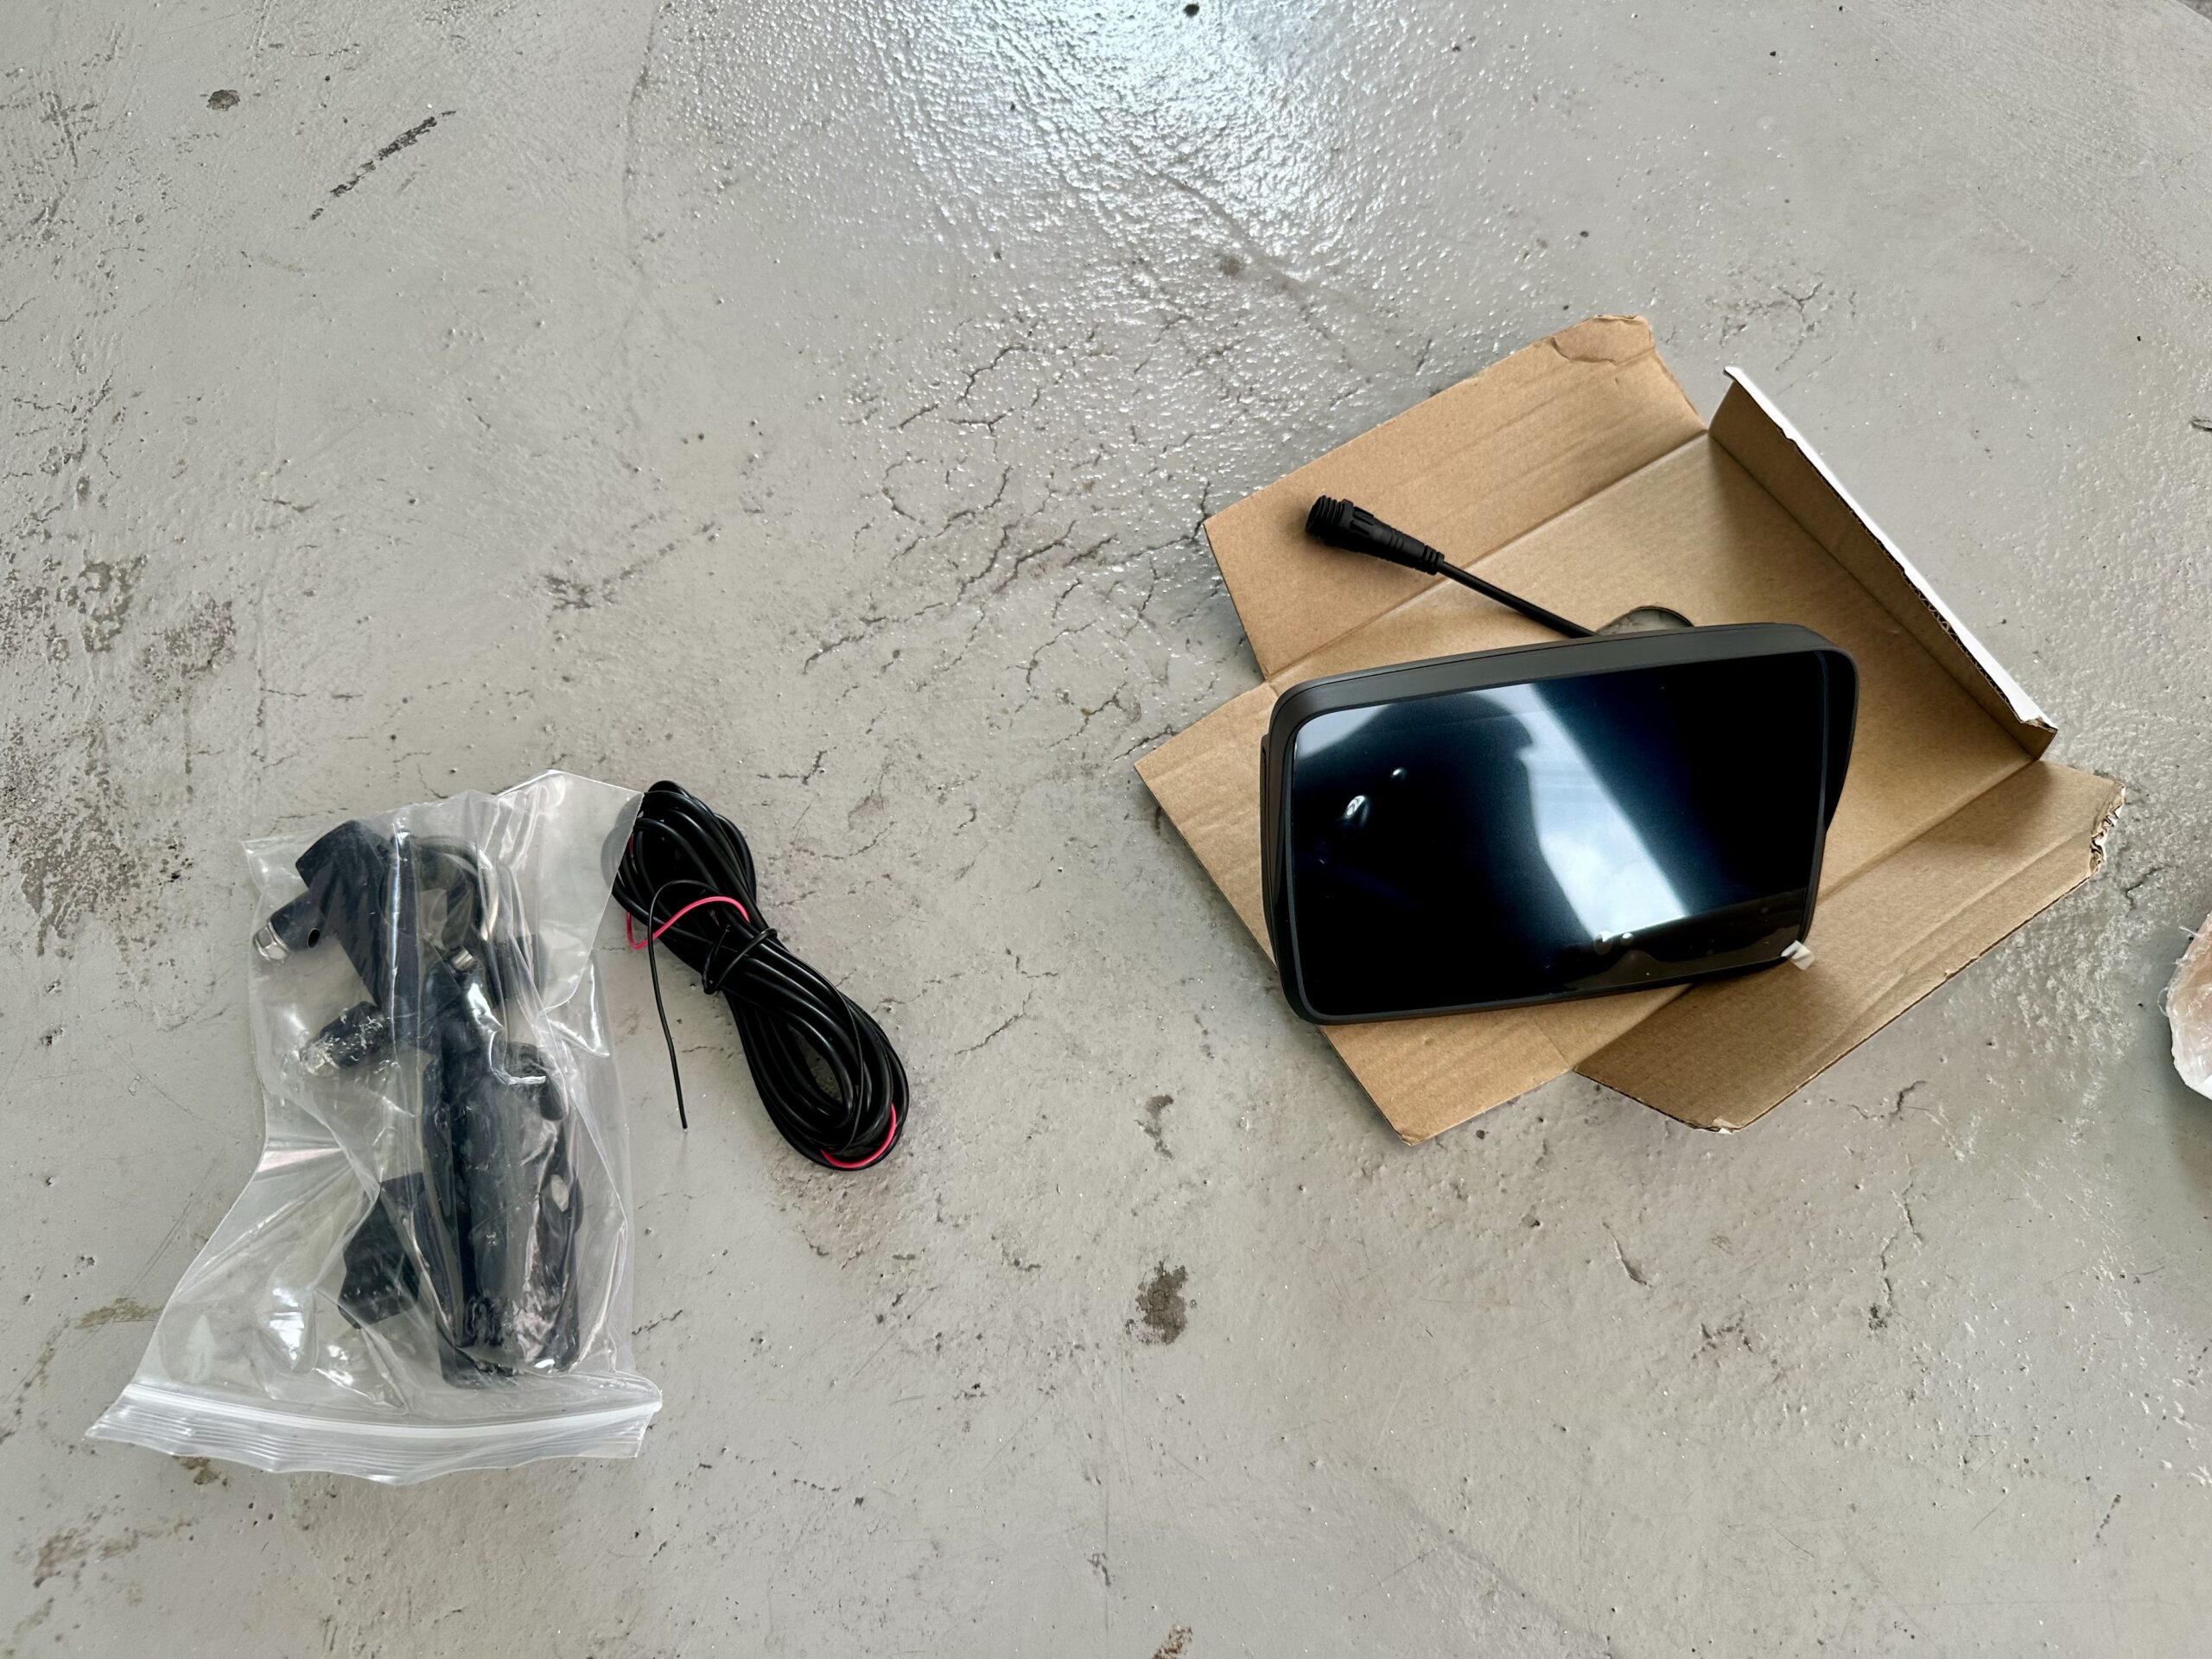
It came in a simplistic box with power cables and a mount.
My aims from this project were:
- Use the same power supply/cable as the tripper – Partial success
- Fit it in the same space as the tripper – Partial success
Bye Bye Tripper
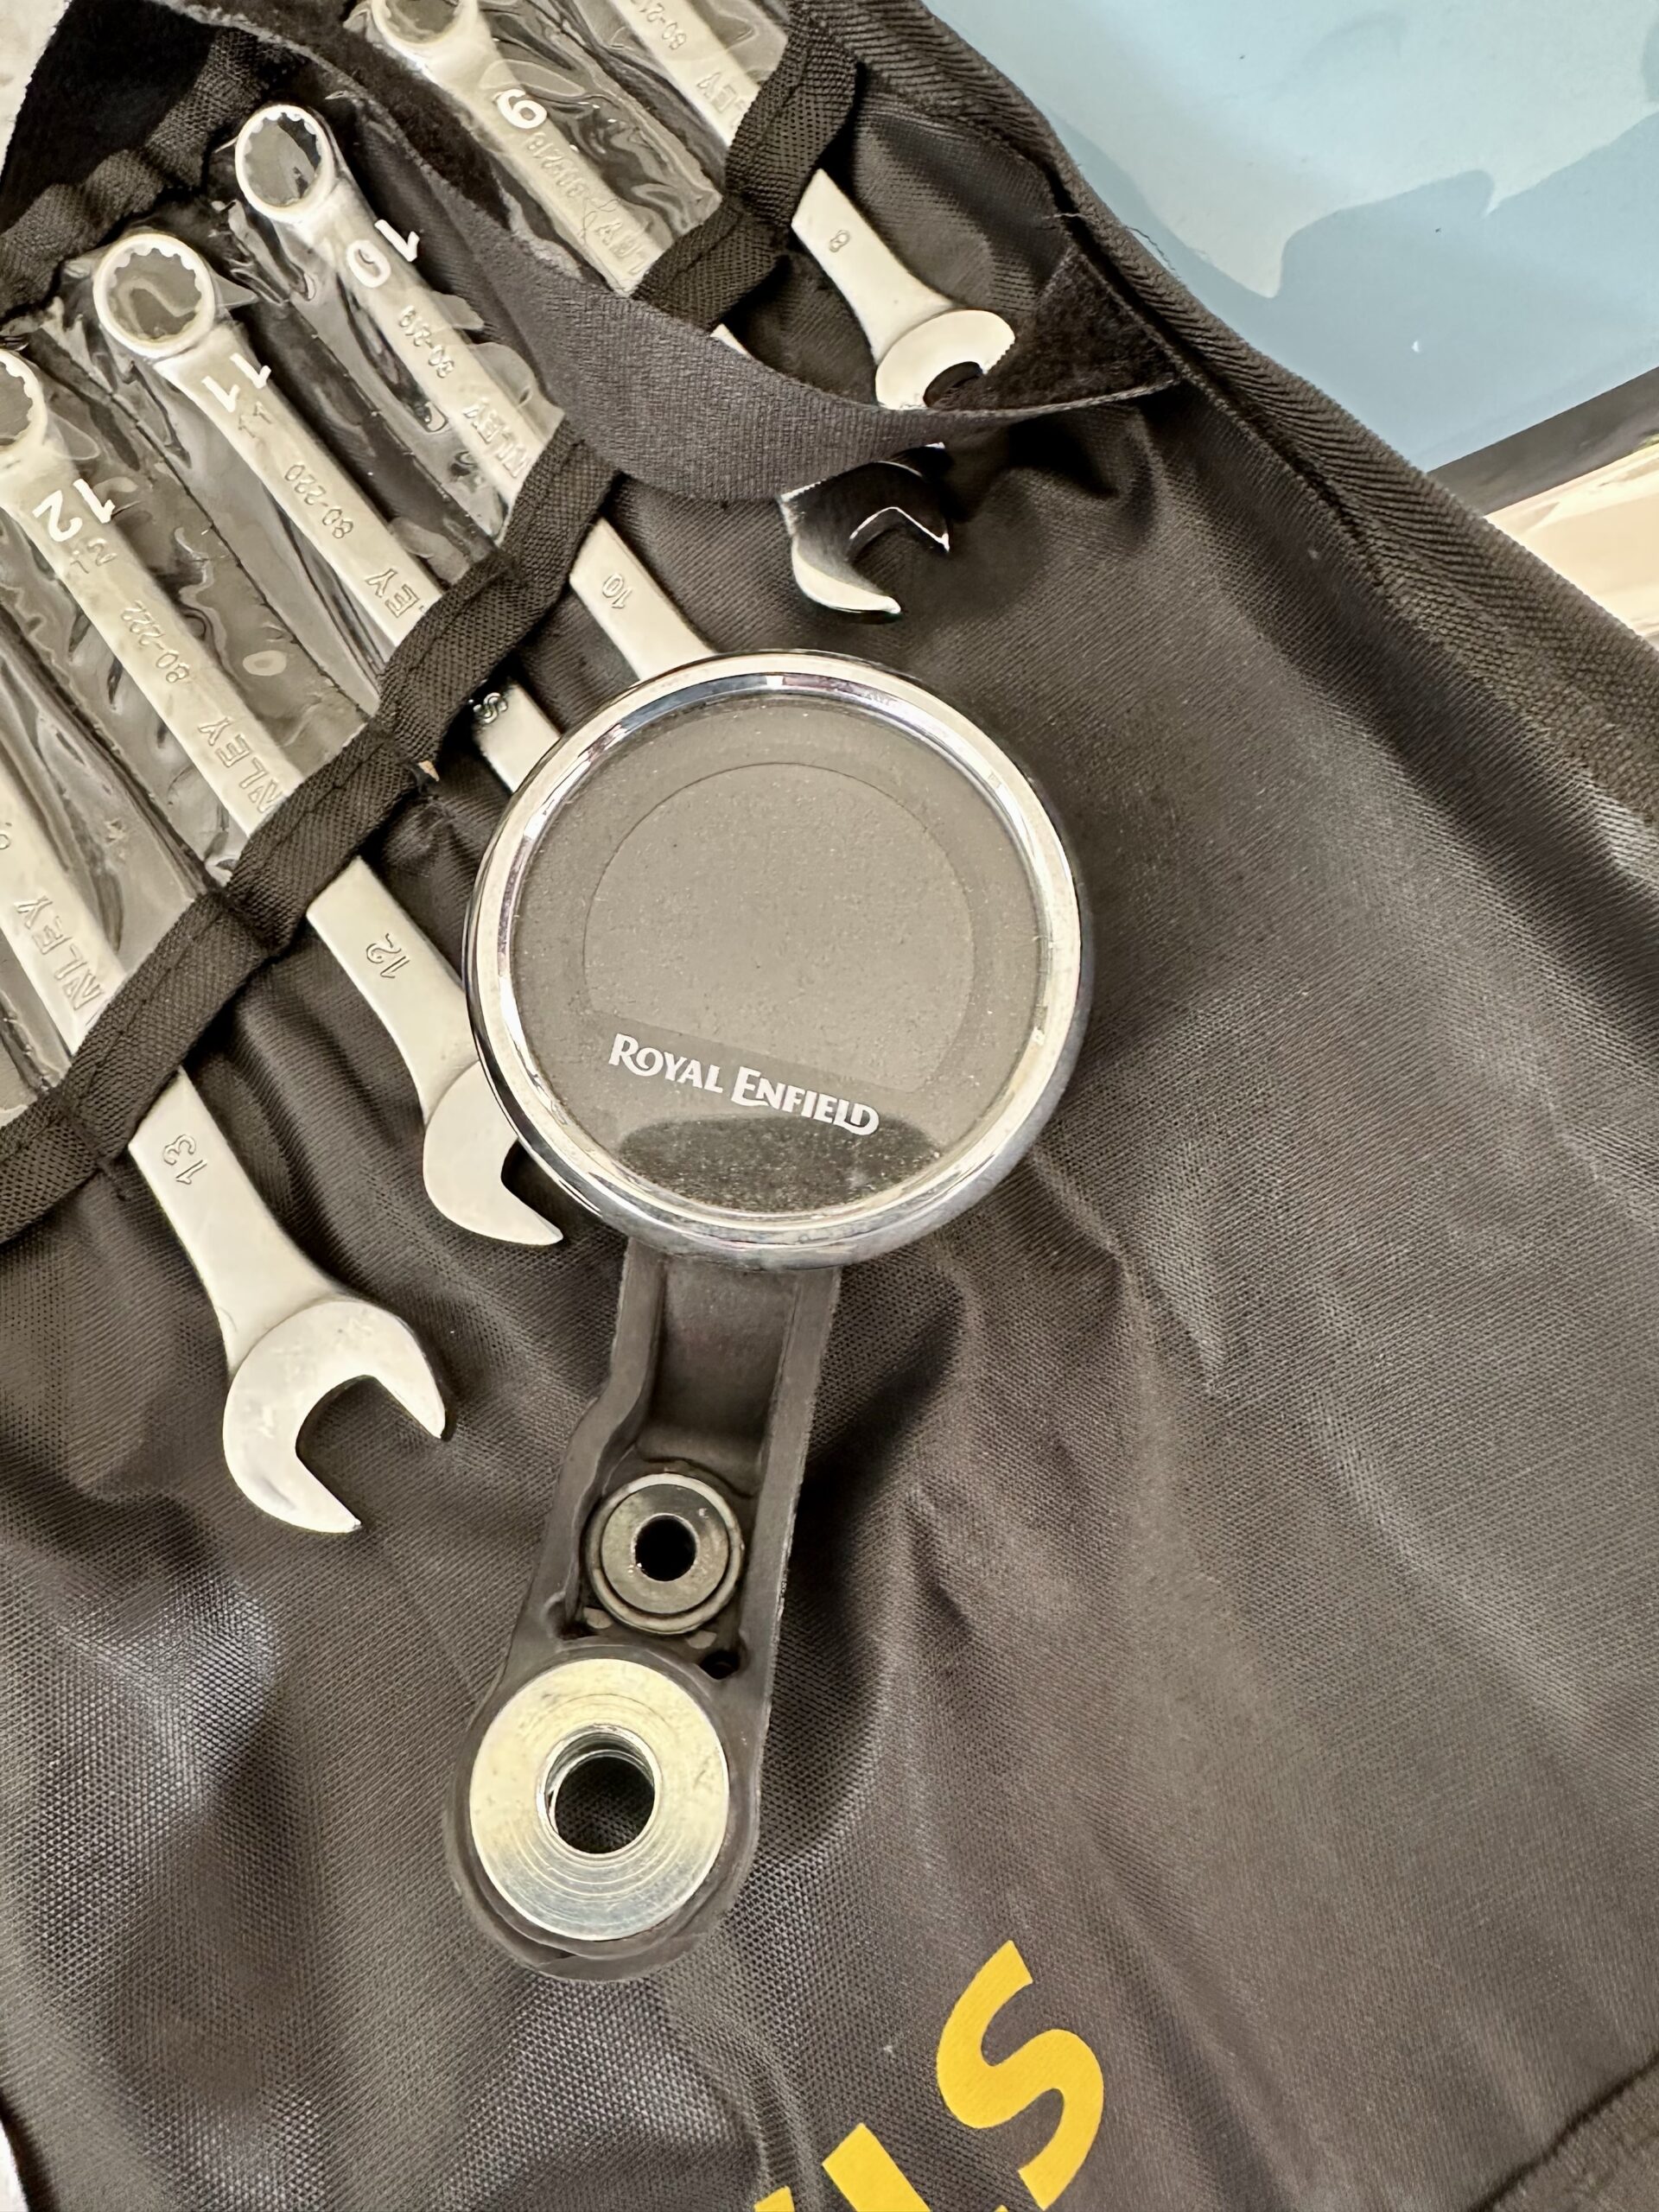
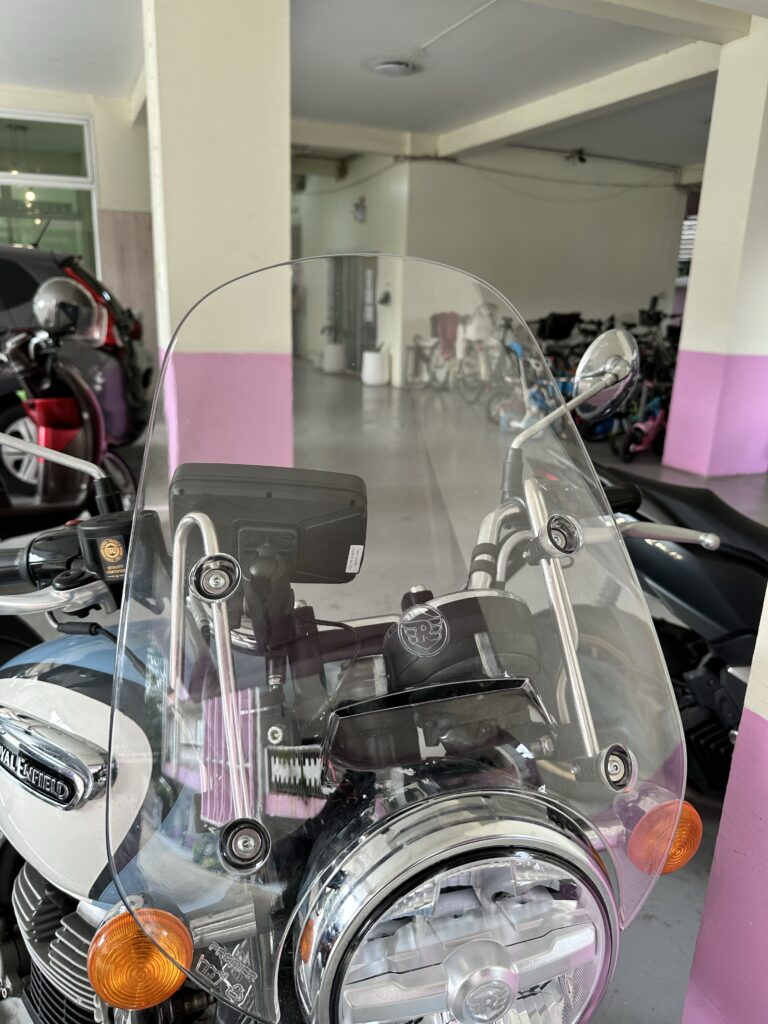
The first step was getting rid of the Tripper. To give myself more space, I needed to remove the windshield first, which can be done using an Allen Key.
Removing the tripper from the Meteor 350 involves unscrewing 2 bolts, one of them the main handlebar bolt.

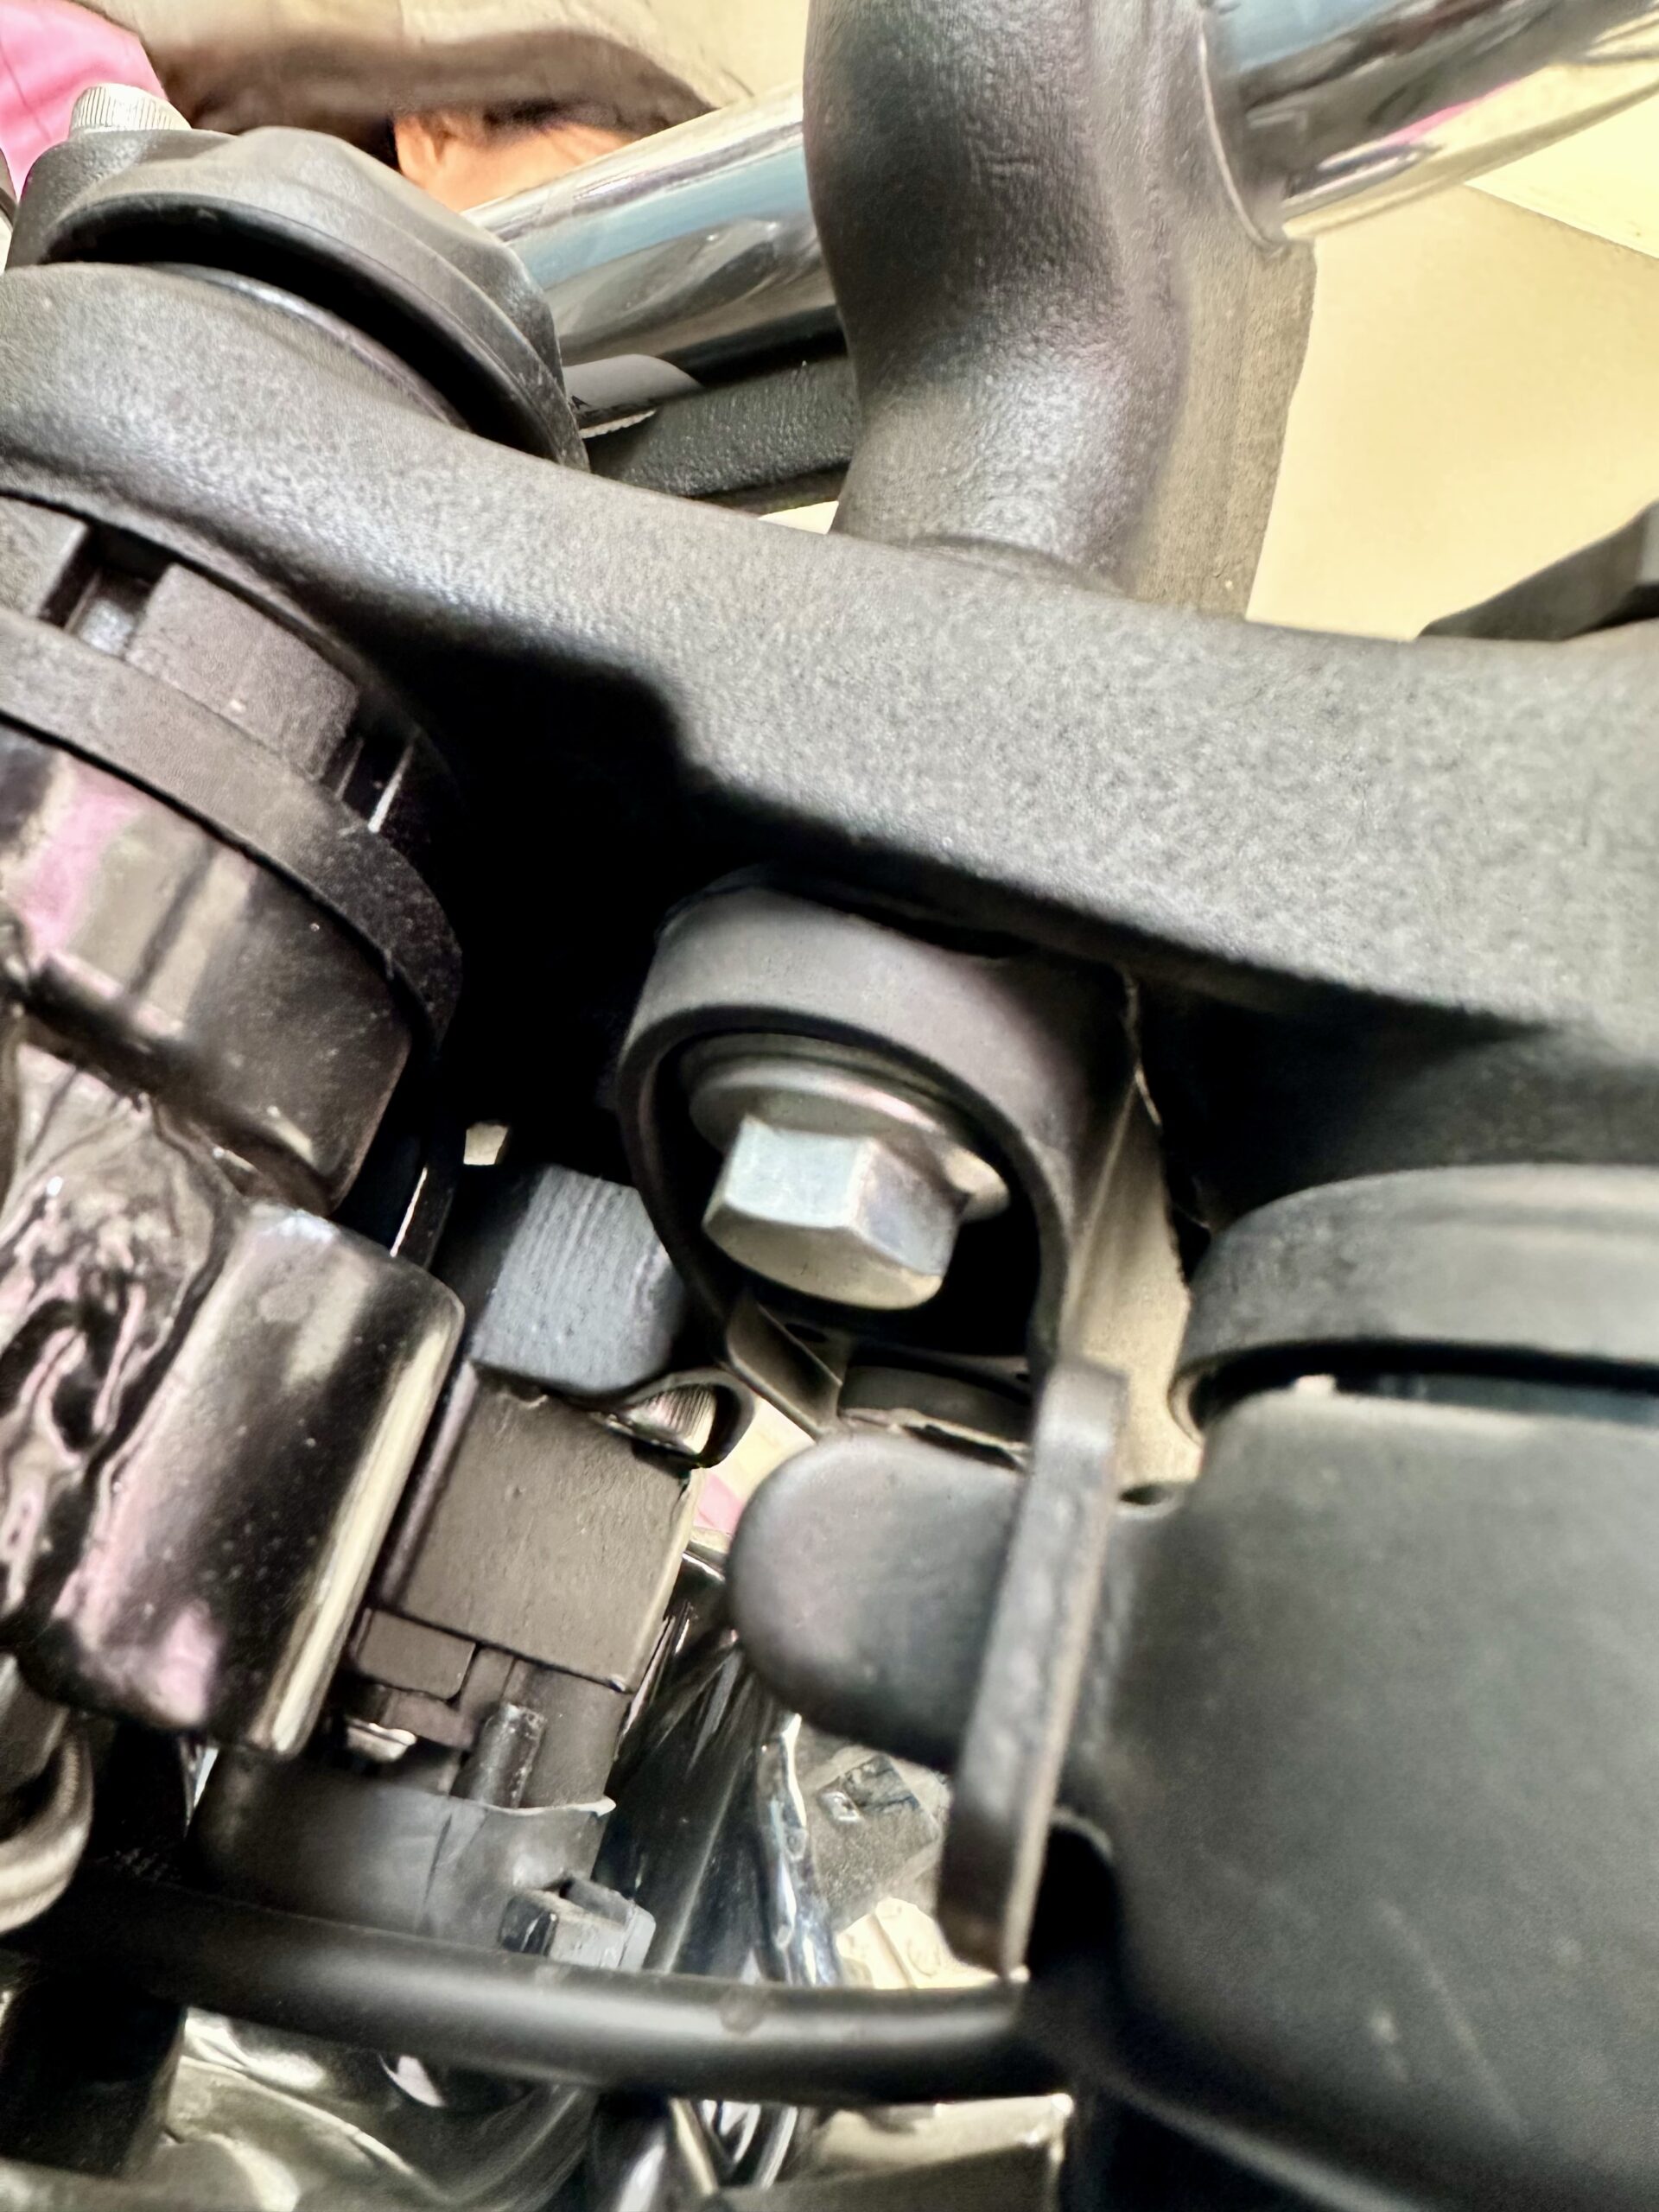
Unscrewing and screwing back the main handlebar bolt requires epic strength and I had to do it twice because the first time I forgot the washer.
Power supply
I really-really wanted to re-use the existing connector of the tripper to connect the new CarPlay unit, but the holes were too small to fit the cables in them. Also, I couldn’t find a matching male connector for the other side, seems proprietary.
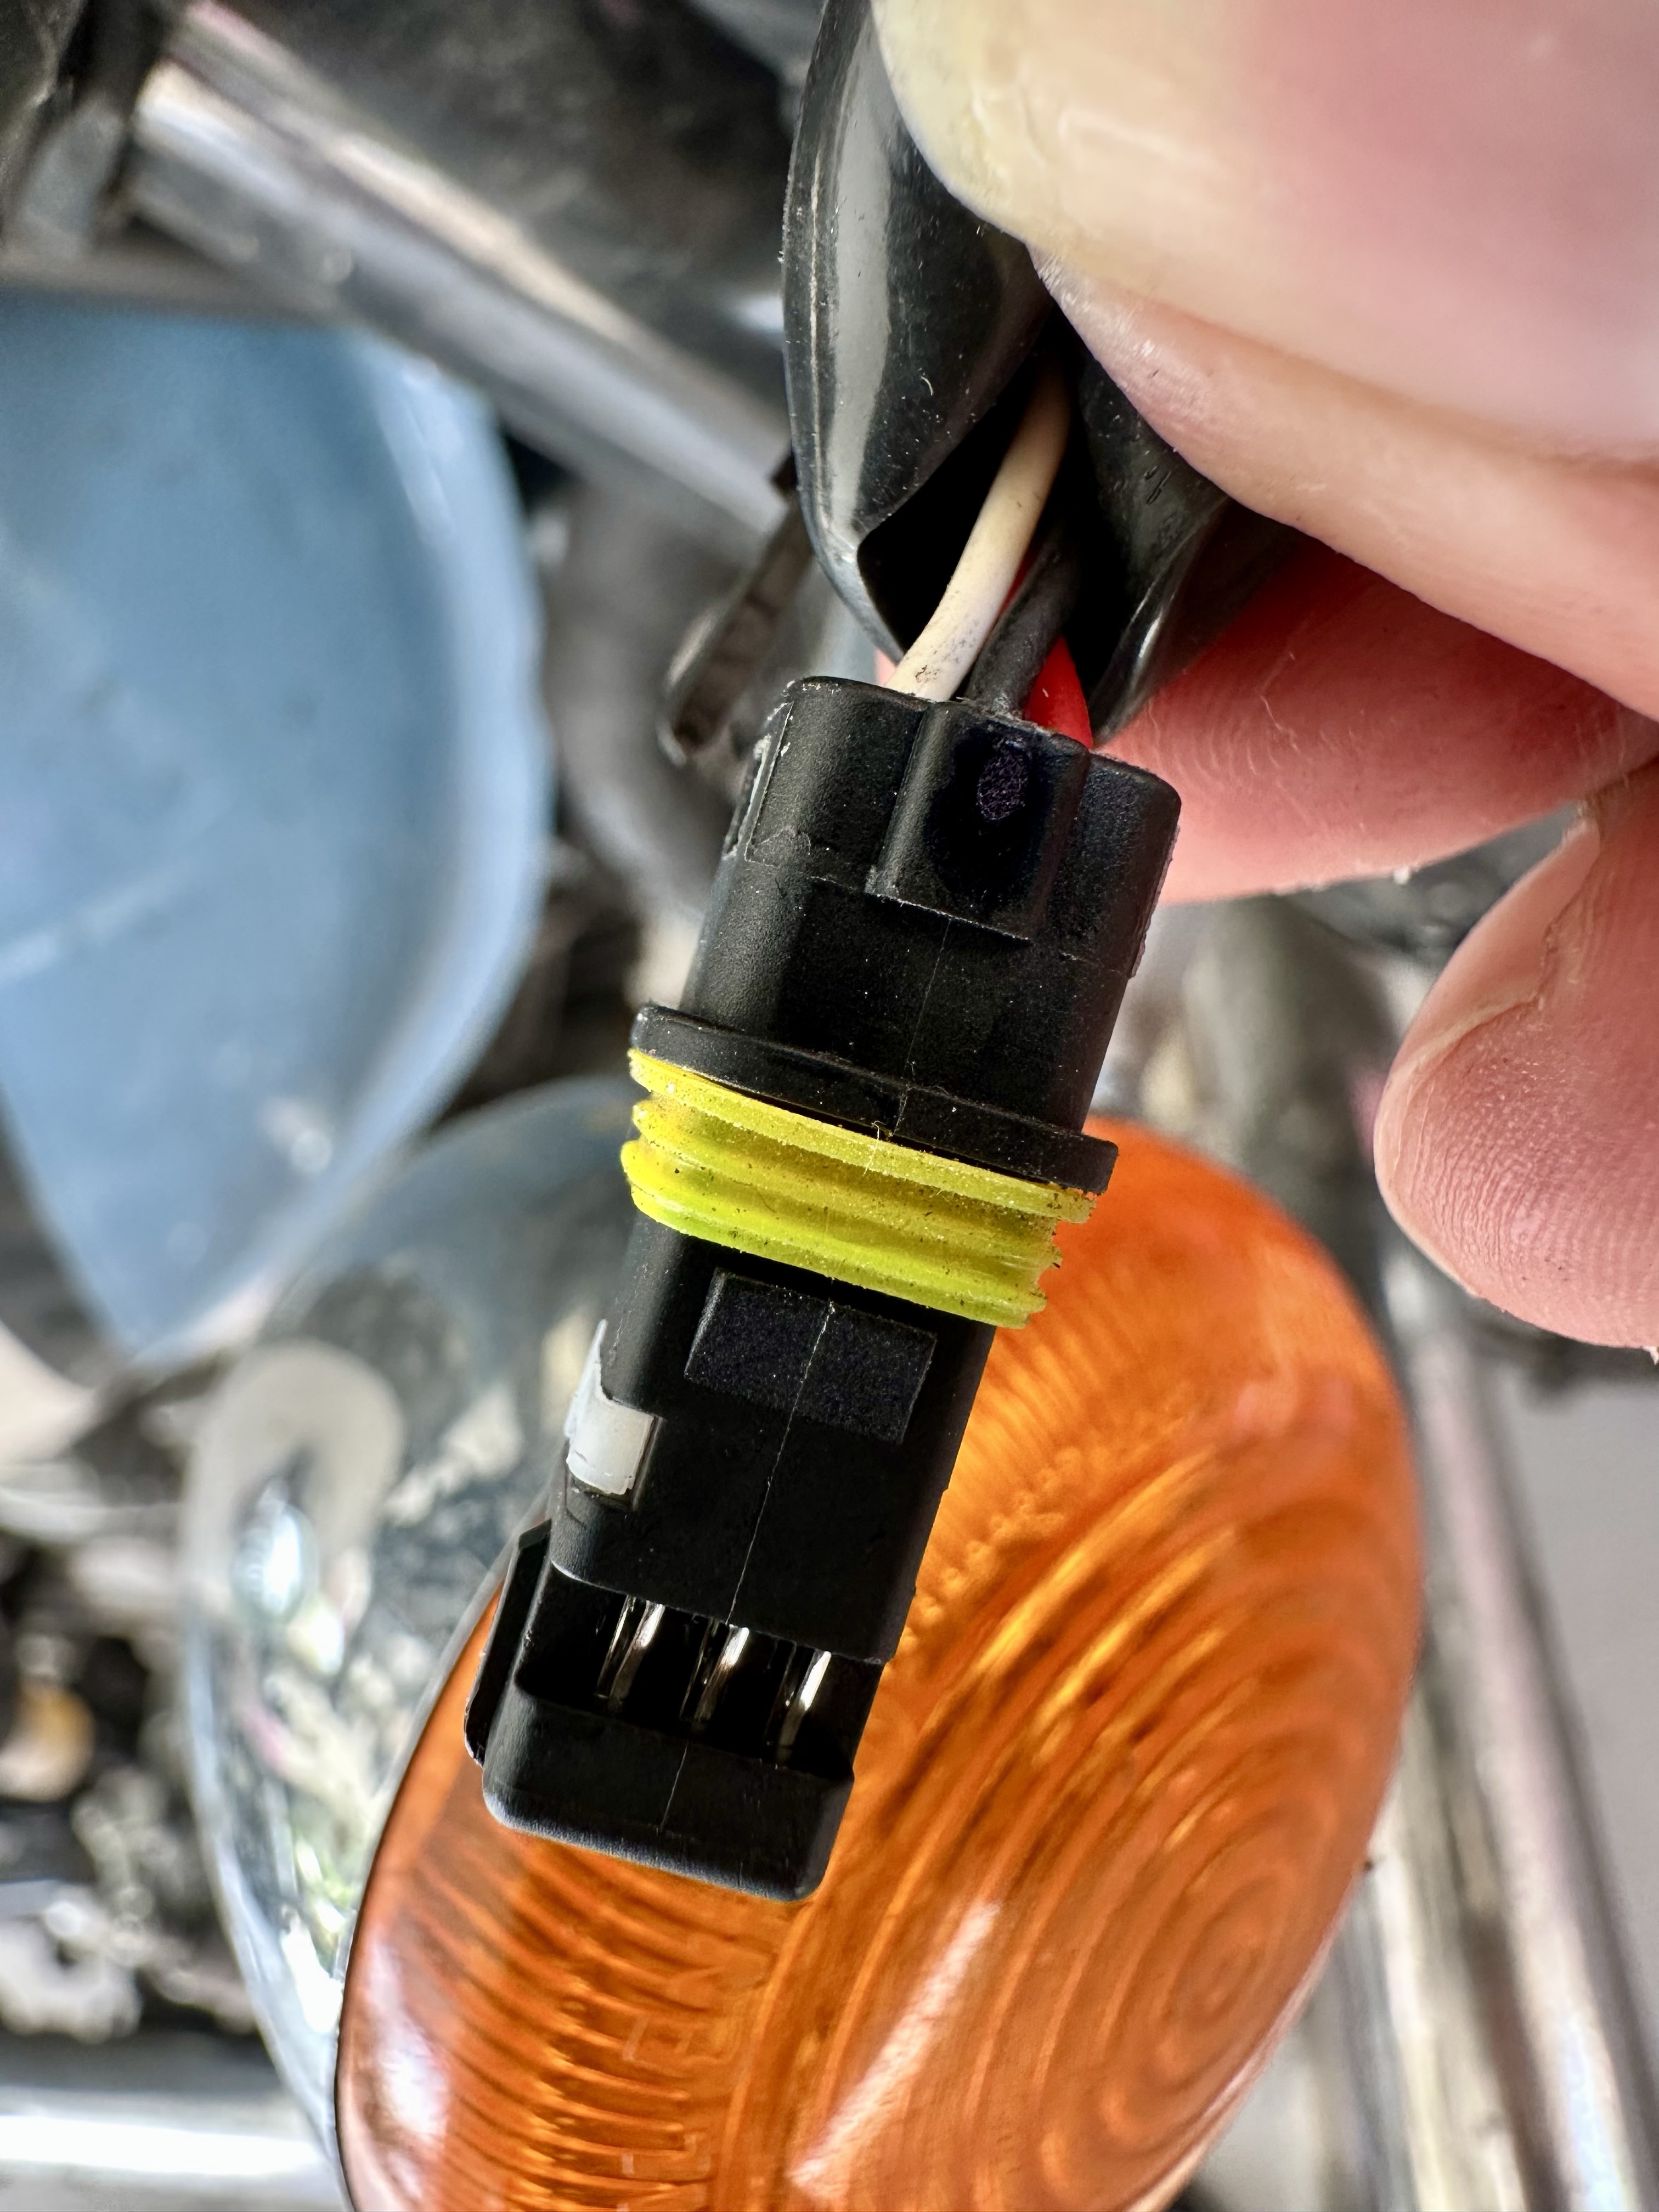
It pained me to no extent to take a blade and chop off the connector; on a brand-new bike, possibly voiding the warranty.
Here. I also discovered that the Tripper supply had 3 wires, red, black and white. After different combinations, I realised
- Red-to-Red & Black-to-Black – Always ON : Not good
- White-to-Red & Black-to-Black – Power ON with ignition : What I wanted
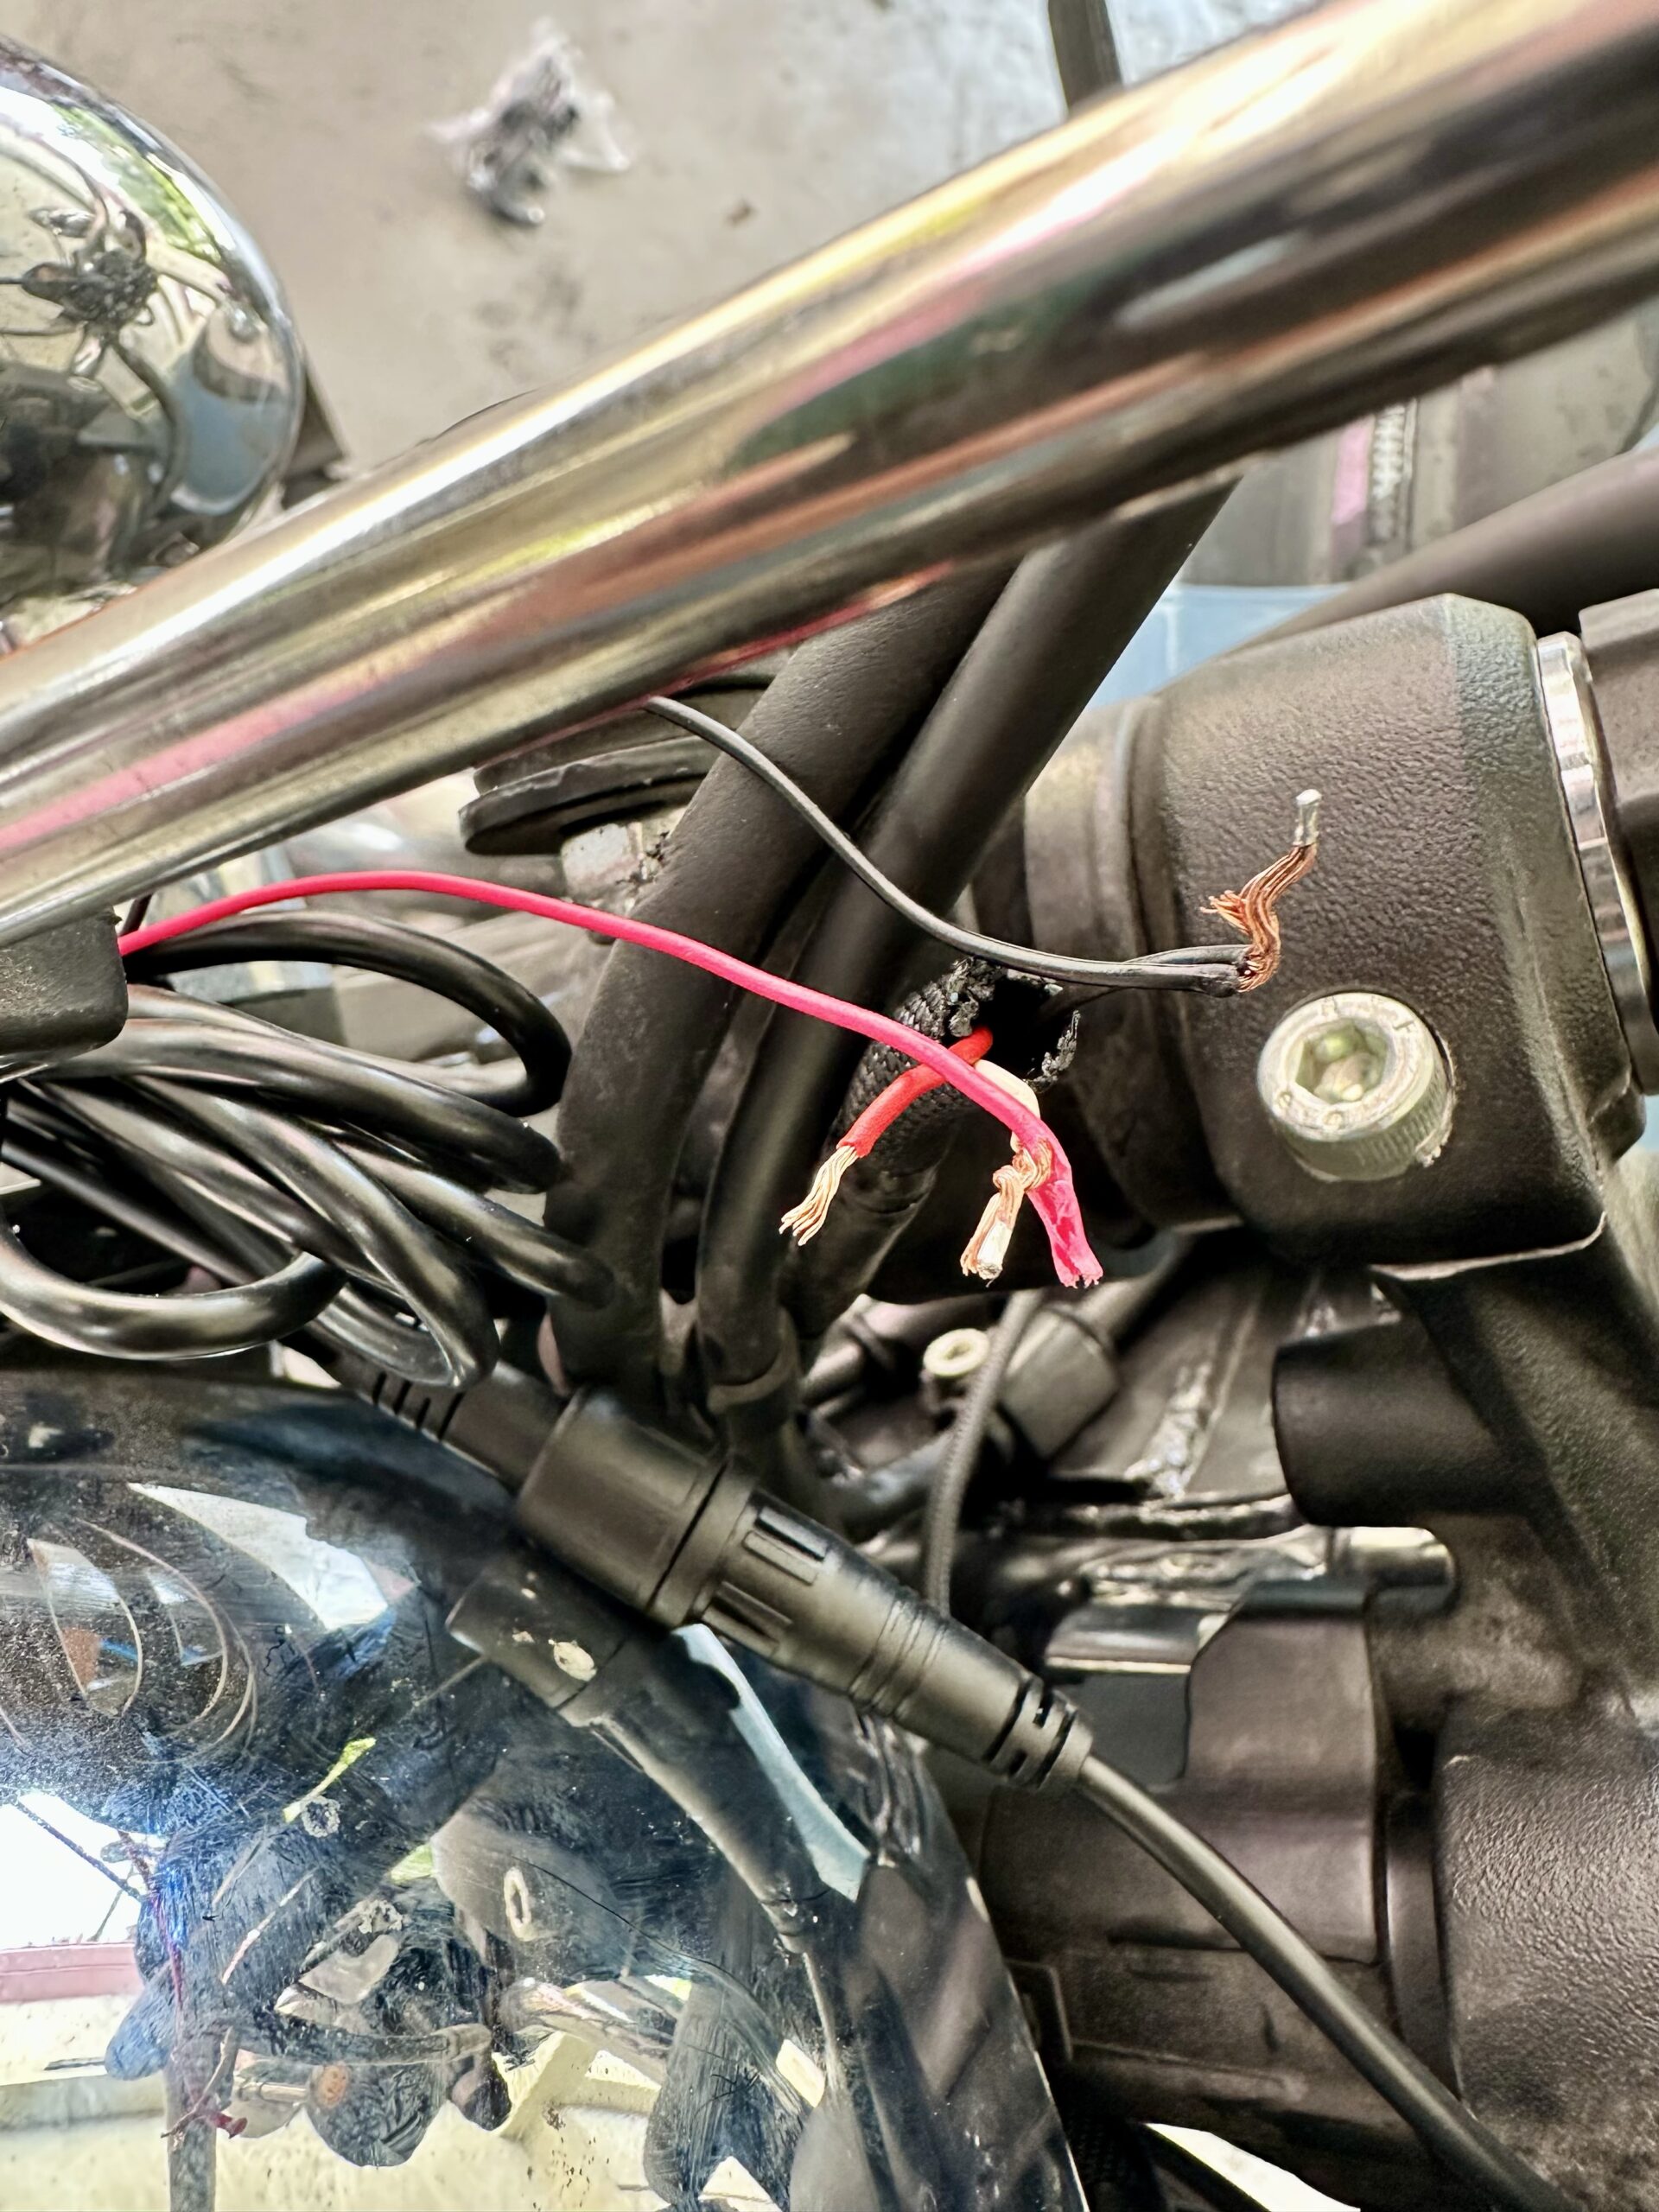
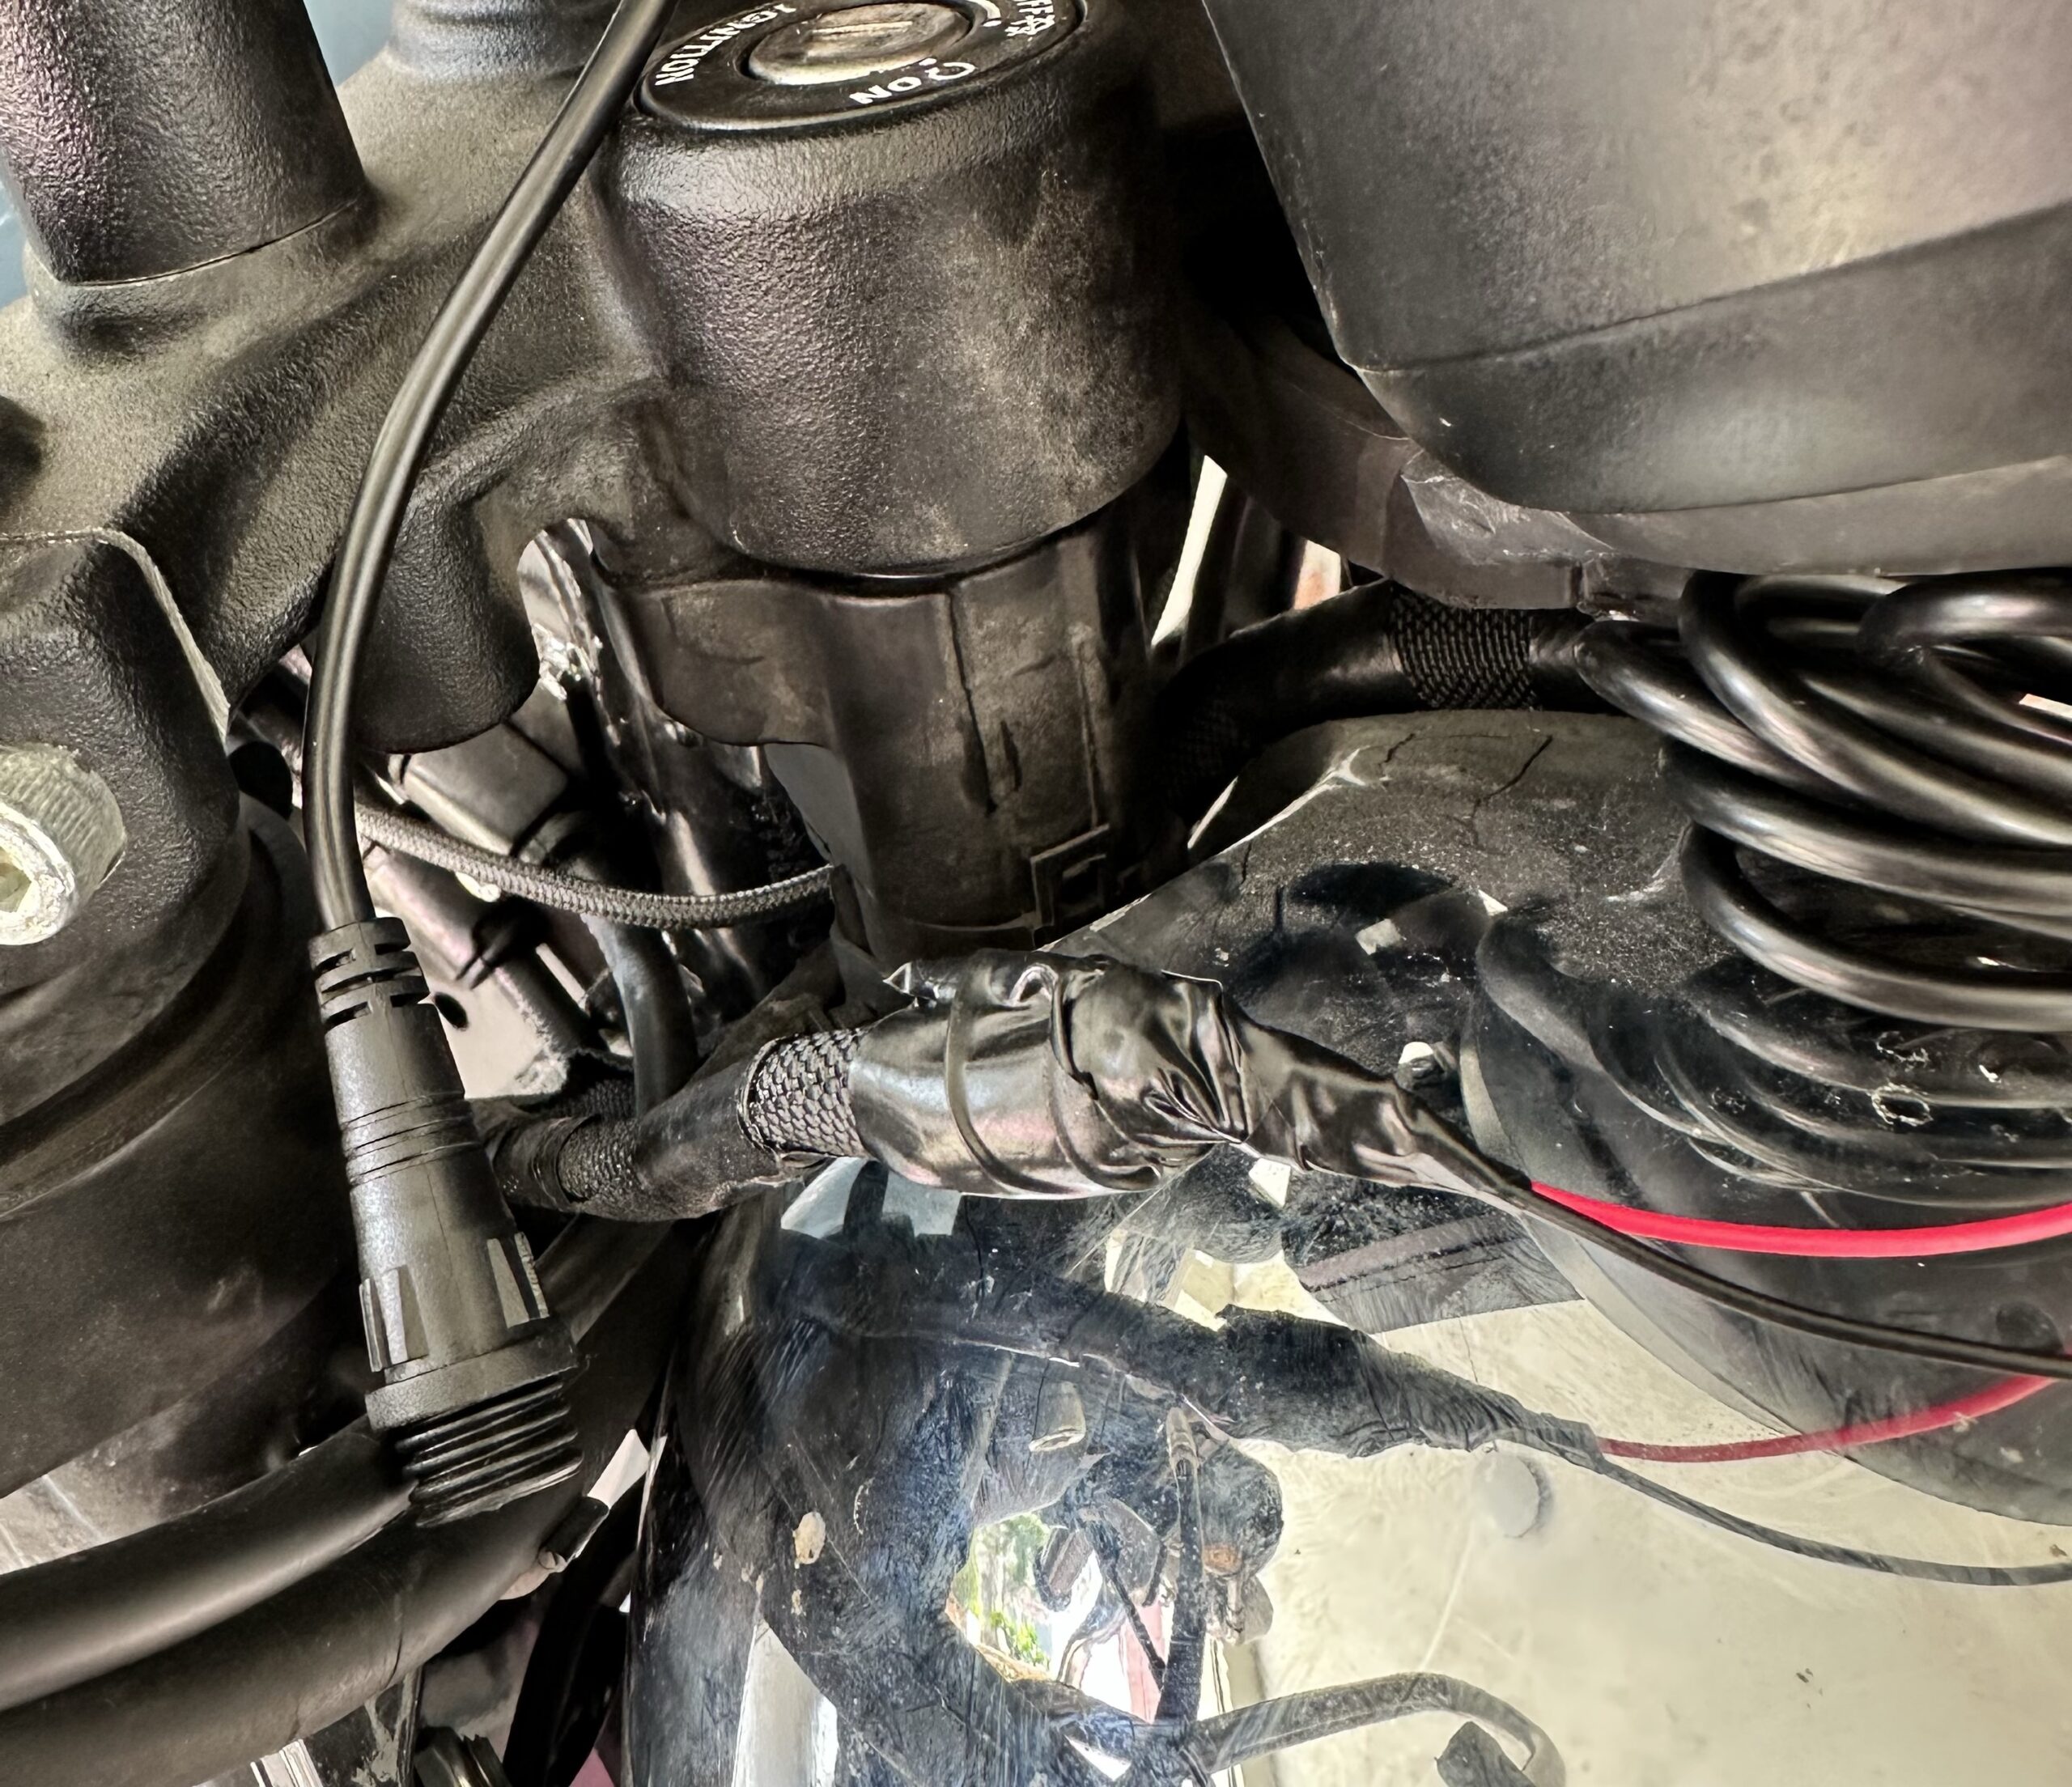
I taped up the electrical carnage the best I could, but it felt dirty and a “jugaad“. So I went to an electrical store and purchased a cheap terminal block and connected the wires to that. Then I used copious amounts of acrylic sealant to waterproof it the best I could.
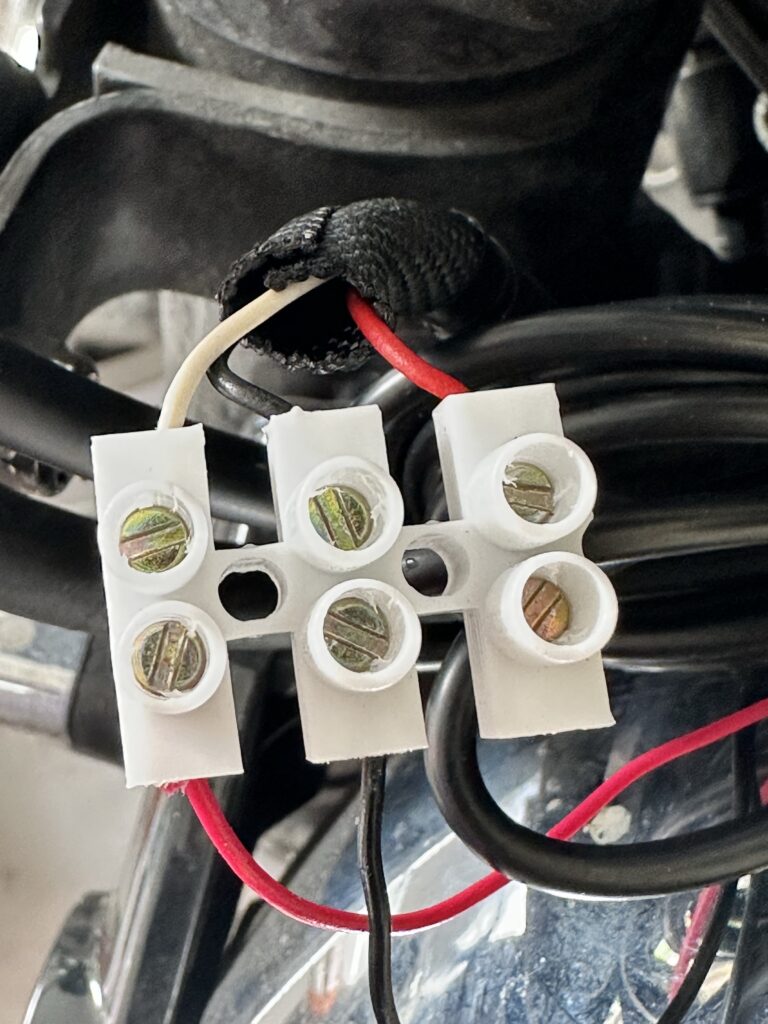
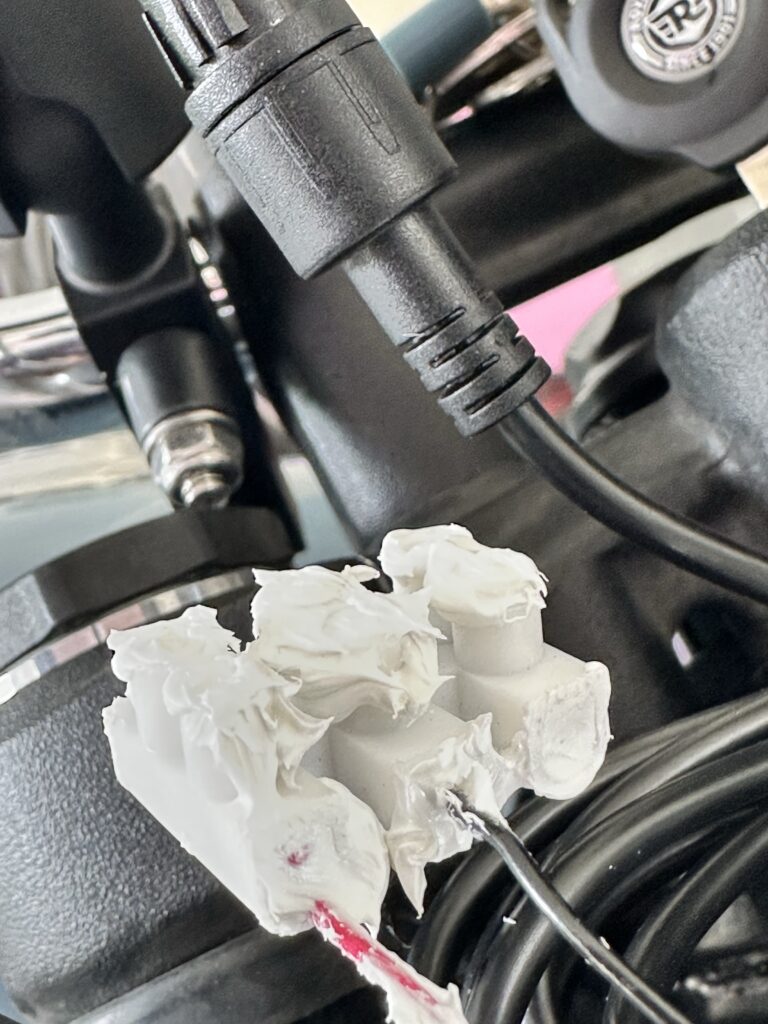
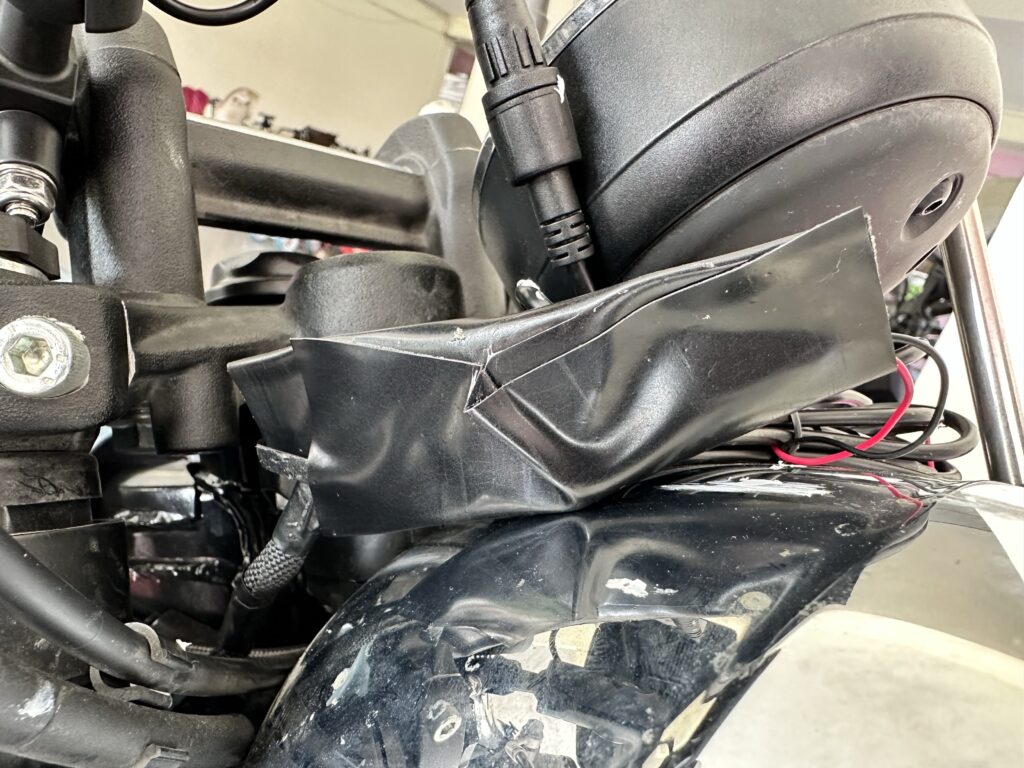
For good measure, I also wrapped it up with weatherproofing tape.
Mounting the unit
For me, the ideal situation would be if I could fit the unit in the same location as the Tripper, recessed inside. However, even with a 5″ display, the unit is a bit too big and must hover above the handlebars.
Also, it clashes with the classic/old-school aesthetics of the motorcycle.
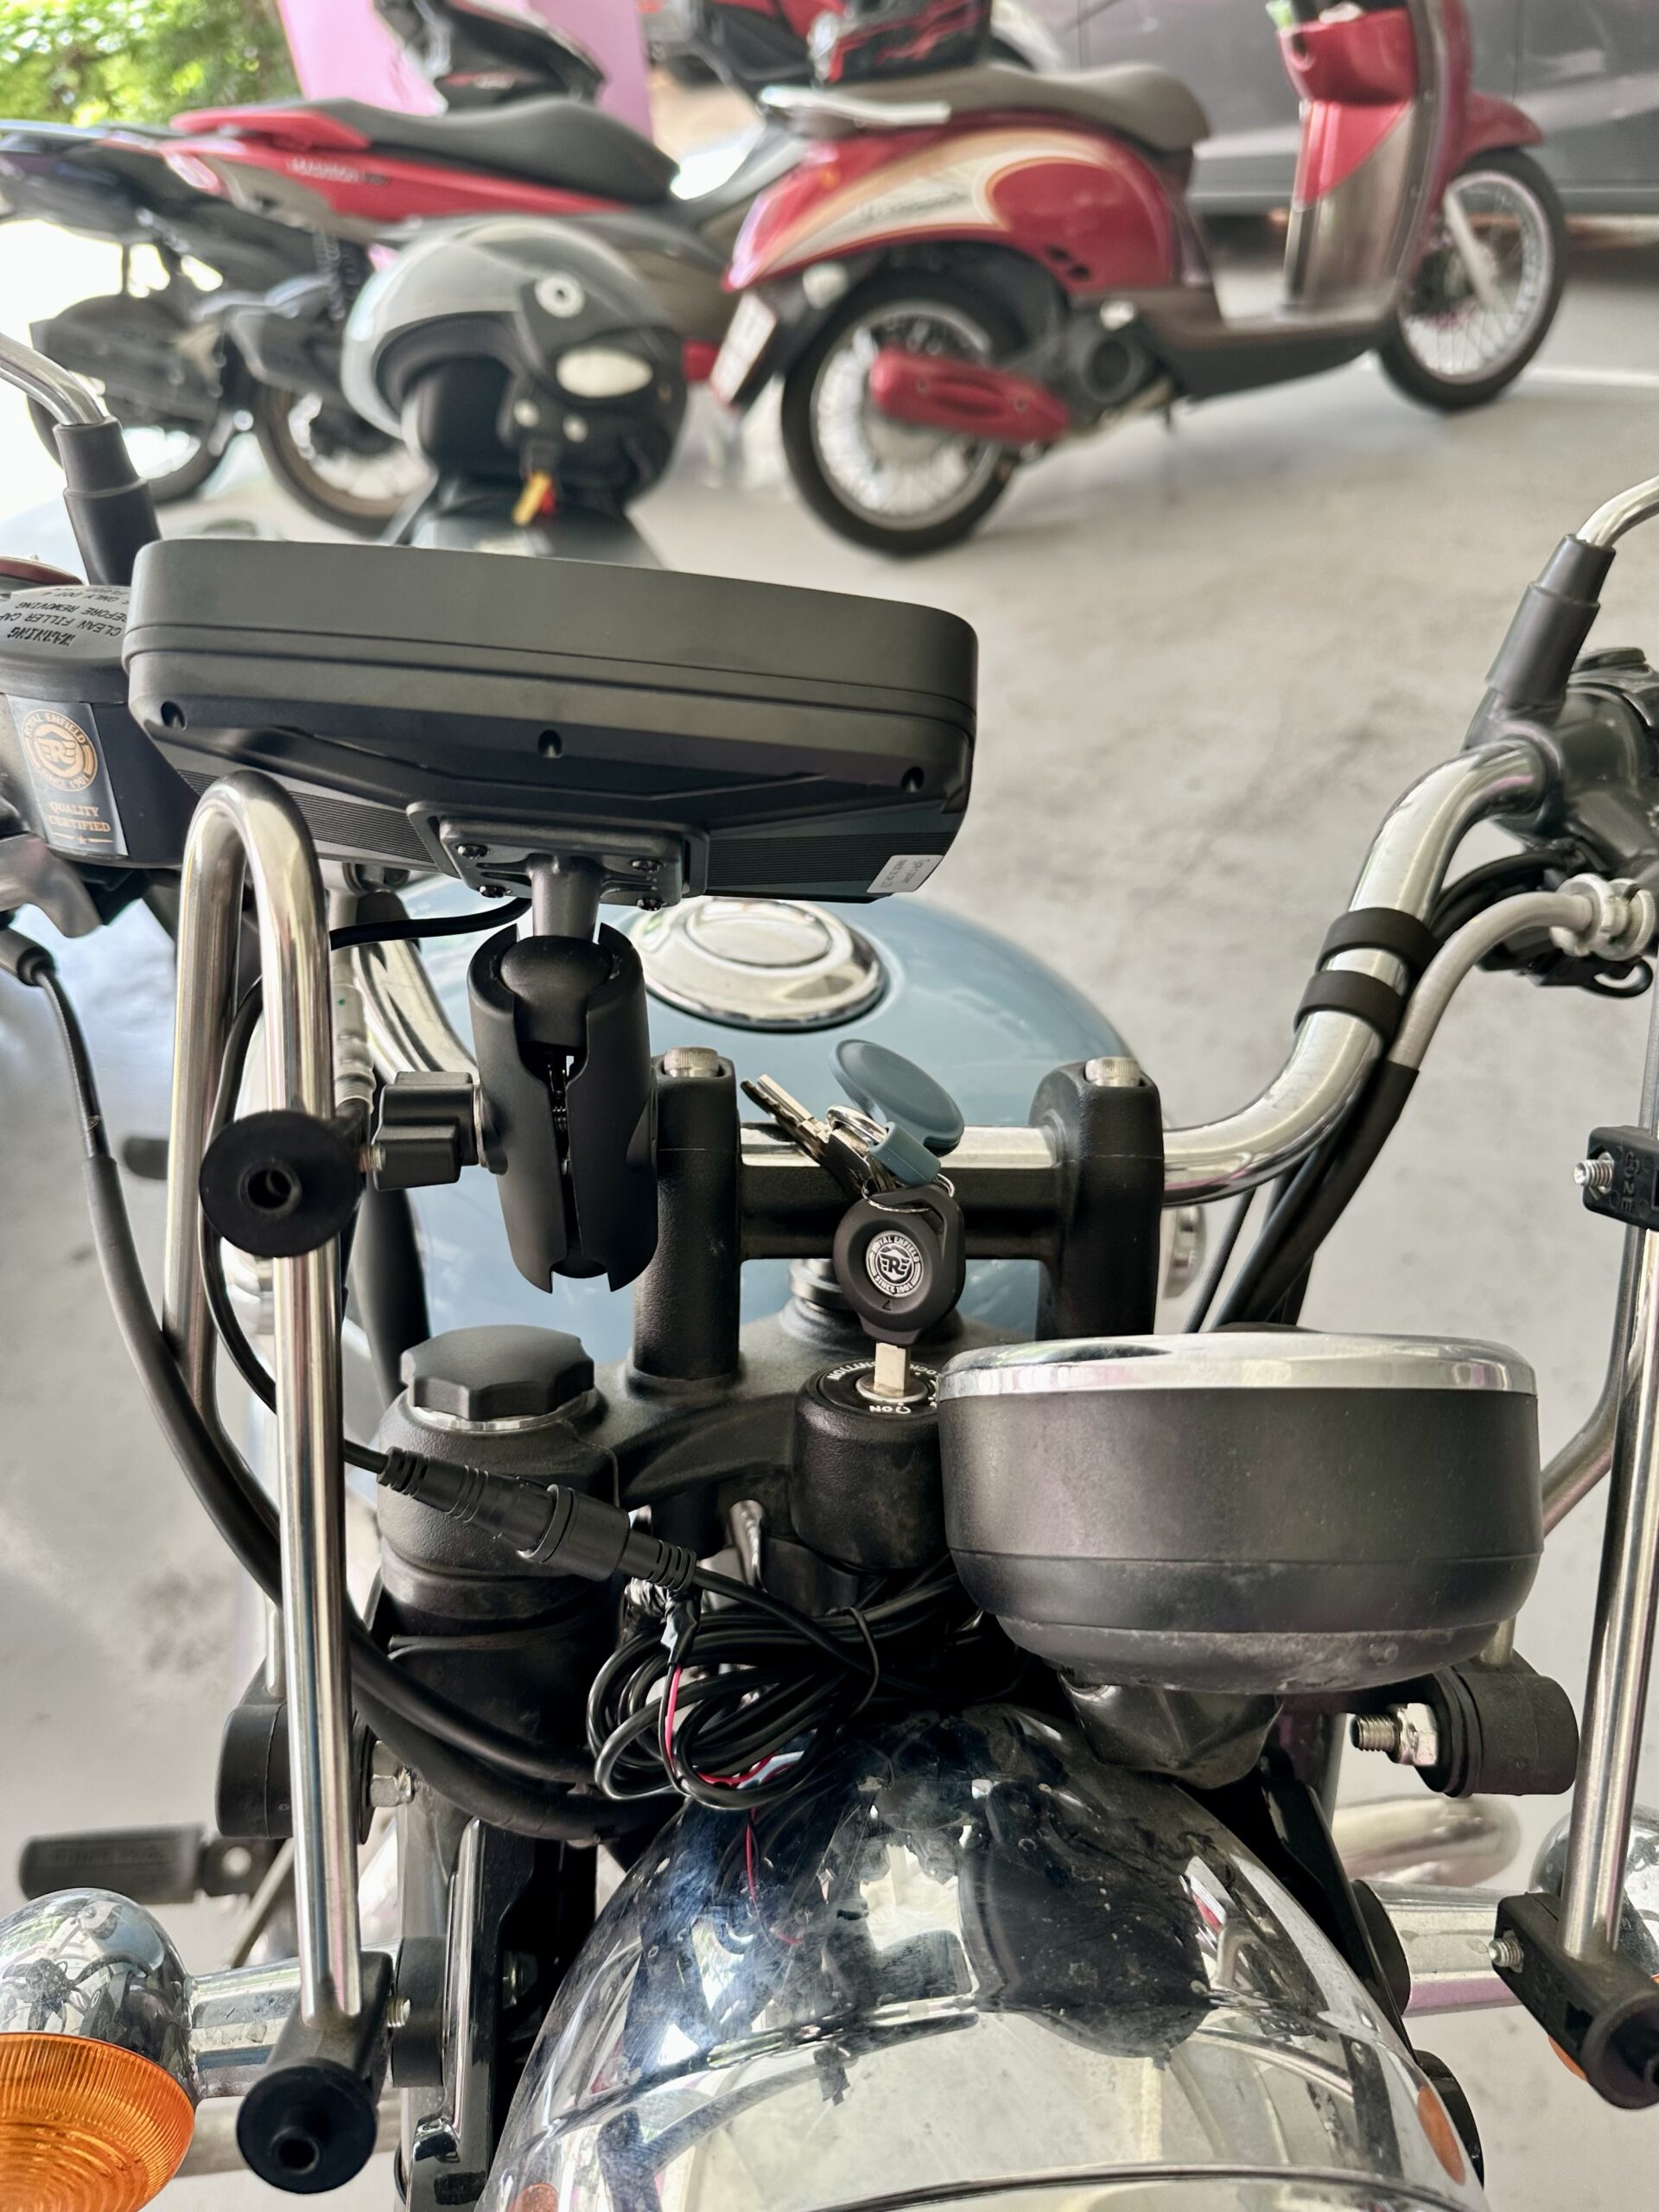
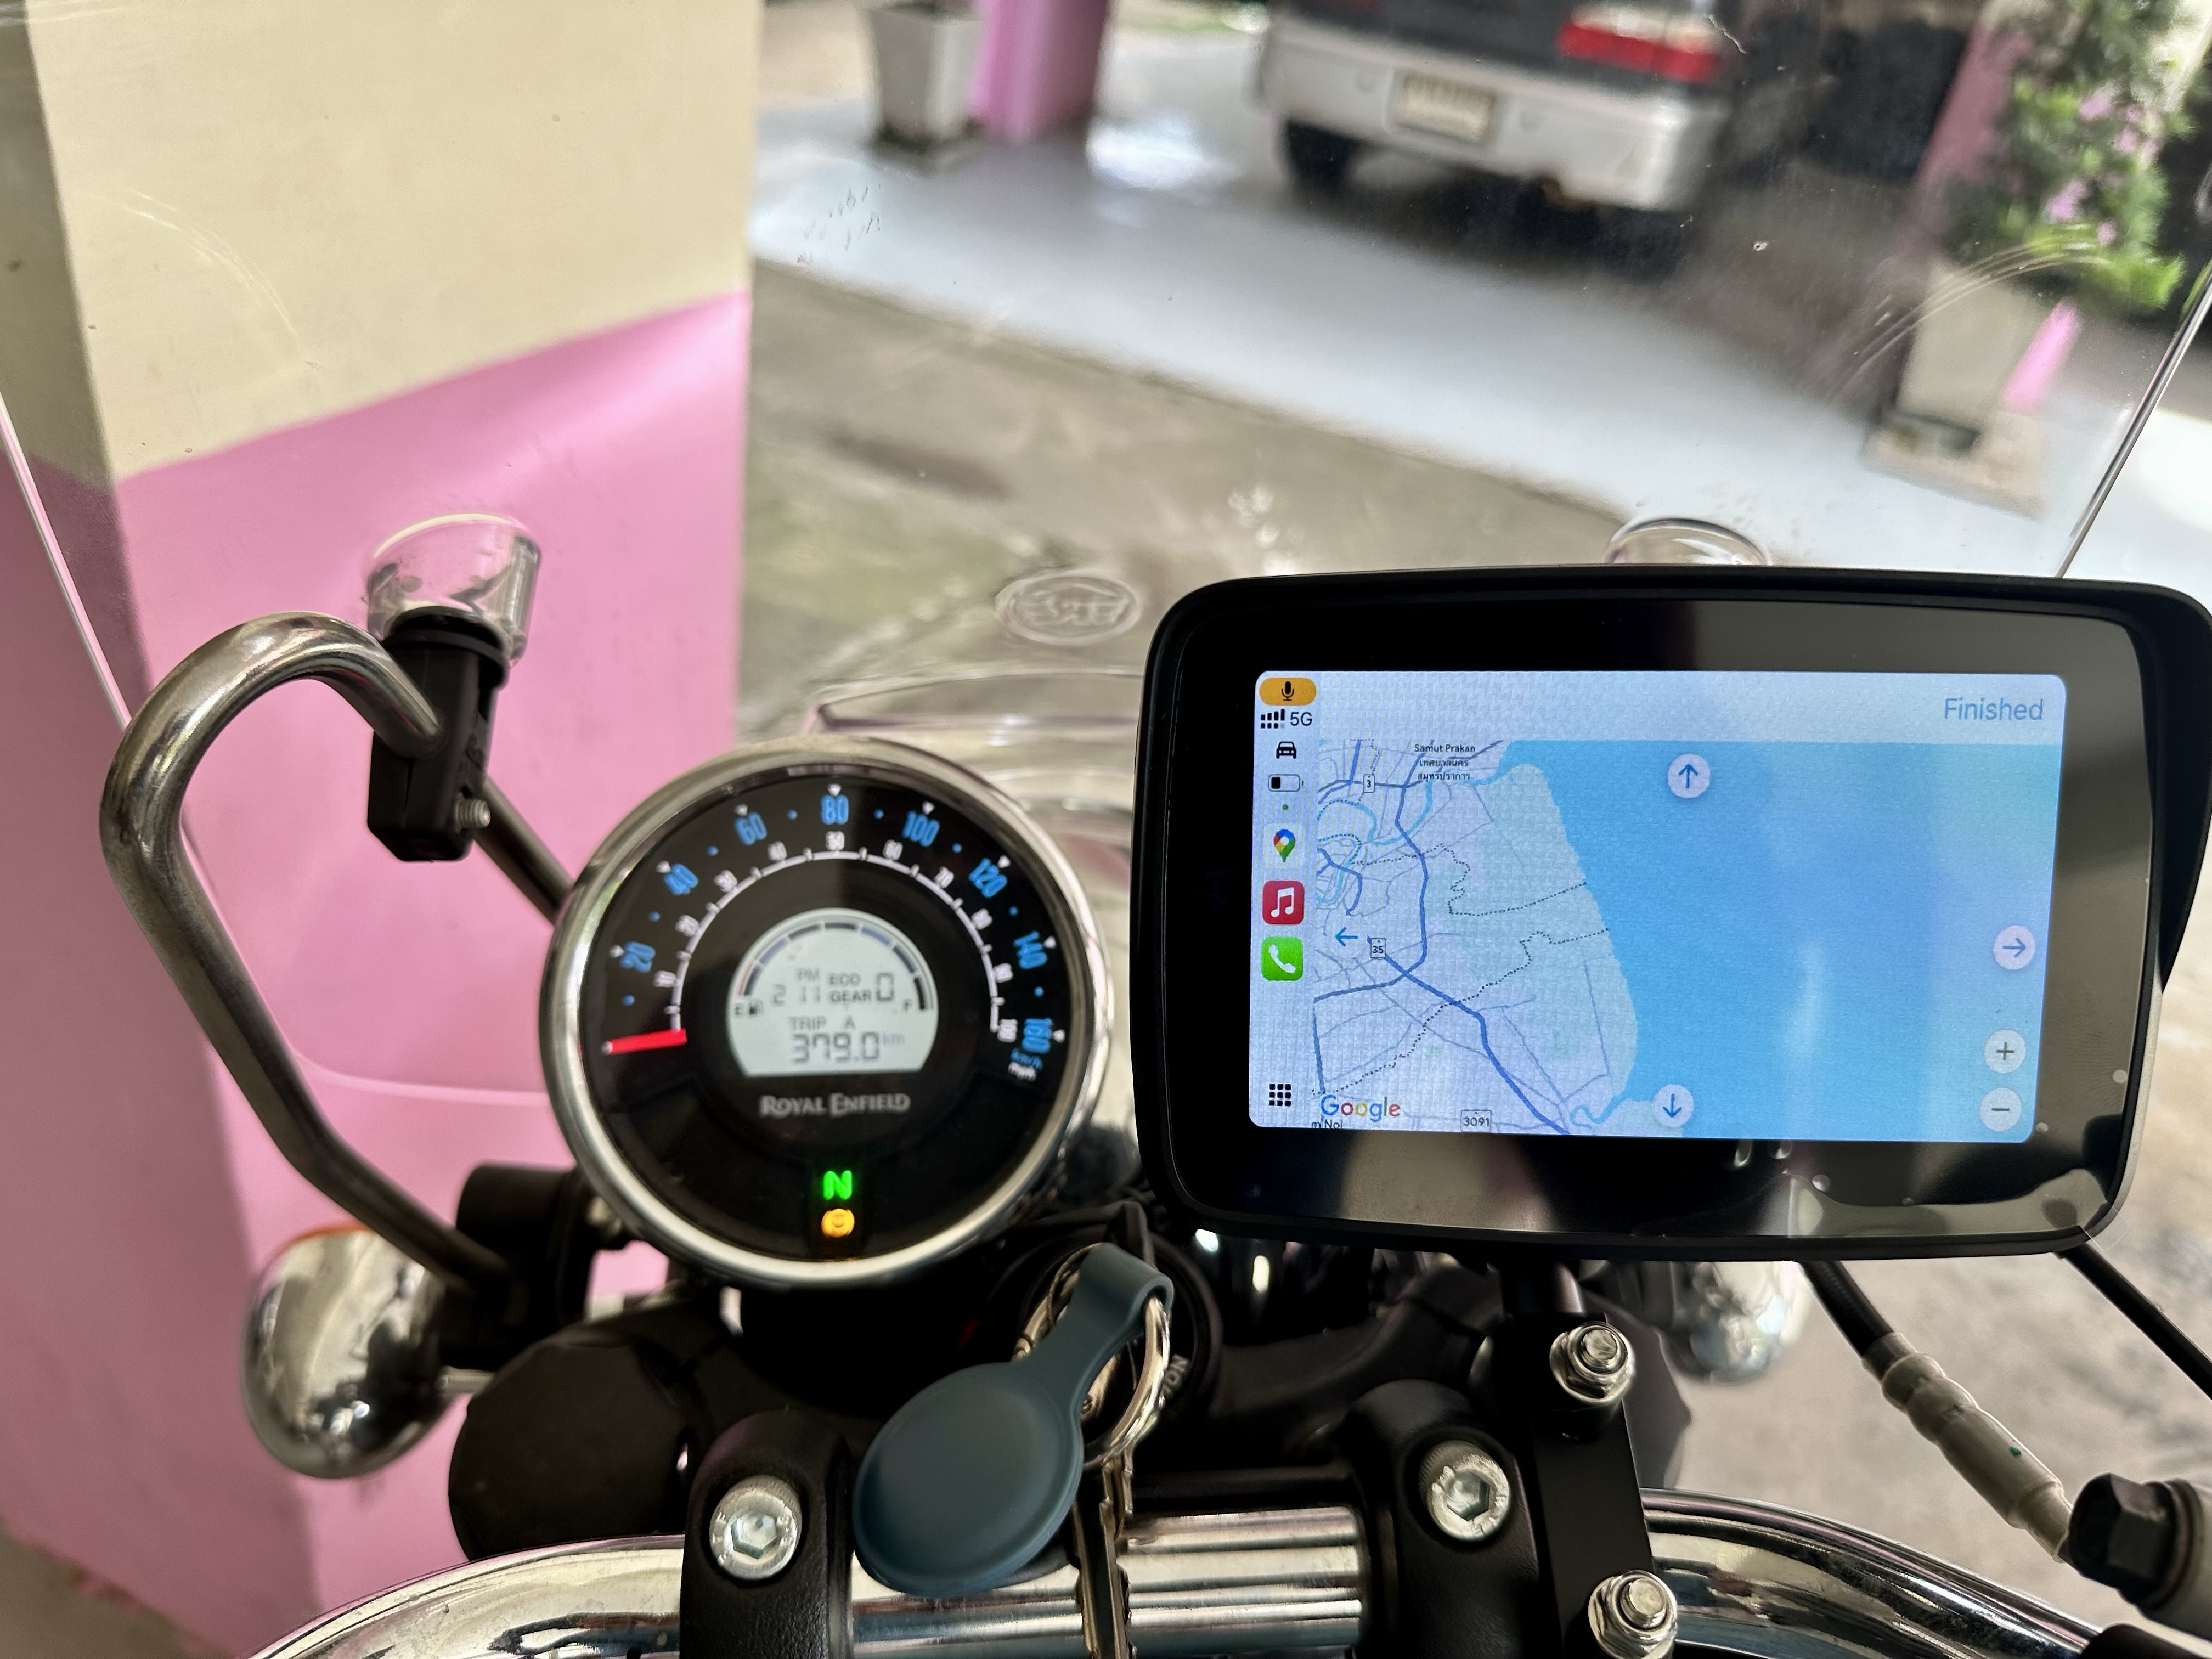
The Unit
The unit itself seems to be incredible value for money. Apple CarPlay works as expected.
The display is relatively low-res which may be a good thing because I am concerned about battery drain on the phone.
The display is bright enough to be seen in full sunlight through sunglasses. Additionally, the brightness can be increased above the default.

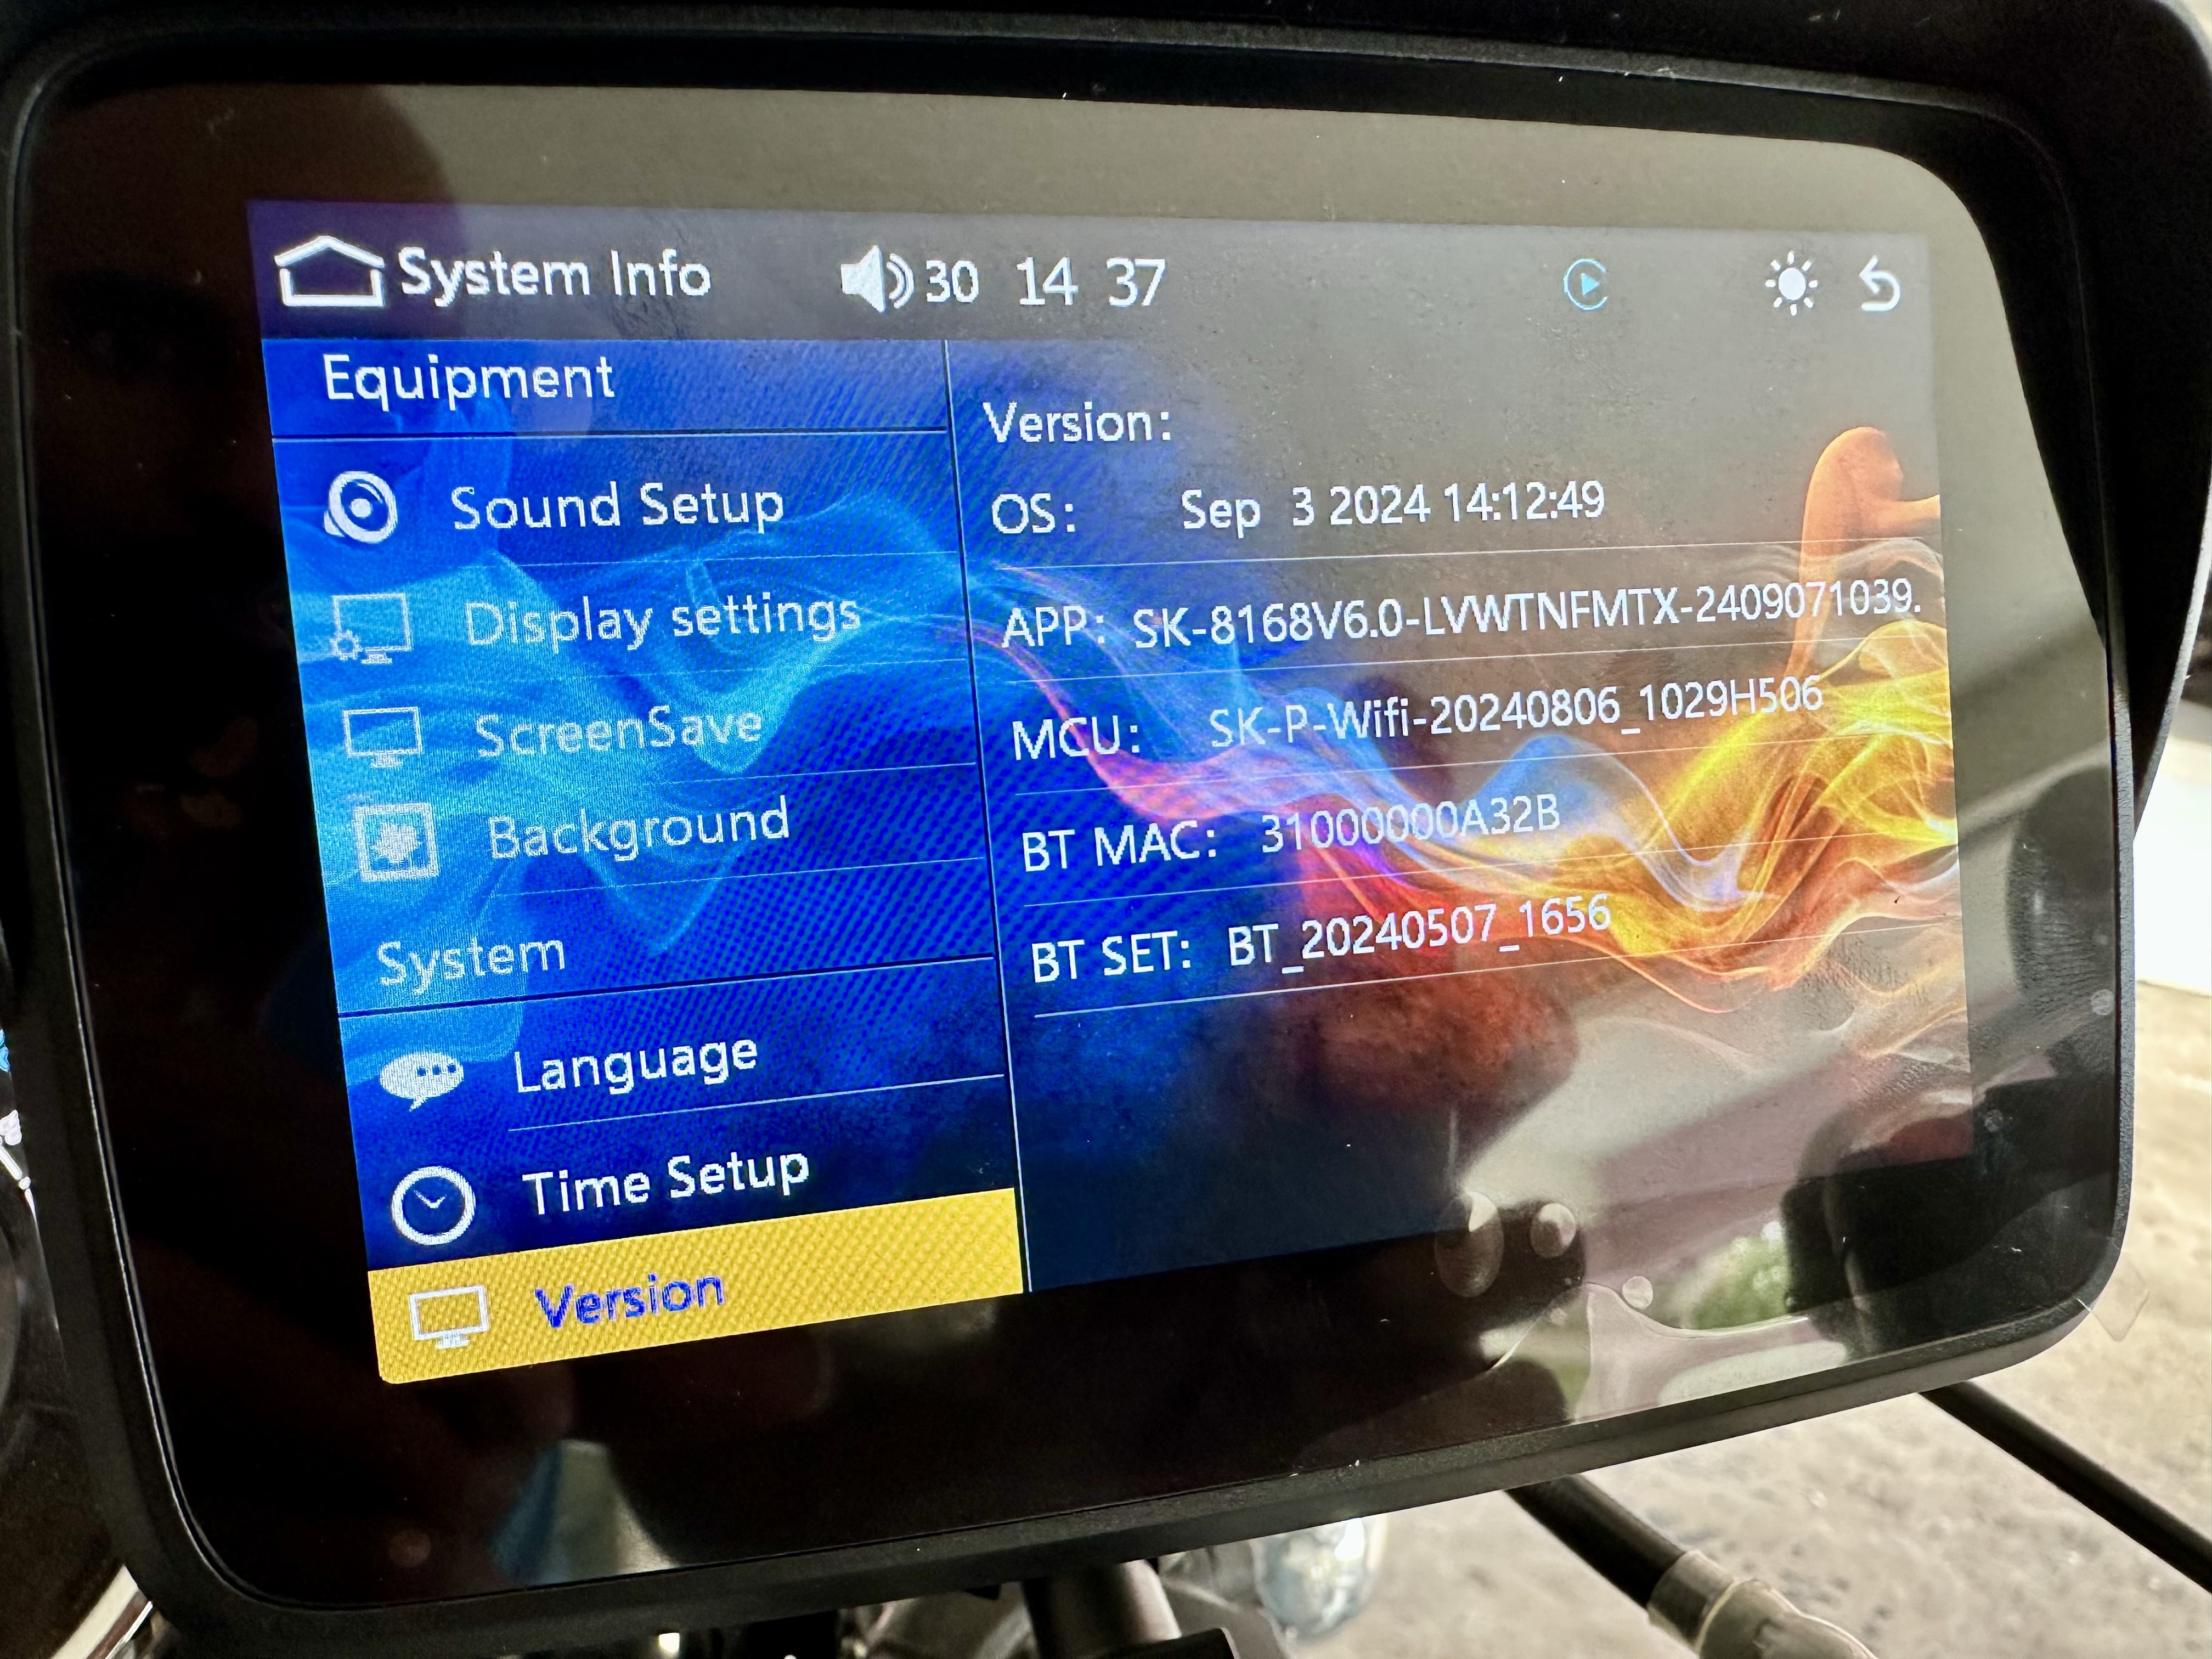
The unit boots up within 5 seconds of Power ON and the phone automatically connects via Apple CarPlay within a few more seconds.
One strange thing is, the aspect ratio of the physical display and the aspect ratio of the beamed display are not exactly same; consequently, the Apple CarPlay UI seems a bit squished from the sides. It is barely noticeable and certainly not bothersome.
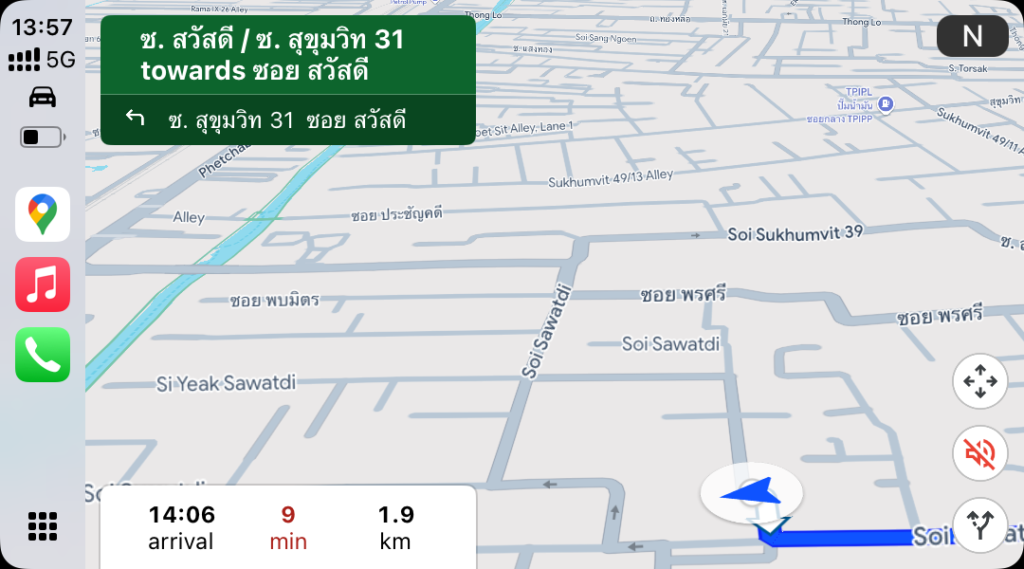
The worst thing to come out of this project is that Google Maps doesn’t seem to support motorcycle routes on Apple CarPlay (Or on Android Auto, it turns out).
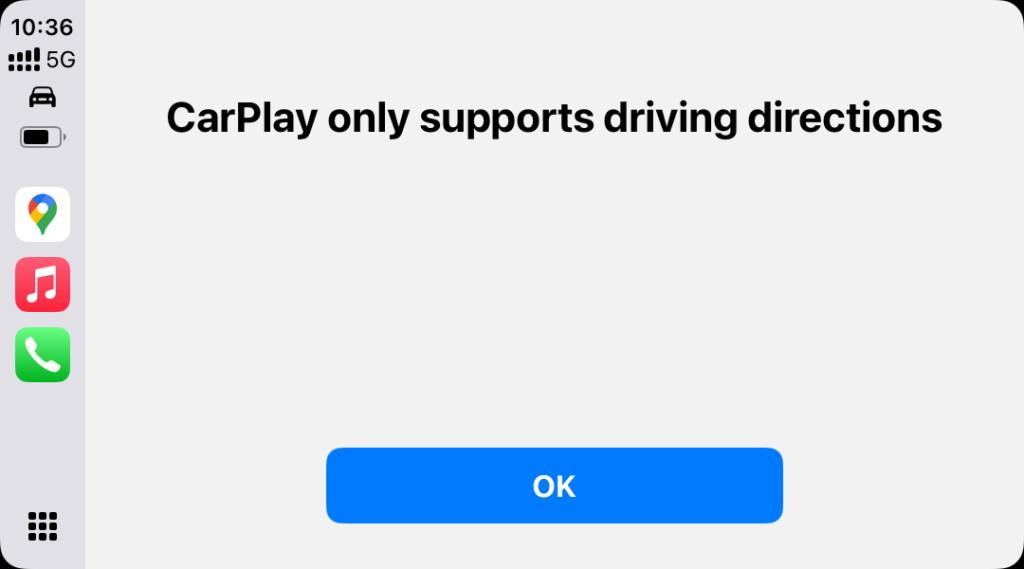
This means Google Maps and Apple Maps are now on equal footing for me. The workaround with both is to disable Toll Roads and Motorways and use car navigation.
Ongoing concerns
Some things I am concerned about, which only time will tell
- I am concerned whether the USB port that charges the phone (Nothing to do with this unit) can provide enough juice to keep the phone topped off during operation. Worst case, I am expecting wireless Apple CarPlay to consume more power than the charger can provide and the phone to eventually discharge over a trip.
- Only time will tell how rugged the unit is – Concerns are temperature, vibrations and water resistance. Even if it lasts 1 year, it would be worth the monies.
- I am not at all confident about how good a job I did with the waterproofing the terminal block. Of course, I may have void the warranty on the motorcycle already by snipping the wires.
Overall, excited to test this out during my next trip!
Discover more from An Insight into my Hindside
Subscribe to get the latest posts sent to your email.
One thought on “Apple CarPlay on Meteor 350”