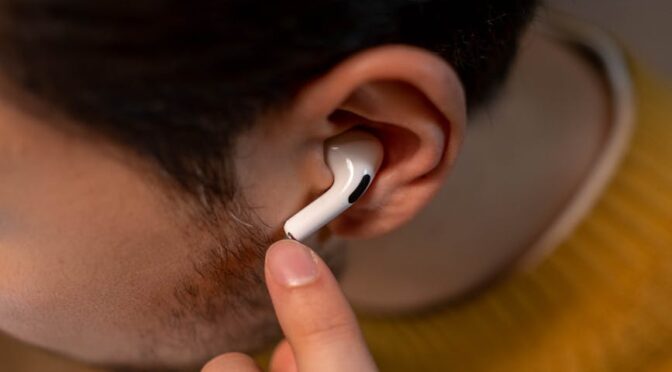
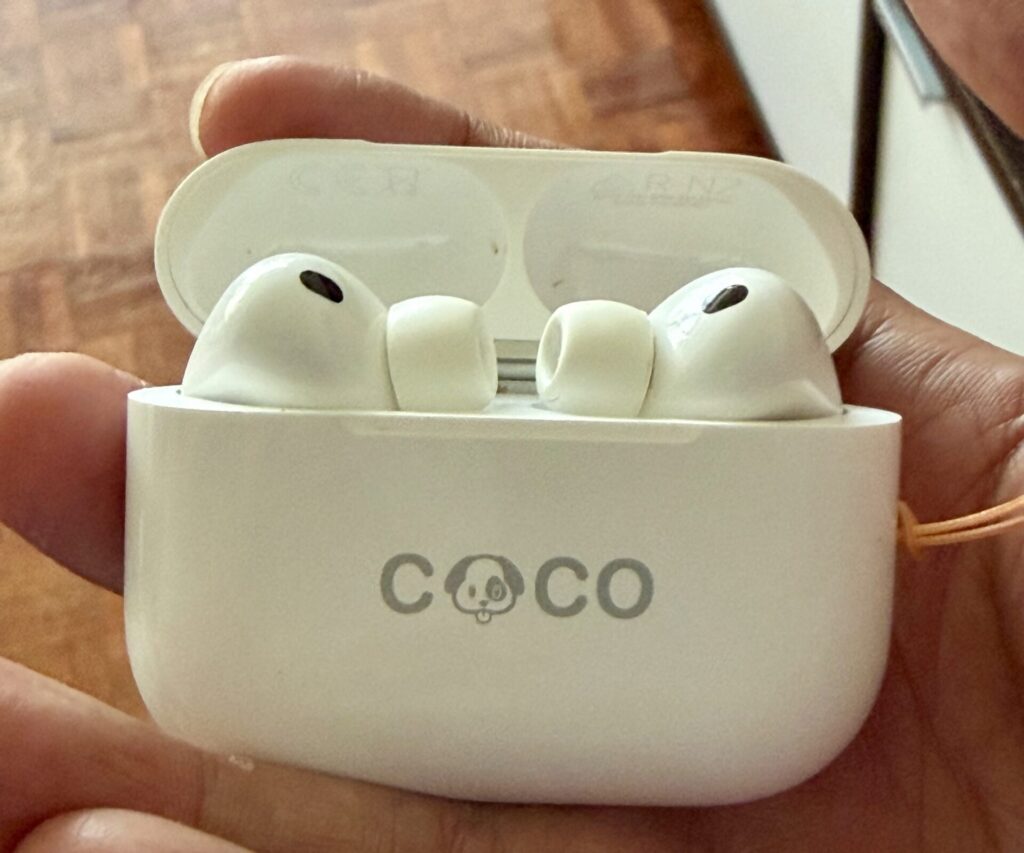
I have used AirPods Pro for a long time. Starting from the original one, up to the AirPods Pro 3, what Tim would call, the best AirPods Pro ever. Truly, the Pro 3 had improved significantly over the previous versions. As such, except the asymmetric charging issue (Which has persisted over 3 generations), I had no complaints from them.
But my hands, in typical fashion, were itching for something more. Something better. So I went ahead and bought the AirPods Max.
AirPods Max – Good & Bad
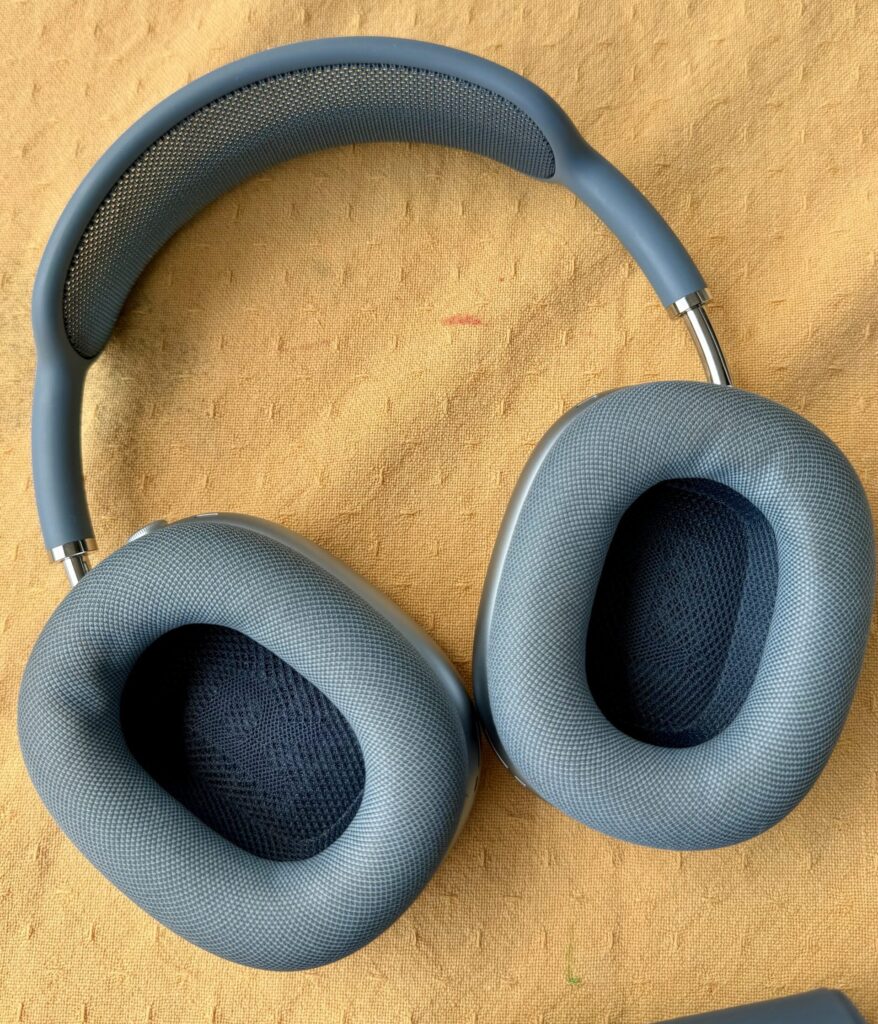
The AirPods Max are, in one word “exquisite”. Premium materials – Rubber, Fabric and Metal. None of the plastic bullshit that Sony and Bose peddle. They feel comfortable over your ears and head. The sound quality is excellent too. A wider sound stage and “booming” immersive sound greets you. I really enjoyed listening to music on them. I could even hear sounds for the first time in songs I had listened to a thousand times already. The AirPods Max could do no wrong.
However, while roaming in public with them, its limitations become apparent. The missing Adaptive Noise Cancellation and Conversation Awareness features that I had taken for granted on the Pro 3, quickly became a major source of irritation. I had to constantly toggle between Transparency and Noise Cancellation (All or nothing) depending on the situation, something which the AirPods Pro 3 did automatically and seamlessly. Also, I had to take them off completely when speaking with people, otherwise it required multiple steps (Pause the music, then switch to transparency mode).
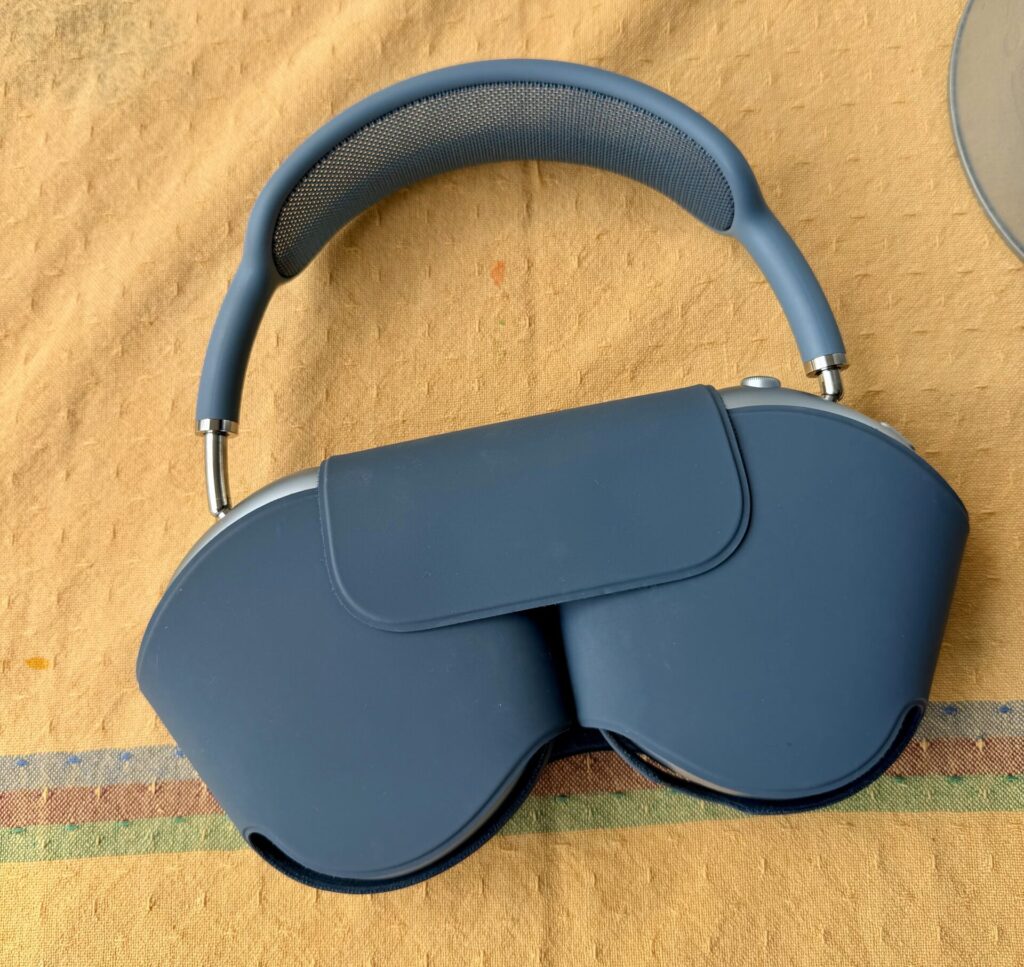
Not to mention that I had to carry it around in a case that looks like this.
I also discovered that on airplanes, if I craned my neck too much towards any direction, the fabric would come off and let noise seep in.
Another irritation is that there’s no way to turn them off, other than to put them in their bralette. Despite their long battery life, I found them fully discharged many times because I forgot to tuck them back in.
Back to AirPods Pro 3
Forced to decide between quality and practicality, I chose the latter and sold my AirPods Max and went back to AirPods Pro 3. My head felt much lighter with them in my ears. Although for the first few hours, their sound felt a bit “one dimensional”, I got used to it real quick. I was able to speak to people normally again, the AirPods automatically lowering the music volume and noise cancellation. No more fiddling with controls every few minutes. The AirPods Pro 3 always know what parameters to use and most of the time, they are perfect.
My Comparison
Below is a comparison about the strengths and weaknesses of both these products, from my point of view.
| Metric | AirPods Pro 3 | AirPods Max |
|---|---|---|
| Comfort | +Comfortable to wear any time including exercise | -Comfortable in air conditioning, but ears start feeling hot outdoors. Wieldy when exercising. |
| Sound Quality | +Great, rich bass | +Excellent, wider sound stage apparent |
| Material | -Plastic | +Metal, fabric and rubber |
| Noise Cancellation | +Adaptive, Phenomenal | -Fixed |
| Conversation Awareness | +Phenomenal | -Absent |
| Charging | +Wireless or Wired | -Wired only |
| Battery Life | -8 hrs (Without case) | +20 hours |
| Portability | +Can slip into a pocket | -Need to carry in a bag |
| Controls | -Taptic | +Button and dial |
Once the H2 chip comes to the AirPods Max, the gap would narrow significantly, but buying the current generation, now 5 years old doesn’t make any sense.