I recently lost a bunch of videos (mostly concerts) to a disk encryption mis-understanding., so needed to rip them again from their Blu-Ray sources. Having previously done video decoding/encoding on my daughter’s Mac, I was curious to know how the Mac Mini M2 Pro would compare when doing video decoding & encoding.
Video : 1426×1080, 30fps, SDR, H.264 to H.265, 8-bit Preset : Quality, 60 CQ
Audio 1 : BD-LPCM to AAC, 320kbps, Stereo, 48KHz Audio 2 : DTS to AAC, 320kbps, 5.1, 48KHz Audio 3 : AC3 to AAC, 160kbps, Stereo, 48KHz
The first pass was using the default H.265 option, which was noticeable faster than the Macbook Air M1. But then I found the H.265 with Apple VideoToolBox option, which allows the video decode/encode process to be handled on the GPU.
Parameter
Baseline
Regular Encoding
Apple VideoToolbox
Average Power Consumption
8W
52W
18W
Average CPU
5%
99%
22%
Average Fan Speed
1600 RPM
2950 RPM
1700 RPM
Average CPU Temp
55C
101C
63C
Average GPU Temp
44C
95C
68C
Average Frame Rate
—
58 fps
131 fps
Total Encoding time
—
58 mins
23 mins
As you can see, the performance difference is quite noticeable. With Apple VideoToolBox, the entire process is not only much faster (taking almost 70% less time), the CPU utilisation is much lower and the computer runs cooler, drawing much less power.
1080p Blu-Ray to H.265 Software vs Apple VideoToolKit Comparison
2160p Recode
I decided to push the computer further, so decided to document a 4K HDR file next.
Unlike the iPad, UTM on mac has full support for JIT, so performance is much better.
I use UTM Remote to access the VMs on my iPad, even though they are running on the Mac.
Windows 98 SE: Further Setup
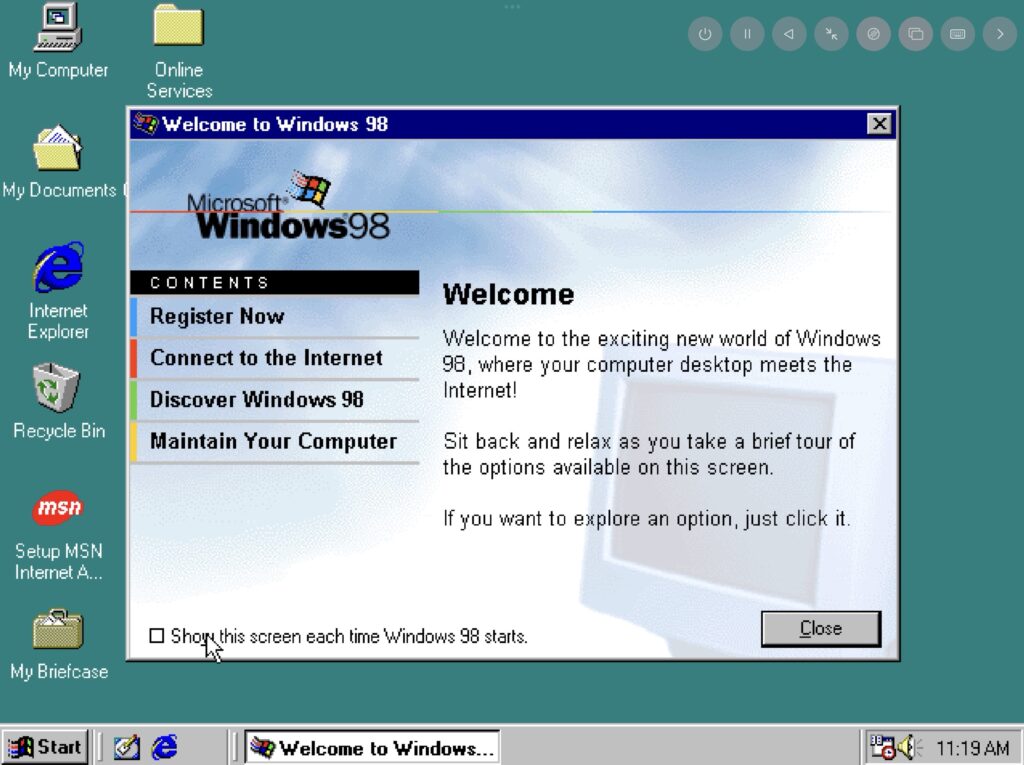
The first screen after Windows 98 SE boots for the first time is this welcome screen. Time to disable it and prevent it from ever showing up again.
Welcome to Windows 98
I heard the accompanying (rock) music for the first time ever, because I always had cheap AC’97 chipsets and you needed to install the drivers later, manually. Virtually, I can afford the Creative Sound Blaster 16; for which, Windows has drivers pre-installed.
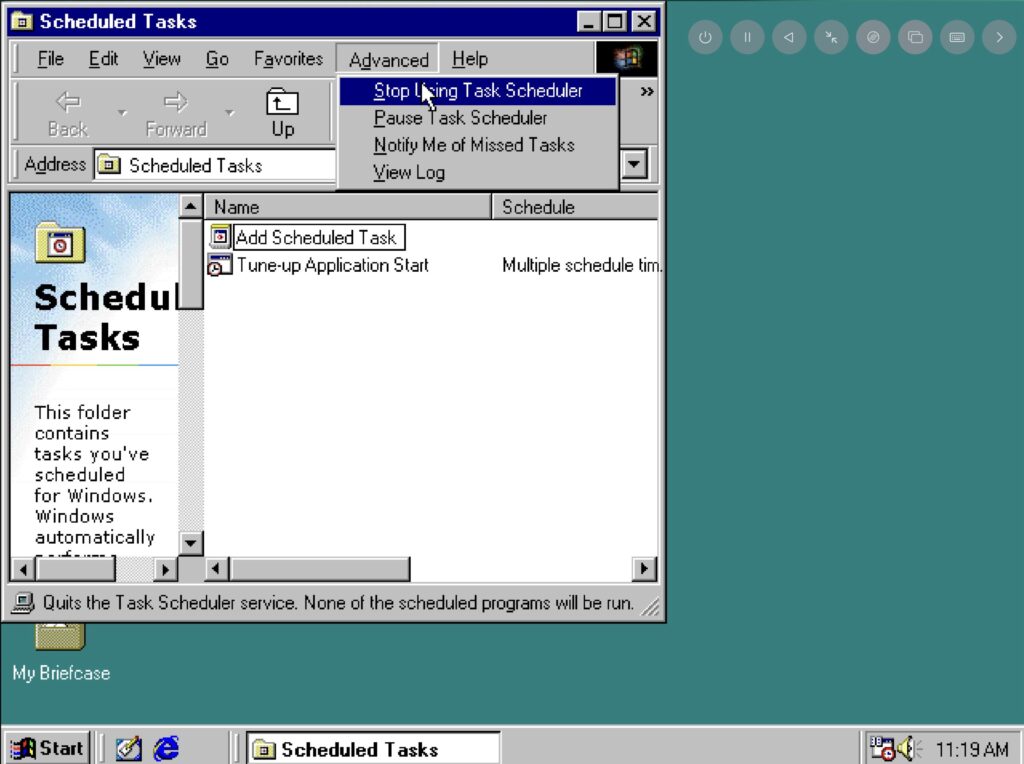
The next step is to disable the Task Scheduler forever which I also, always did back in the day.
Stop using Task Scheduler
Windows 98 SE: Chipset driver setup
For the next few steps, it is advisable to keep the CD (Or the iso) popped in as windows will install a lot of drivers.
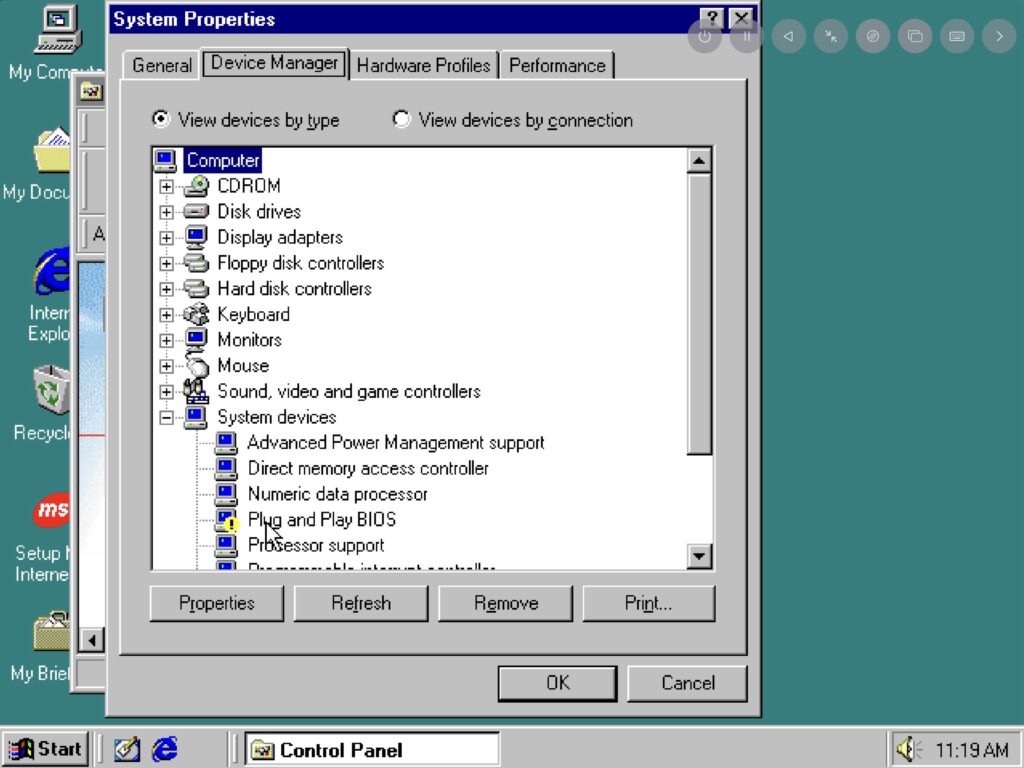
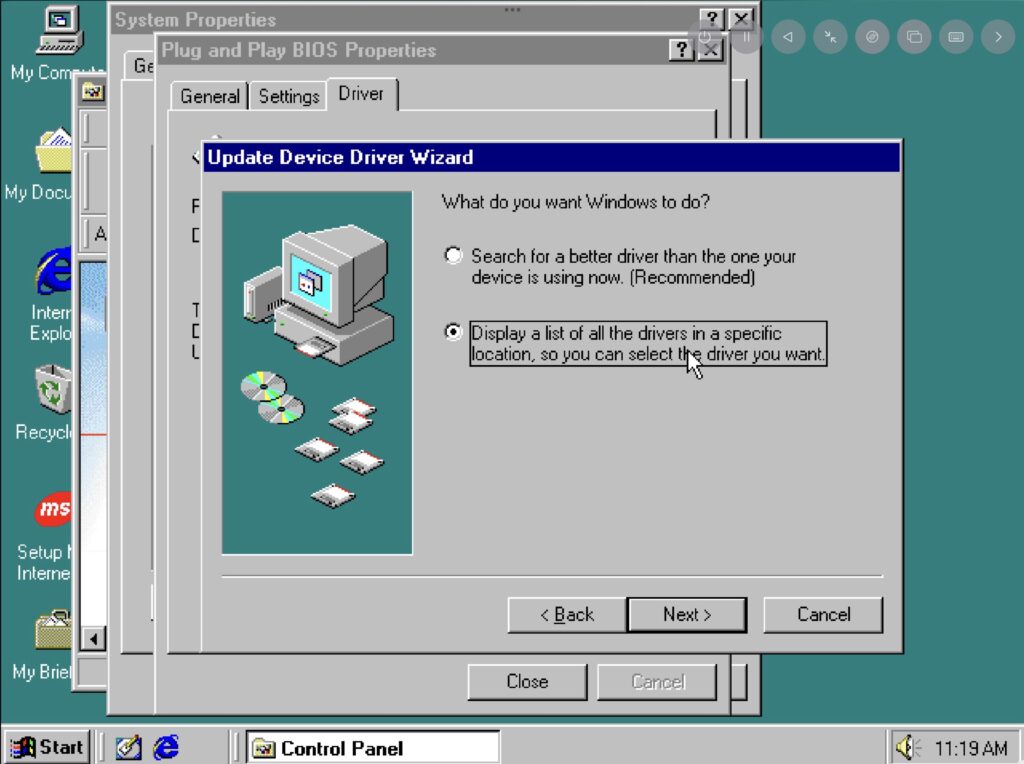
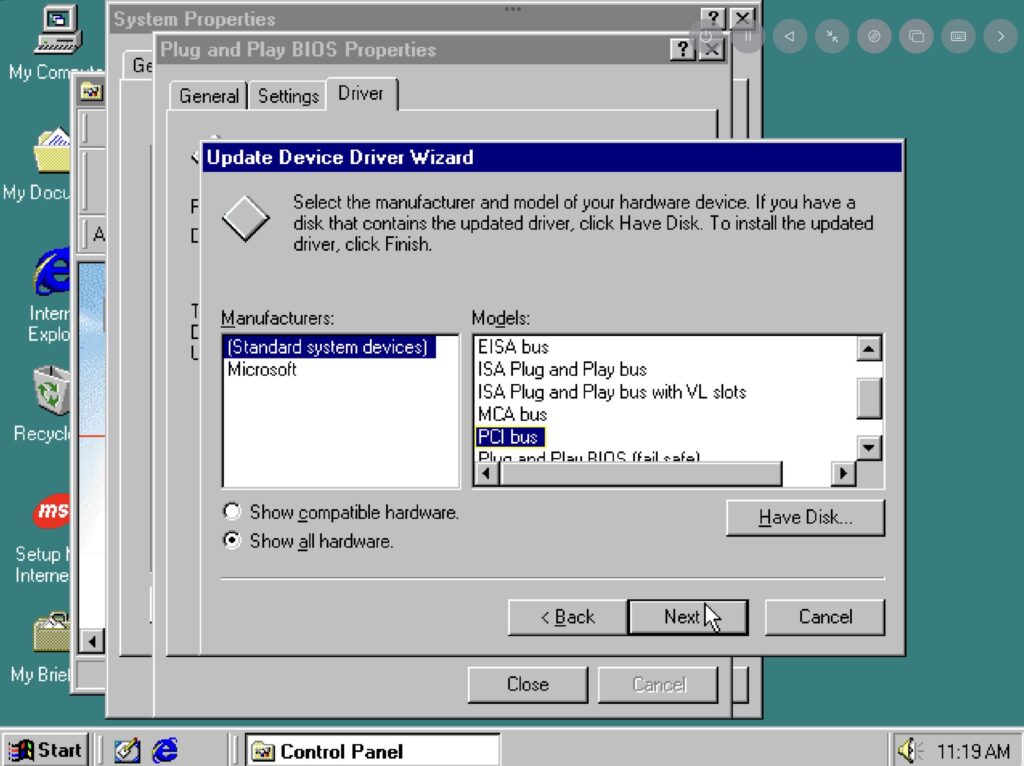
As you can see below, Windows 98 SE has failed to detect the PCI bus (and consequently, everything else connected to it). It needs a bit of manual push to be recognised properly.
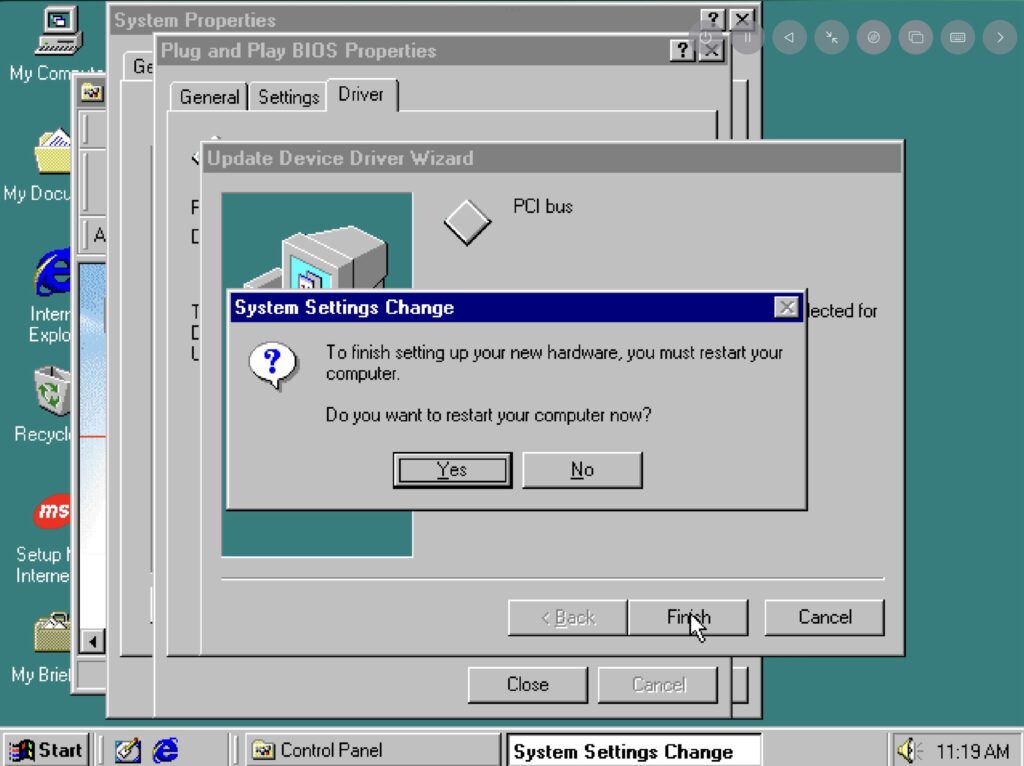
Device Manager – Plug and Play BIOSDisplay a list of all the driversStandard system devices – PCI BusTo finish setting up your new hardware, you must restart your computer
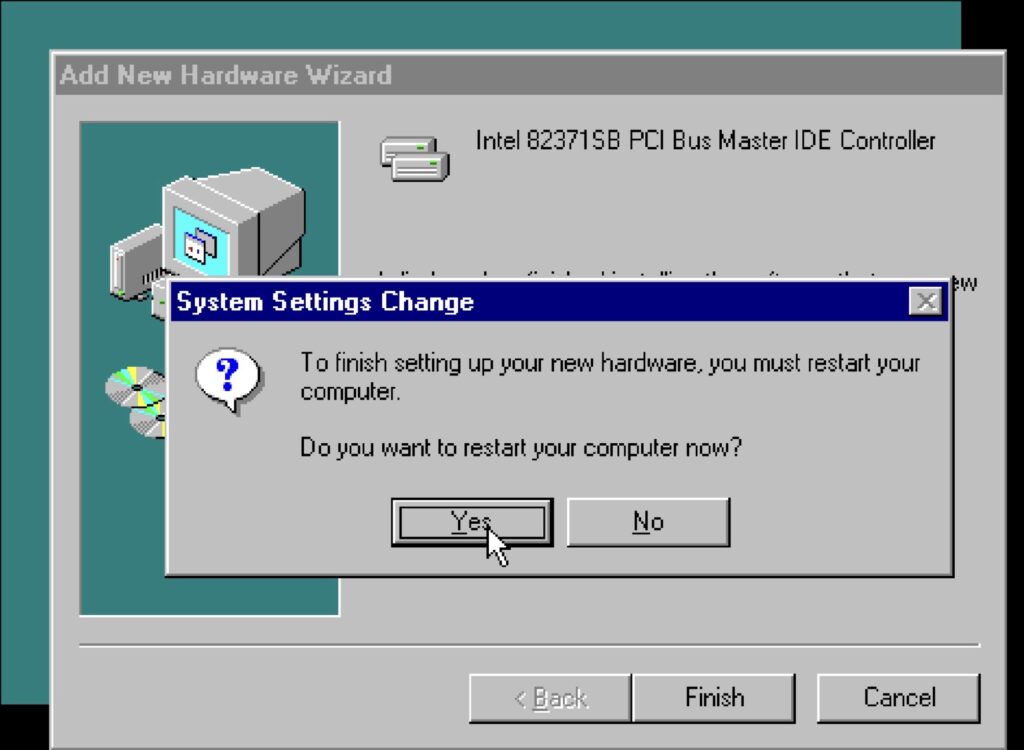
We are at the 6th restart since starting the installation, so why not?
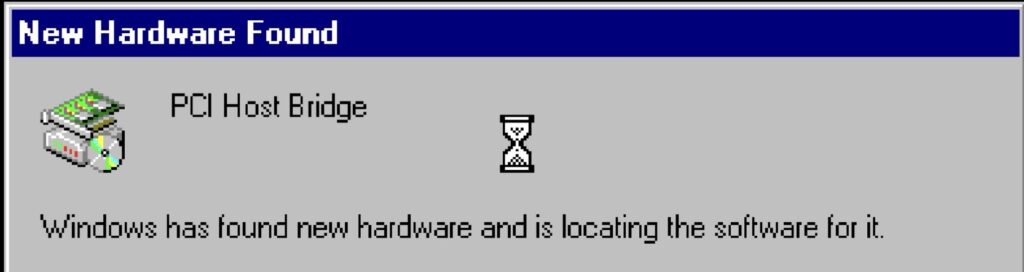
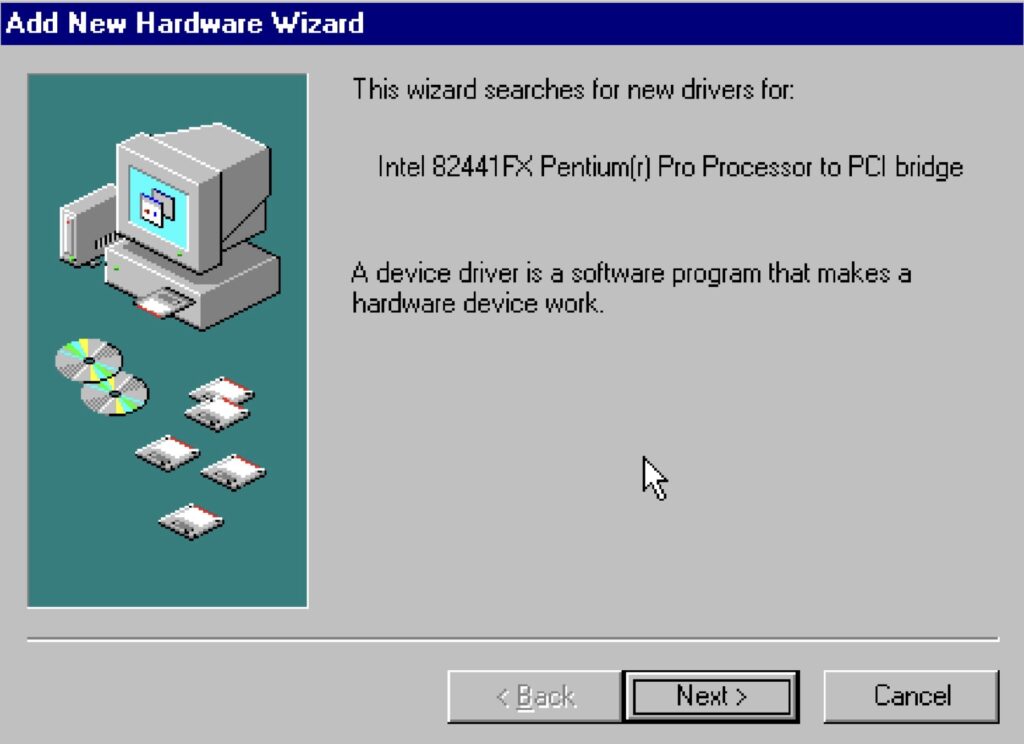
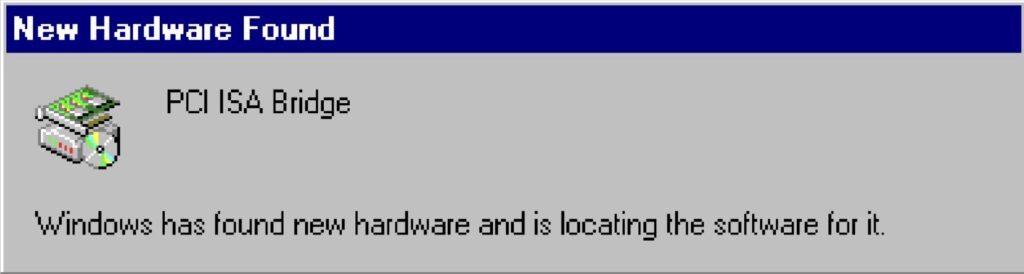
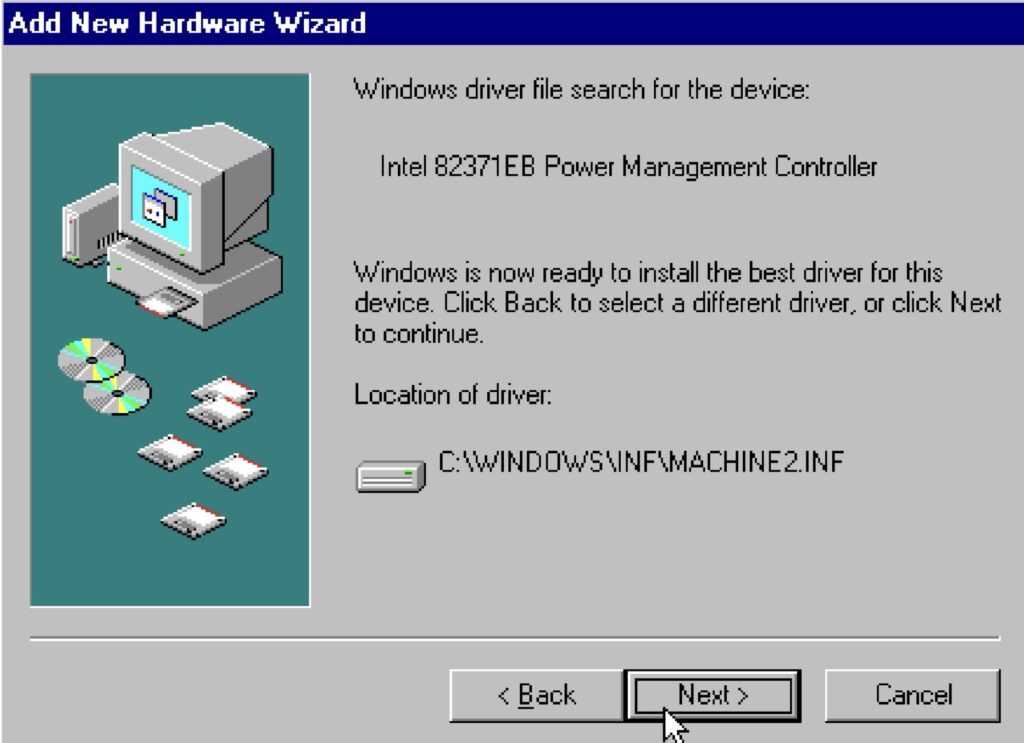
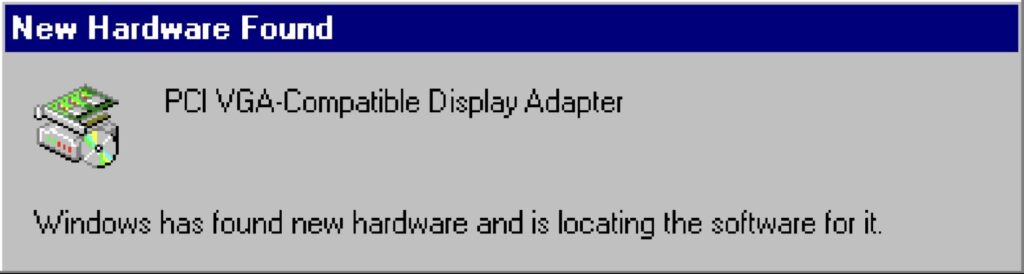
After the restart, Windows 98 SE detects a whole bunch of new devices, freshly exposed from behind the PCI bus. Surely some of the names are made up, right?
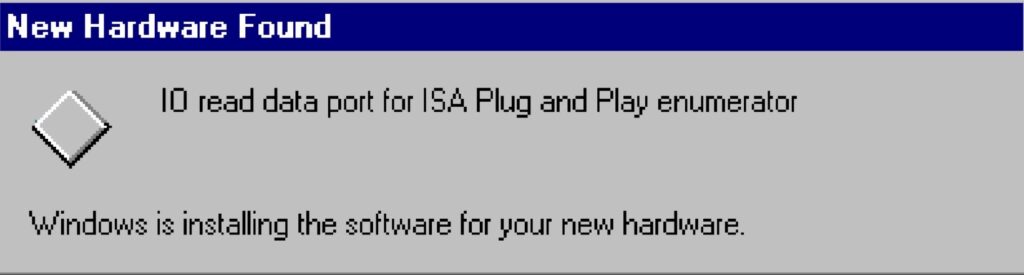
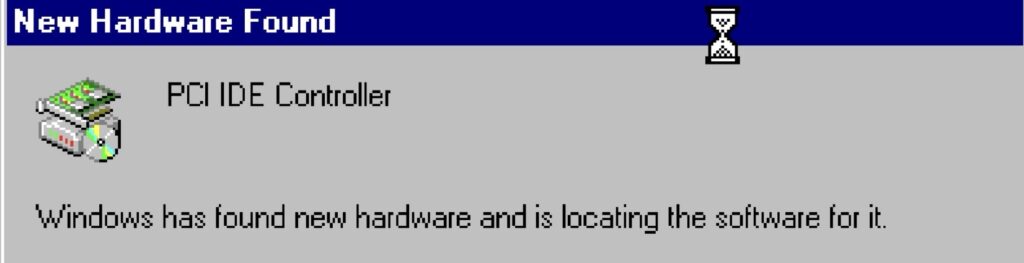
New Hardware Found : PCI Host BridgeIntel 82441FX Pentium(r) Pro Processor to PCI BridgeNew Hardware Found : PCI ISA BridgeNew Hardware Found : IO read data port for ISA Plug and Play enumeratorNew Hardware Found : IRQ Holder for PCI SteeringNew Hardware Found : PCI IDE ControllerDo you want to restart your computer now?
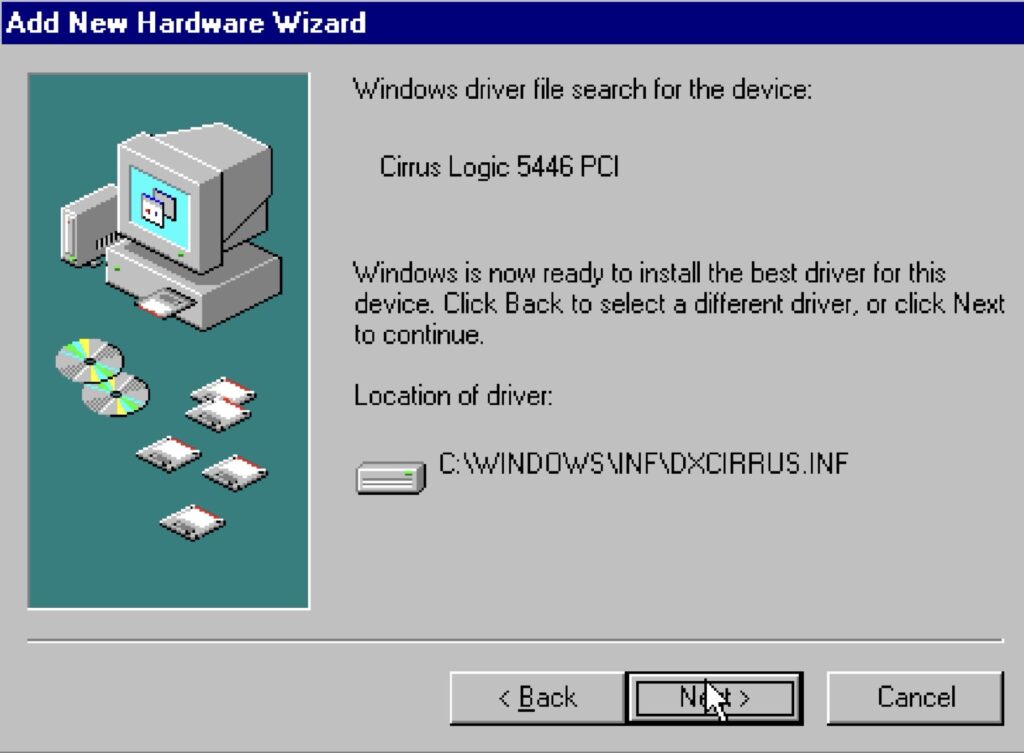
After the 8th reboot, yet more devices.
Intel 82371EB Power Management ControllerNew Hardware Found : PCI VGA Compatible Display AdapterCirrus Logic 5446 PCI
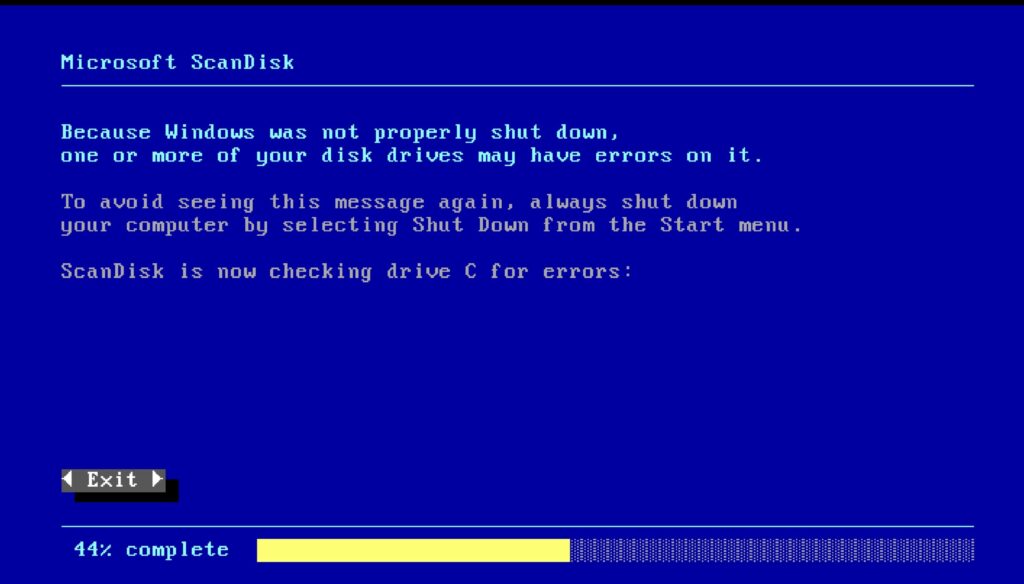
It’s not Windows if it doesn’t rash a few times along the way and Scandisk gets a chance to check the disks again.
Because Windows was not properly shut down, one or more of your drives may have errors on it
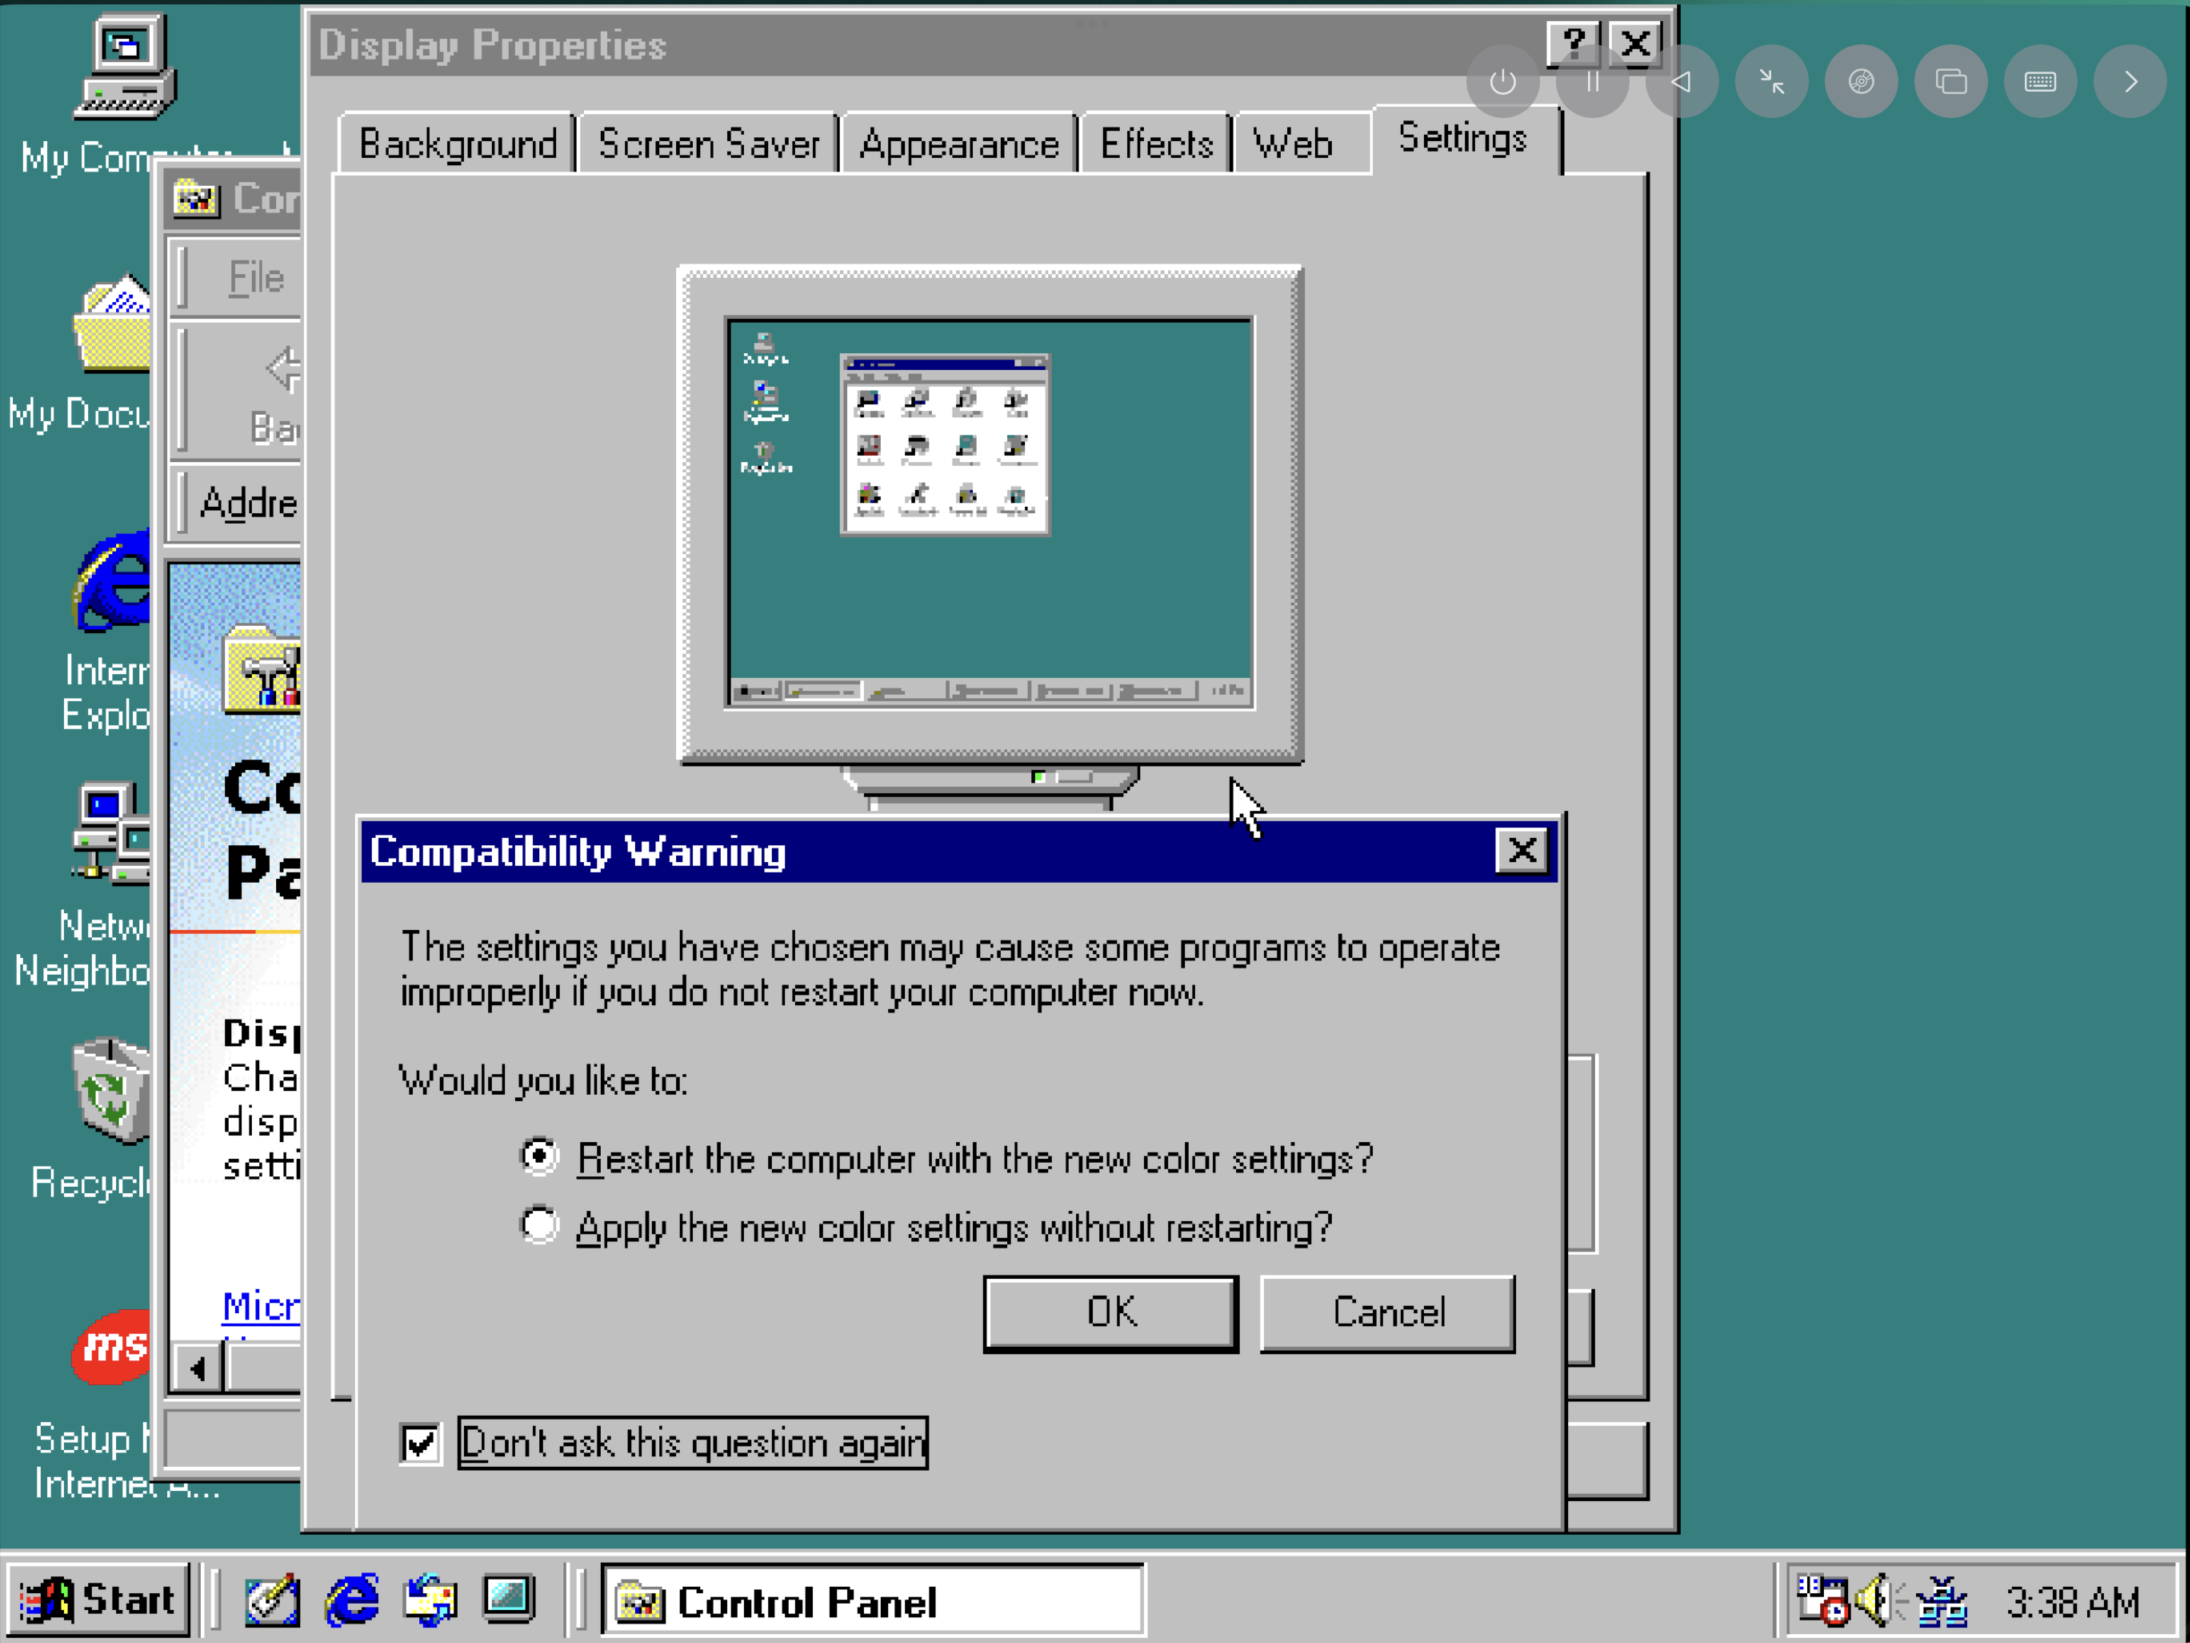
Windows 98 SE: Display
With the display adapter correctly detected and the drivers installed, we can bump up the resolution and colour depth. Of course this brings us to the 10th restart.
Display Properties : High Color (16 bit) and 800 by 609 pixelsCompatibility Warning : Restart the computer with the new color settings?
Now its time to set a proper theme.
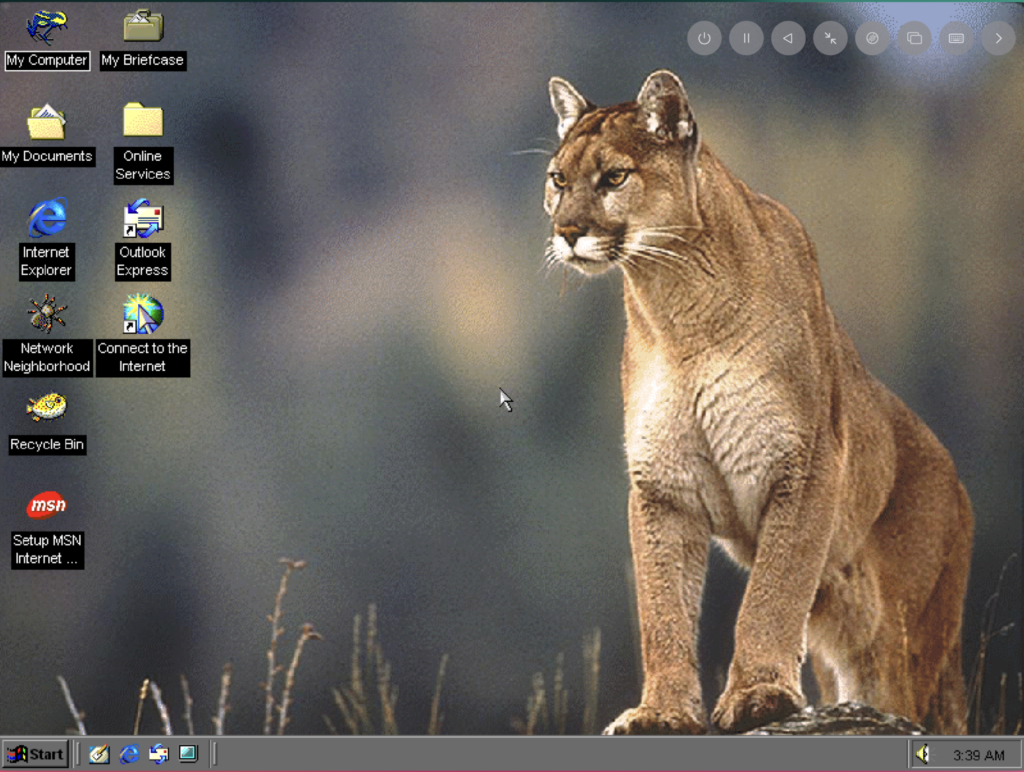
Windows 98 : Dangerous Creatures
This used to be my mother’s favourite theme, even if not mine. I used to keep this on in hopes that she would like it and let me use the computer for some more time.
Time to shut down the VM and let it rest for yet another adventure for another day.
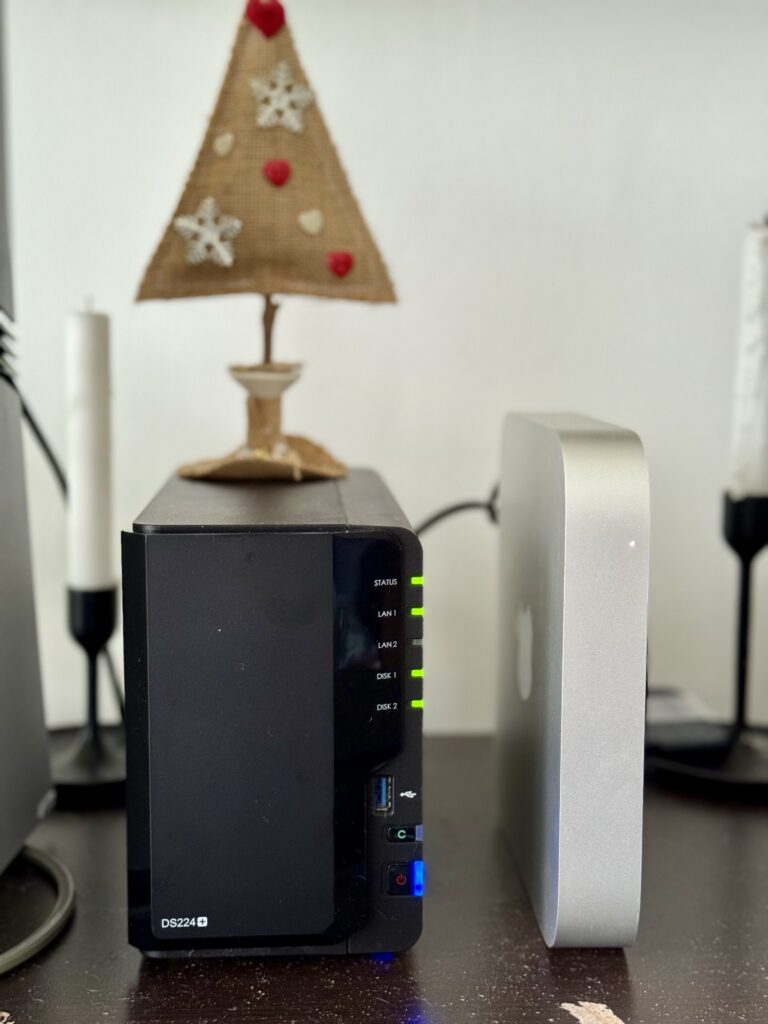
I had been using my Synology NAS for a few months now. However, as I started to do more and more with it, its inherent lack of processing power started to irk me. The CPU was too slow, the RAM too limited. More than that, its ugliness on my living room shelf disgusted me. Eventually, I decided to replace it with a Mac Mini.
Synology DS224+ next to my Mac Mini
Since I was anyways using the NAS more as a computer than for storage (a measly few hundred GBs), the choice was not difficult. I got a good deal on a used Mac Mini M2 Pro and went about migrating my data and services from the Synology.
Remote Access
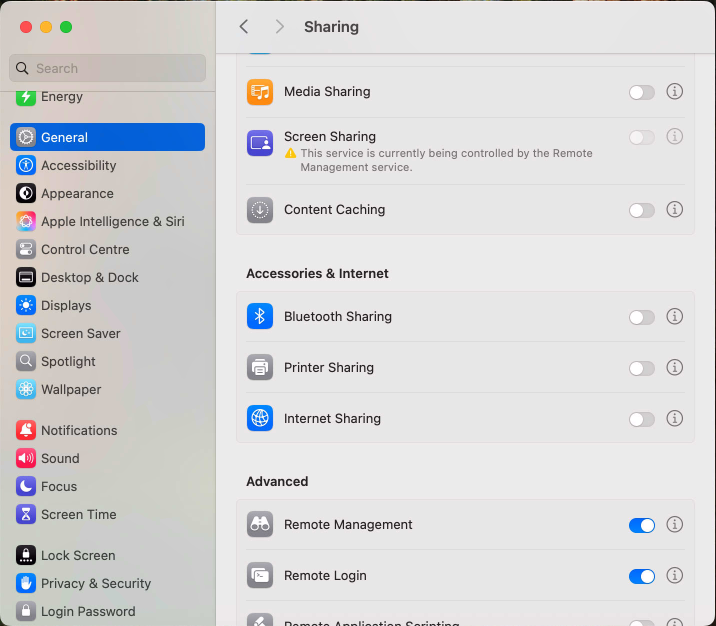
Since I planned to use the Mac Mini as a headless server, the first thing I needed to do during setup was enable remote access. I used my TV as the initial display. Luckily, macOS has built-in VNC & SSH servers and enabling them was as simple as checking a few boxes.
Remote Management and Remote Login, macOS
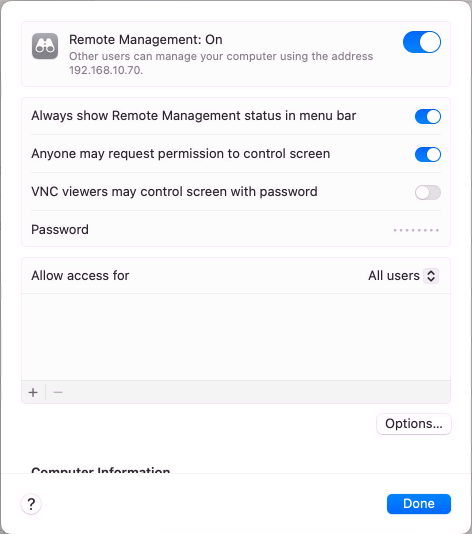
Remote Management, macOS
With an Apple only environment, you can have better security by
Selecting the “Remote Management”, not the “Screen Sharing” option
Not selecting the “VNC viewers may control screen with password”
Using VNC over SSH when connecting with clients over the internet
The above will break compatibility with most commercial VNC applications. I like Screens 5 & Termius for VNC and SSH respectively. Both apps are paid, but quite powerful.
After verifying that remote access was working, I disconnected the TV, keyboard and mouse for good & haven’t needed them since.
Docker & Threadfin
The service I was most worried about was Threadfin, because it is not natively supported on the Mac and I need to run it within docker.
Thankfully, docker desktop works quite seamlessly on the Mac and the settings & environment variables look similar to container manager on Synology. My only problem was, I couldn’t get the container to auto-start after reboots, using environment variables in the GUI. Eventually, I could get it to work via the terminal
docker update --restart always <container_id>
Once it worked, I could clearly see the performance difference. While on Synology, the container took approx 2-3 mins from start to being usable, on the Mac, it takes less than 10 seconds.
PS: You can’t fetch new images from docker’s repository till you click on the verification link sent via email, if you have created a new account.
CloudflareTunnel
Cloudflare tunnel is installed via homebrew. It is as simple as copy/pasting a few commands via Terminal. Since the configuration of the tunnel is handled from the Cloudflare dashboard, there are no further steps required on the Mac itself.
Bonus feature, Cloudflare also allows you to setup VNC & SSH connections to your device, exposing a web interface to any browser you want to use it with. Over the same tunnel.
Plex & Homebridge
Plex is supported natively on the Mac and installing it is as easy as mounting the disk image. It detected Threadfin as a DVR fairly easily.
At first, Plex refused to detect media content from my external SSD, which was an APFS encrypted volume. However, after erasing it and setting it up as un-encrypted, it was detected fairly quickly. Funnily, once I encrypted it again, it continued to work, so I am not sure what the original problem was.
Homebridge is also natively supported on the mac and is installable via homebrew. Thankfully it comes with backup/restore functionality out-of-the-box, which worked seamlessly. Just had to keep in mind 2 things:
The plugins are not backed up and restored, so these need to be installed on the new machine manually before restoring the backup
I had to delete the bridge from my home app and add it again for my device status to work properly.
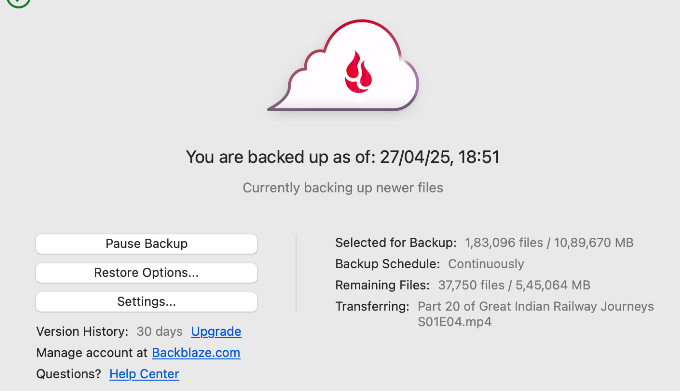
Backblaze Backup
Unlike my NAS, there’s no disk redundancy on the mac, so I chose to subscribe for Backblaze’s backup service. It is quite cheap, allows unlimited storage and if you need, they can even send you a USB drive to restore your content from.
Backblaze backup on macOS
It took around 2 days for the client to upload all my data in auto-throttled mode.
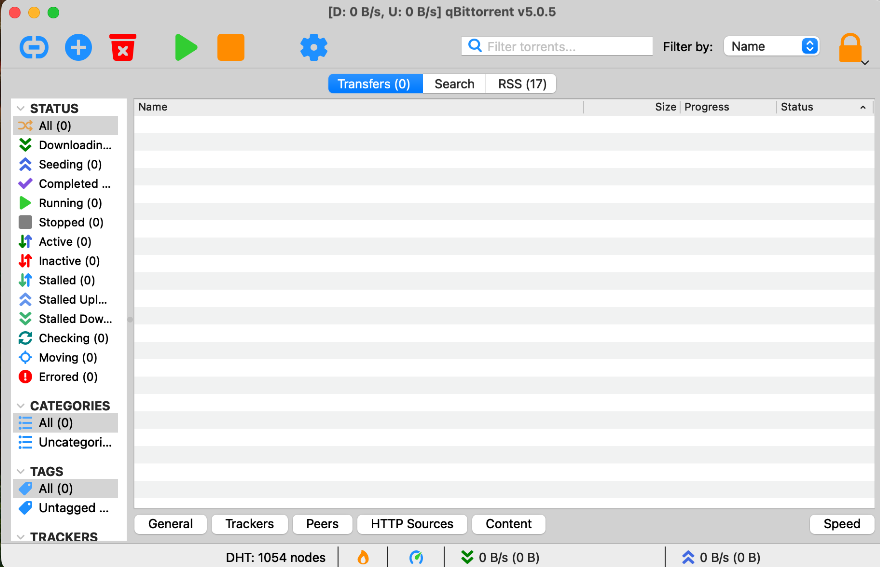
qBittorrent
For macOS, most people recommend Transmission to download torrents and the app itself is rock-solid, however, it is lacking support for RSS feeds. One can use add-ons like flexget to enable this, but I couldn’t get it to work.
Eventually, I settled for qBittorrent, which, although dated, has all the necessary features and works quite well. Its web UI is near-unusable on mobile phones, though and I couldn’t find a client on the App Store which works well, yet.
qBittorrent v5.0.5 on macOS
Resource & Environmental monitoring
I use TG Pro to monitor environmental parameters like temperature, fan speeds. It is a paid app, but is quite cheap and requires a one-time-payment only.
I use stats to monitor the CPU, GPU, Memory and bandwidth utilisation on the Mac. It is open-source and installable via homebrew.
Stats & TG Pro on Mac Menu bar
Summary
Overall, what I miss most from my Synology is its easy-to-use web interface and cloud connectivity features, which worked seamlessly. Even after a lot of effort, I cannot achieve the same level of integration on the mac, as all the services are from separate providers & lack cohesion.
However, the sheer computing power and the lack of physical ugliness more than makes up for it.