I recently did some pretty complicated configurations on my Synology NAS & subsequently the Mac Mini & decided to make diagrams to document how things communicate with each other. The below sections describe the traffic flow for Homebridge & Plex on my home server.
Homebridge
The Homebridge traffic flow is relatively straight forward.
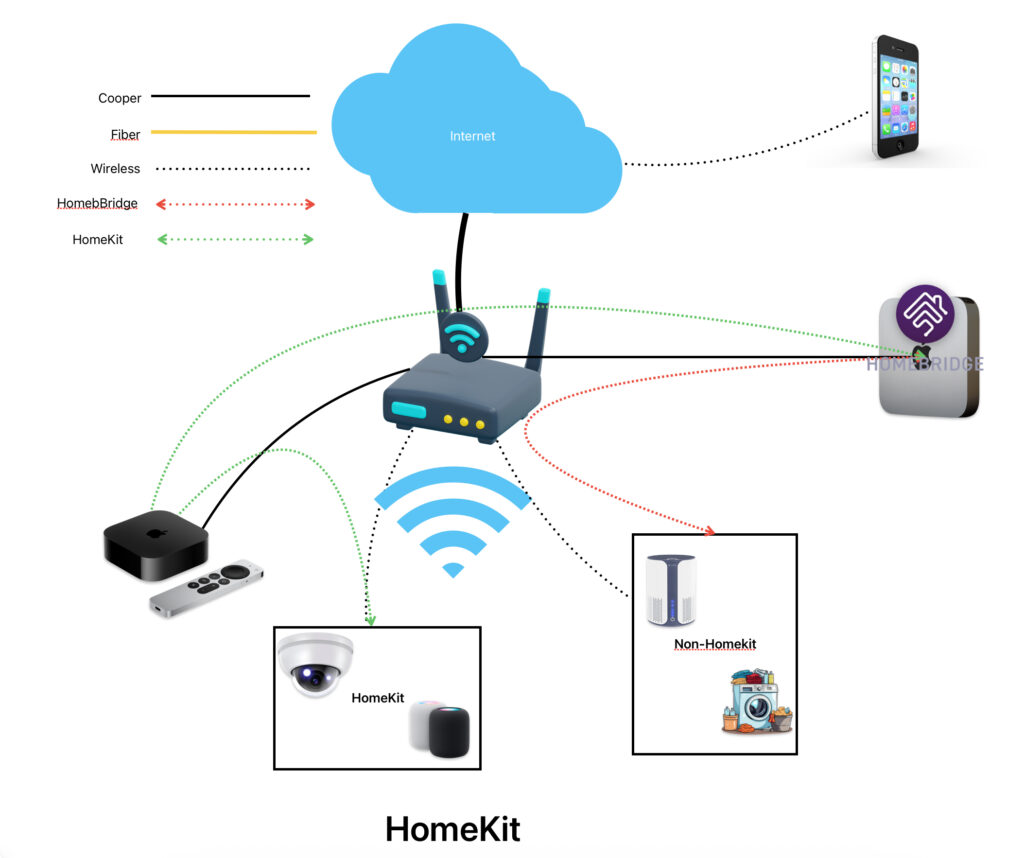
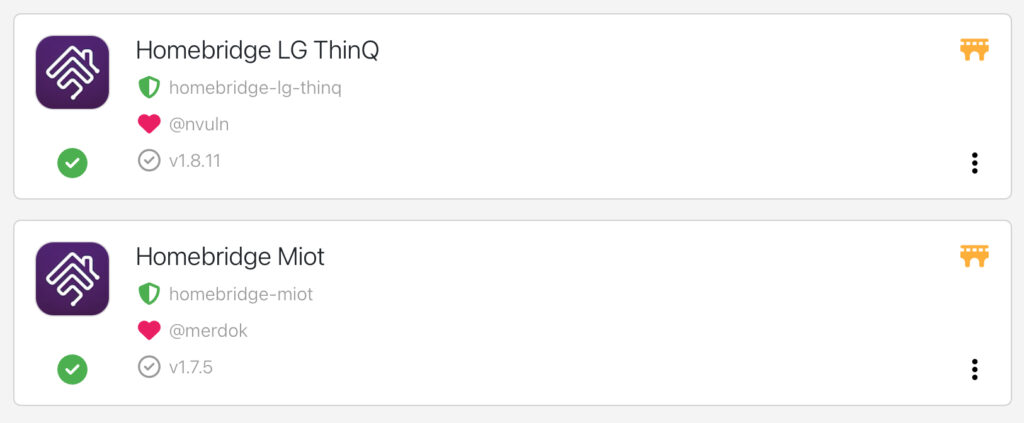
Homebridge acts as a bridge between IoT devices and Apple’s HomeKit. There are many 3rd party plugins for different types of devices. The plugins are searchable/downloadable from the app itself.
The traffic flow goes like:
- Homebridge polls your IoT devices regularly (depending on how the plugins are built) and gets status information, storing it in a local database
- Homebridge shows up as a HomeKit bridge to your HomeKit home hub and exposes all its connected accessories.
There’s a fair bit of mDNS involved for device discovery, so make sure your router allows Layer 2 multicast between the wired and wireless networks.
Plex
There are 2 use cases here, both a bit complicated
Plex Home Media Streaming

Plex Media Server is installed on my Mac Mini and can access all my media.
For devices on the local network, streaming is straight forward, the devices access Plex Media Server and stream the media.
For devices on the internet, I needed to setup a Cloudflare tunnel for remote access. This is because my ISP doesn’t provide a Public IP via which I can establish direct inbound access. Cloudflared establishes a tunnel outbound from my NAS to Cloudflare’s servers. Devices on the internet use DNS mapping on a domain name to locate the tunnel endpoint and stream media through it.
Plex IPTV Streaming
A few weeks ago, I figured out how to integrate my IPTV service with Plex. Now, Plex by itself doesn’t support IPTV services, but it does support TV tuners. That’s where Threadfin comes in.

So, there are 2 separate, independent traffic flows we need to consider.
IPTV Control Traffic
Before IPTV streaming can start, all the devices involved need to have the correct information. This is how it goes:
- Threadfin fetches the channel list from the IPTV provider using an authenticated .m3u playlist
- Threadfin fetches the programme guide from the IPTV provider using an authenticated .xml file
- Threadfin allows you to filter both the above to reduce the list of channels sent to Plex.
- Threadfin exposes itself as a TV tuner to Plex. Plex fetches the filtered list of channels and EPG information from Threadfin.
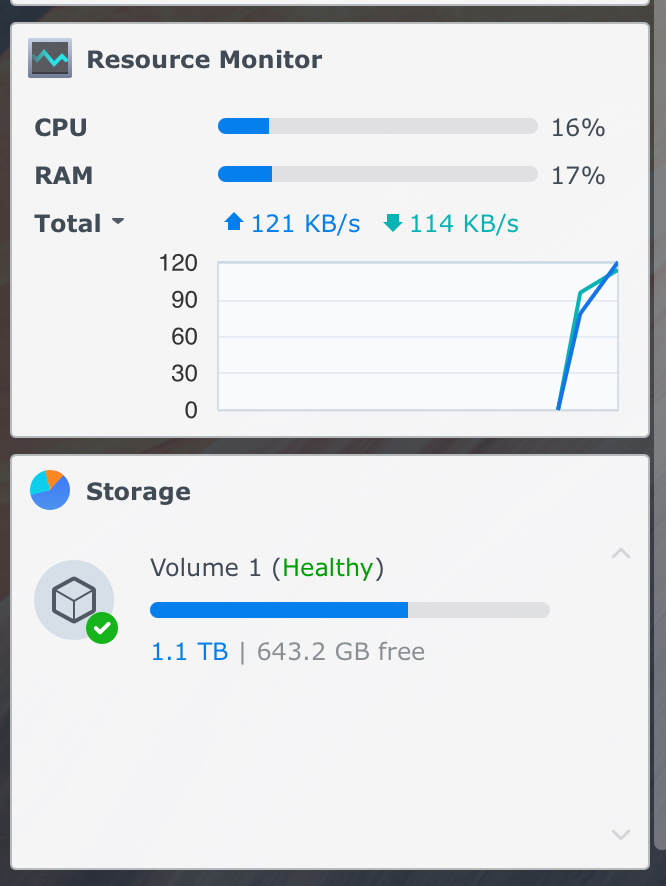
One quirk with Threadfin is that it stores the original playlist in its memory, so the container may use up a lot of RAM. My container was using 2.6GB RAM with 113k channels in the playlist. After I asked my IPTV provider to trim it, currently it is using 800MB with 37k channels.
IPTV Media streaming
Threadfin doesn’t participate in the actual media stream. When a channel is selected on Plex to be viewed, Threadfin provides Plex with the actual streaming URL.
Once Plex has the original URL, it starts fetching the stream directly from the IPTV server and provides it to all client devices, local or remote, using the same mechanism as media streaming.