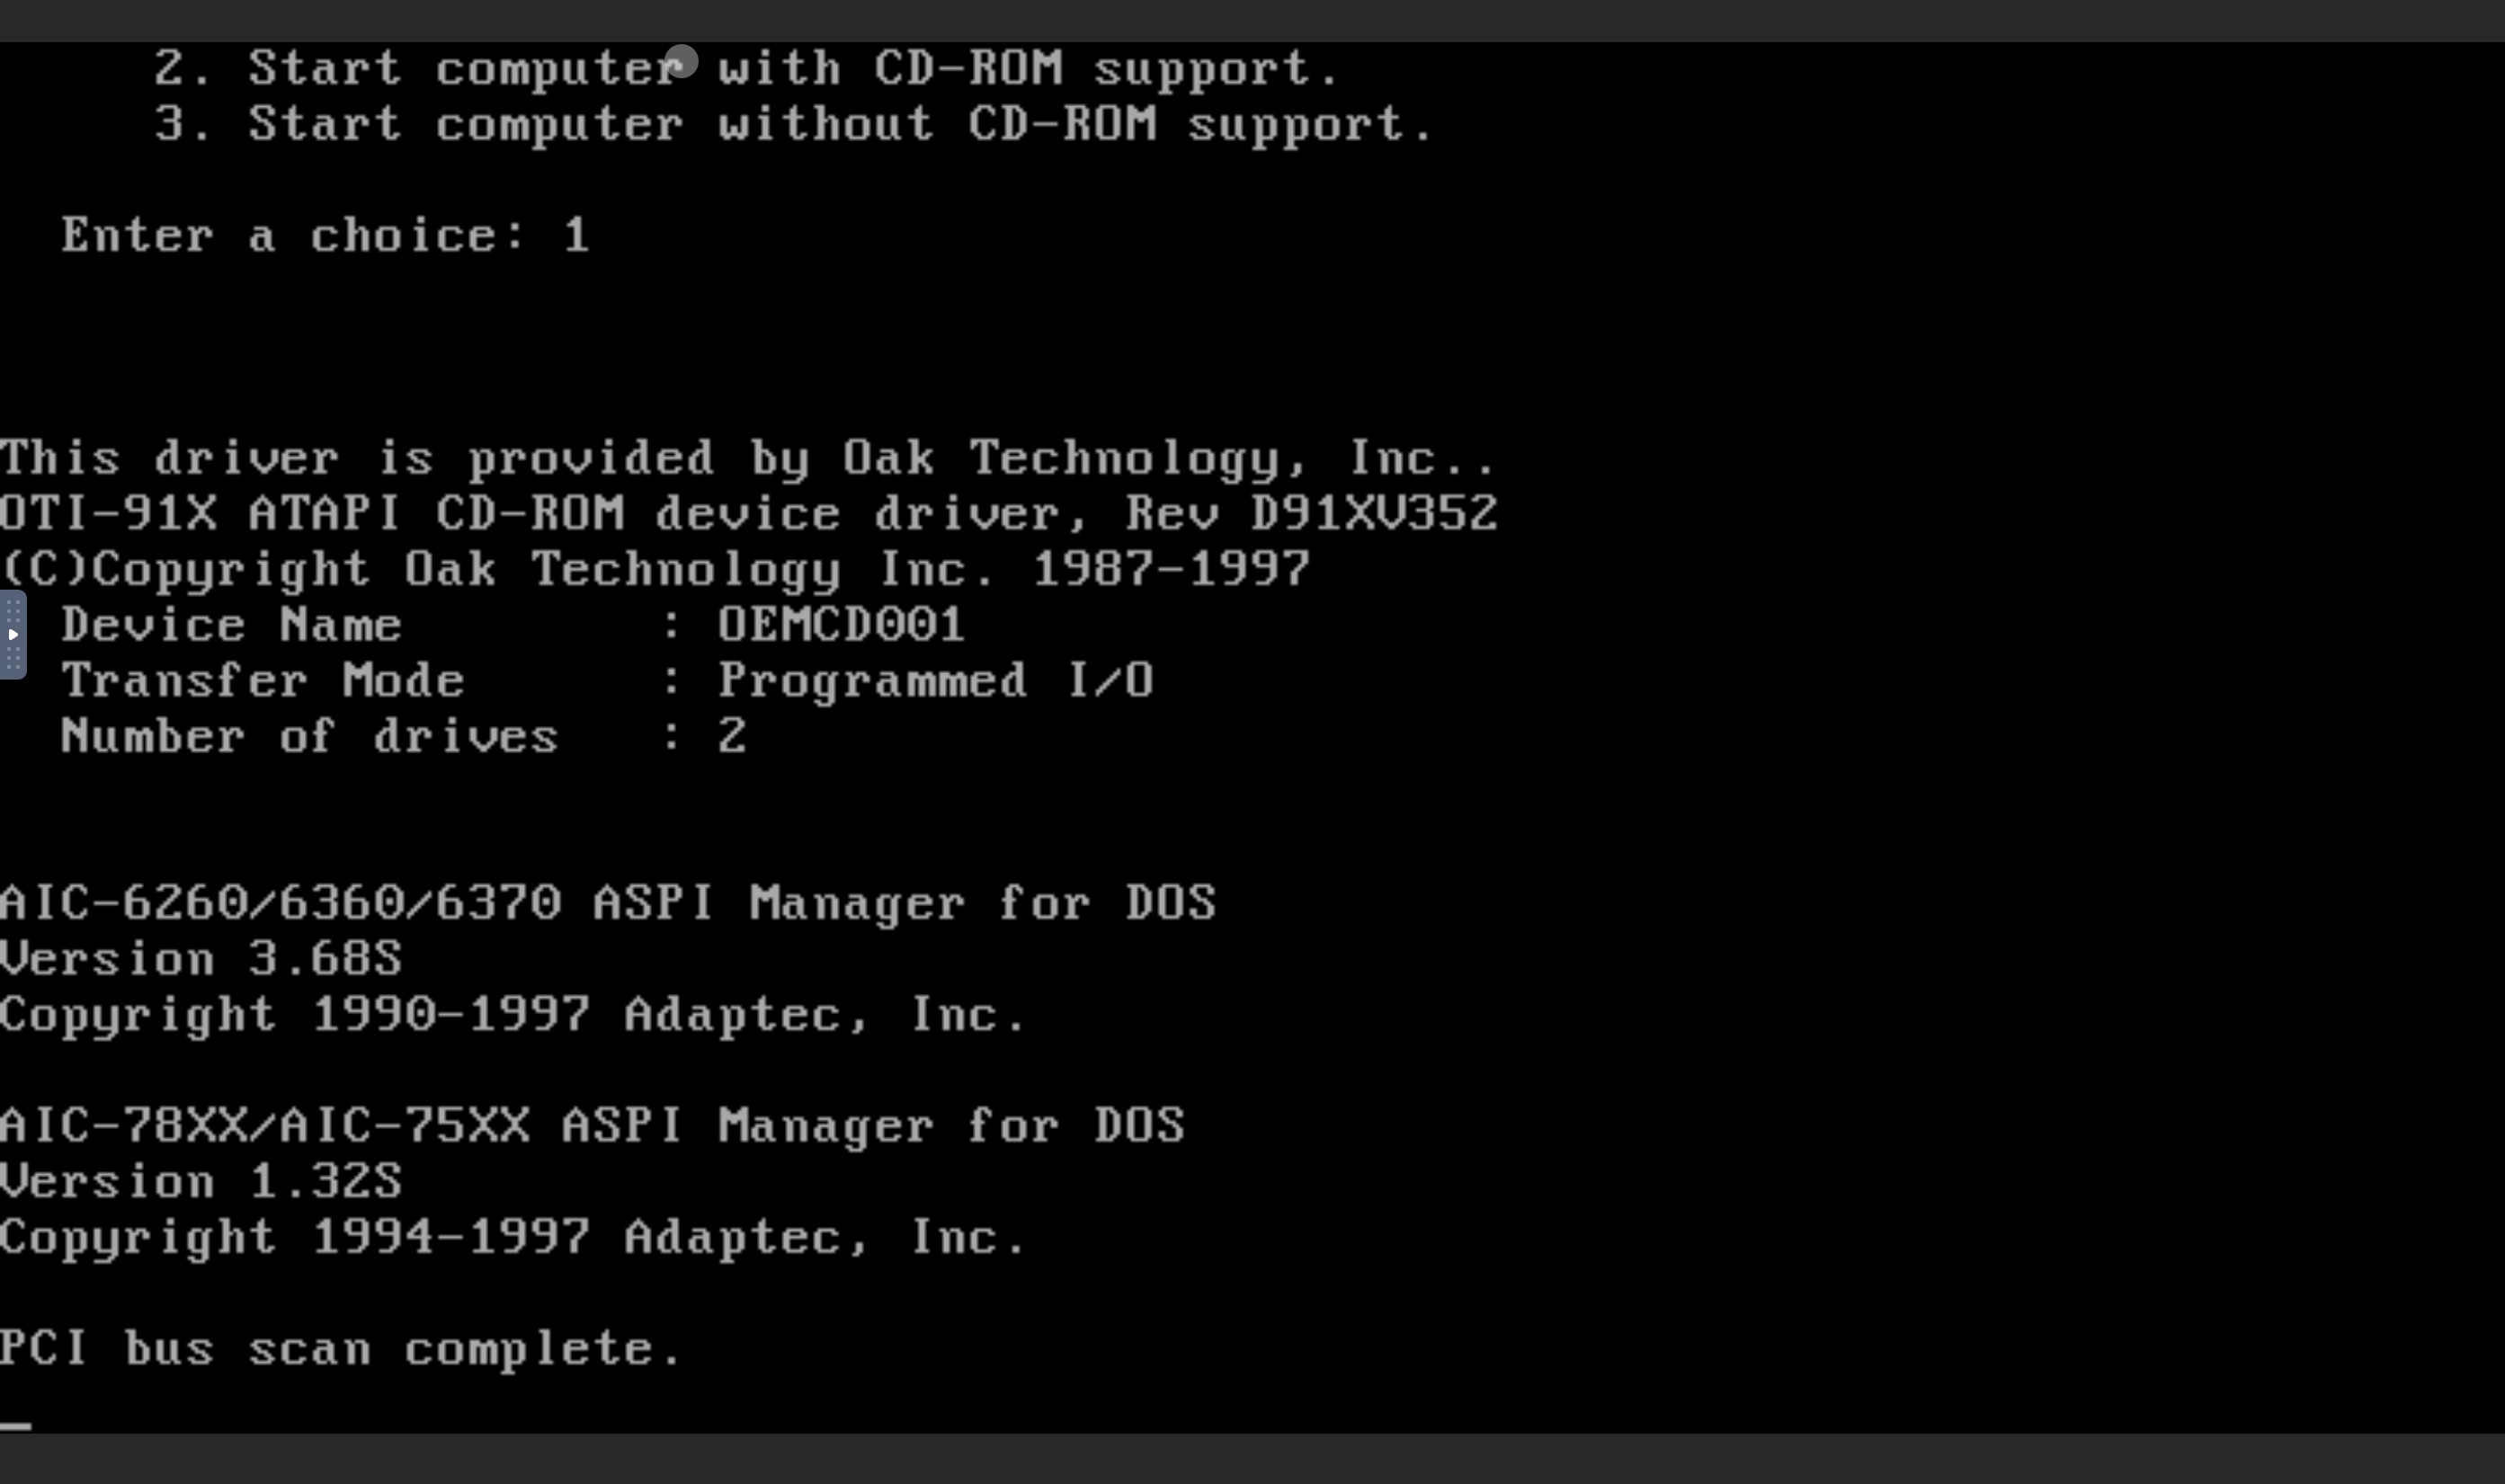
Windows ME was critically panned on release. It dropped many features from previous Windows versions, but did nothing to improve stability. I made an ISO from my old and scratched Windows ME disk, mounted it in Synology VMM and let it boot.
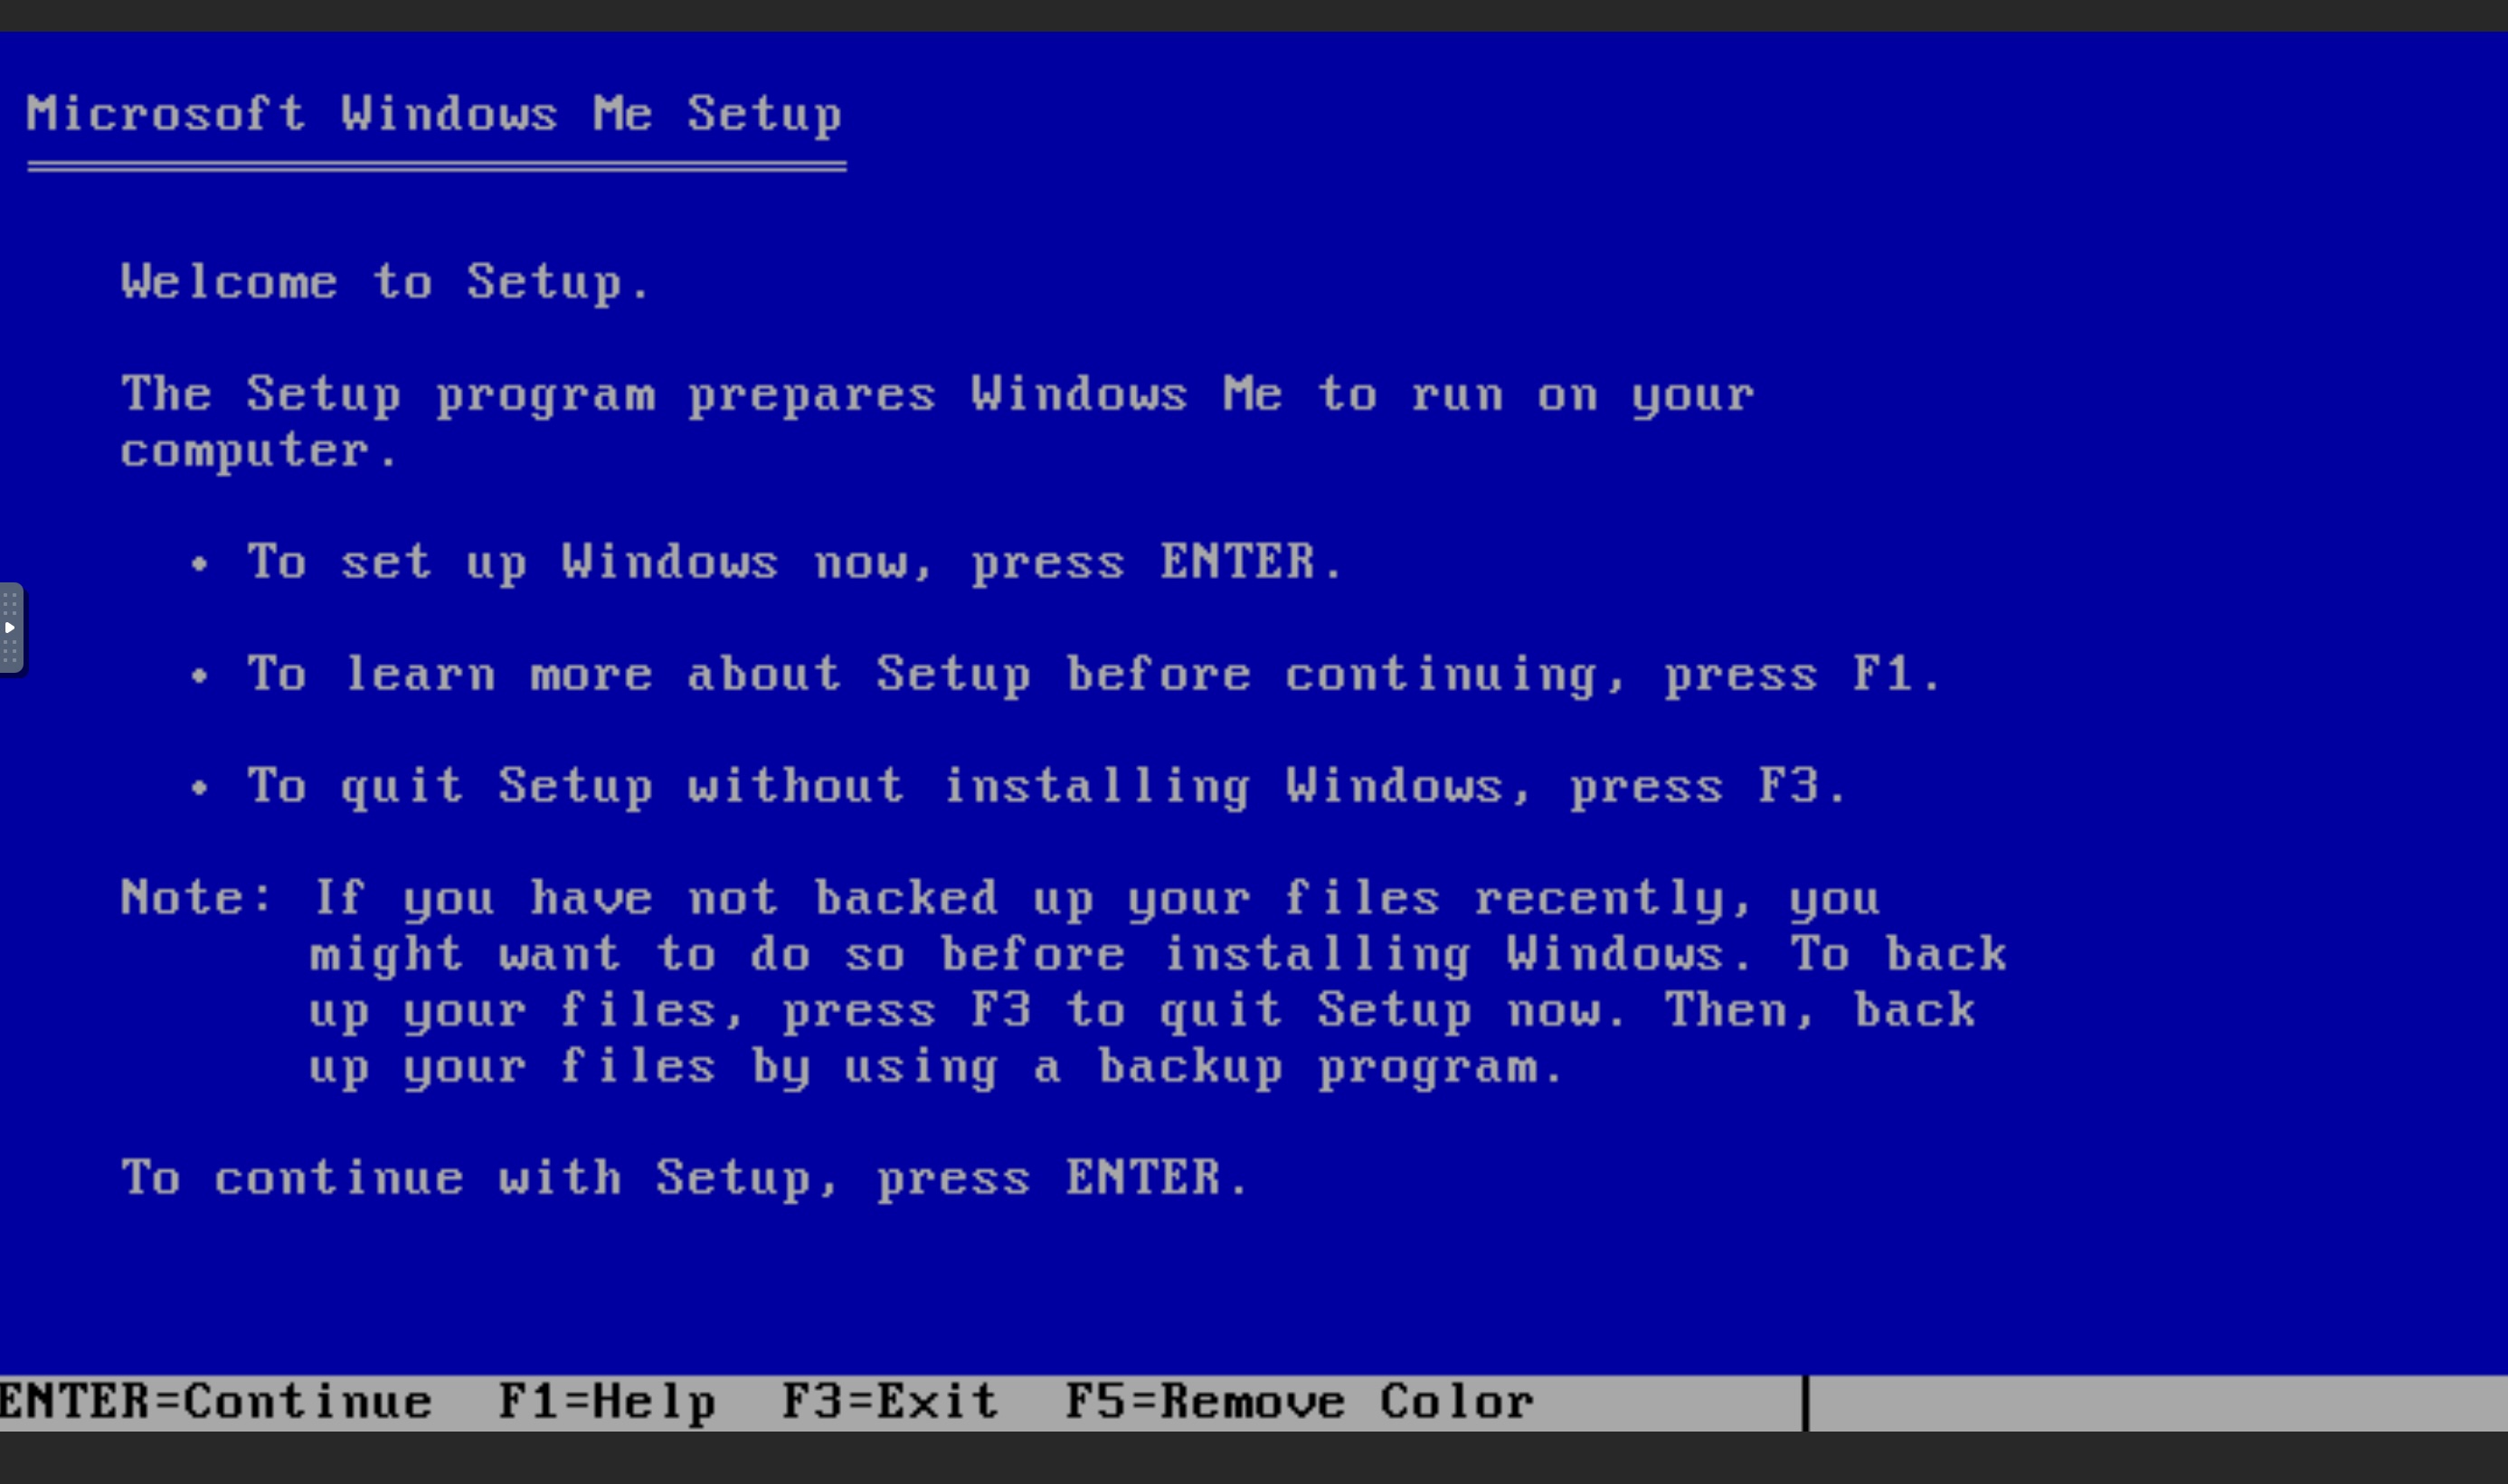
Start Windows Setup from CD-ROMStart Computer with CD ROM SupportMicrosoft Windows ME Setup
The boot screen sent me into throes of nostalgia. So did the next steps.
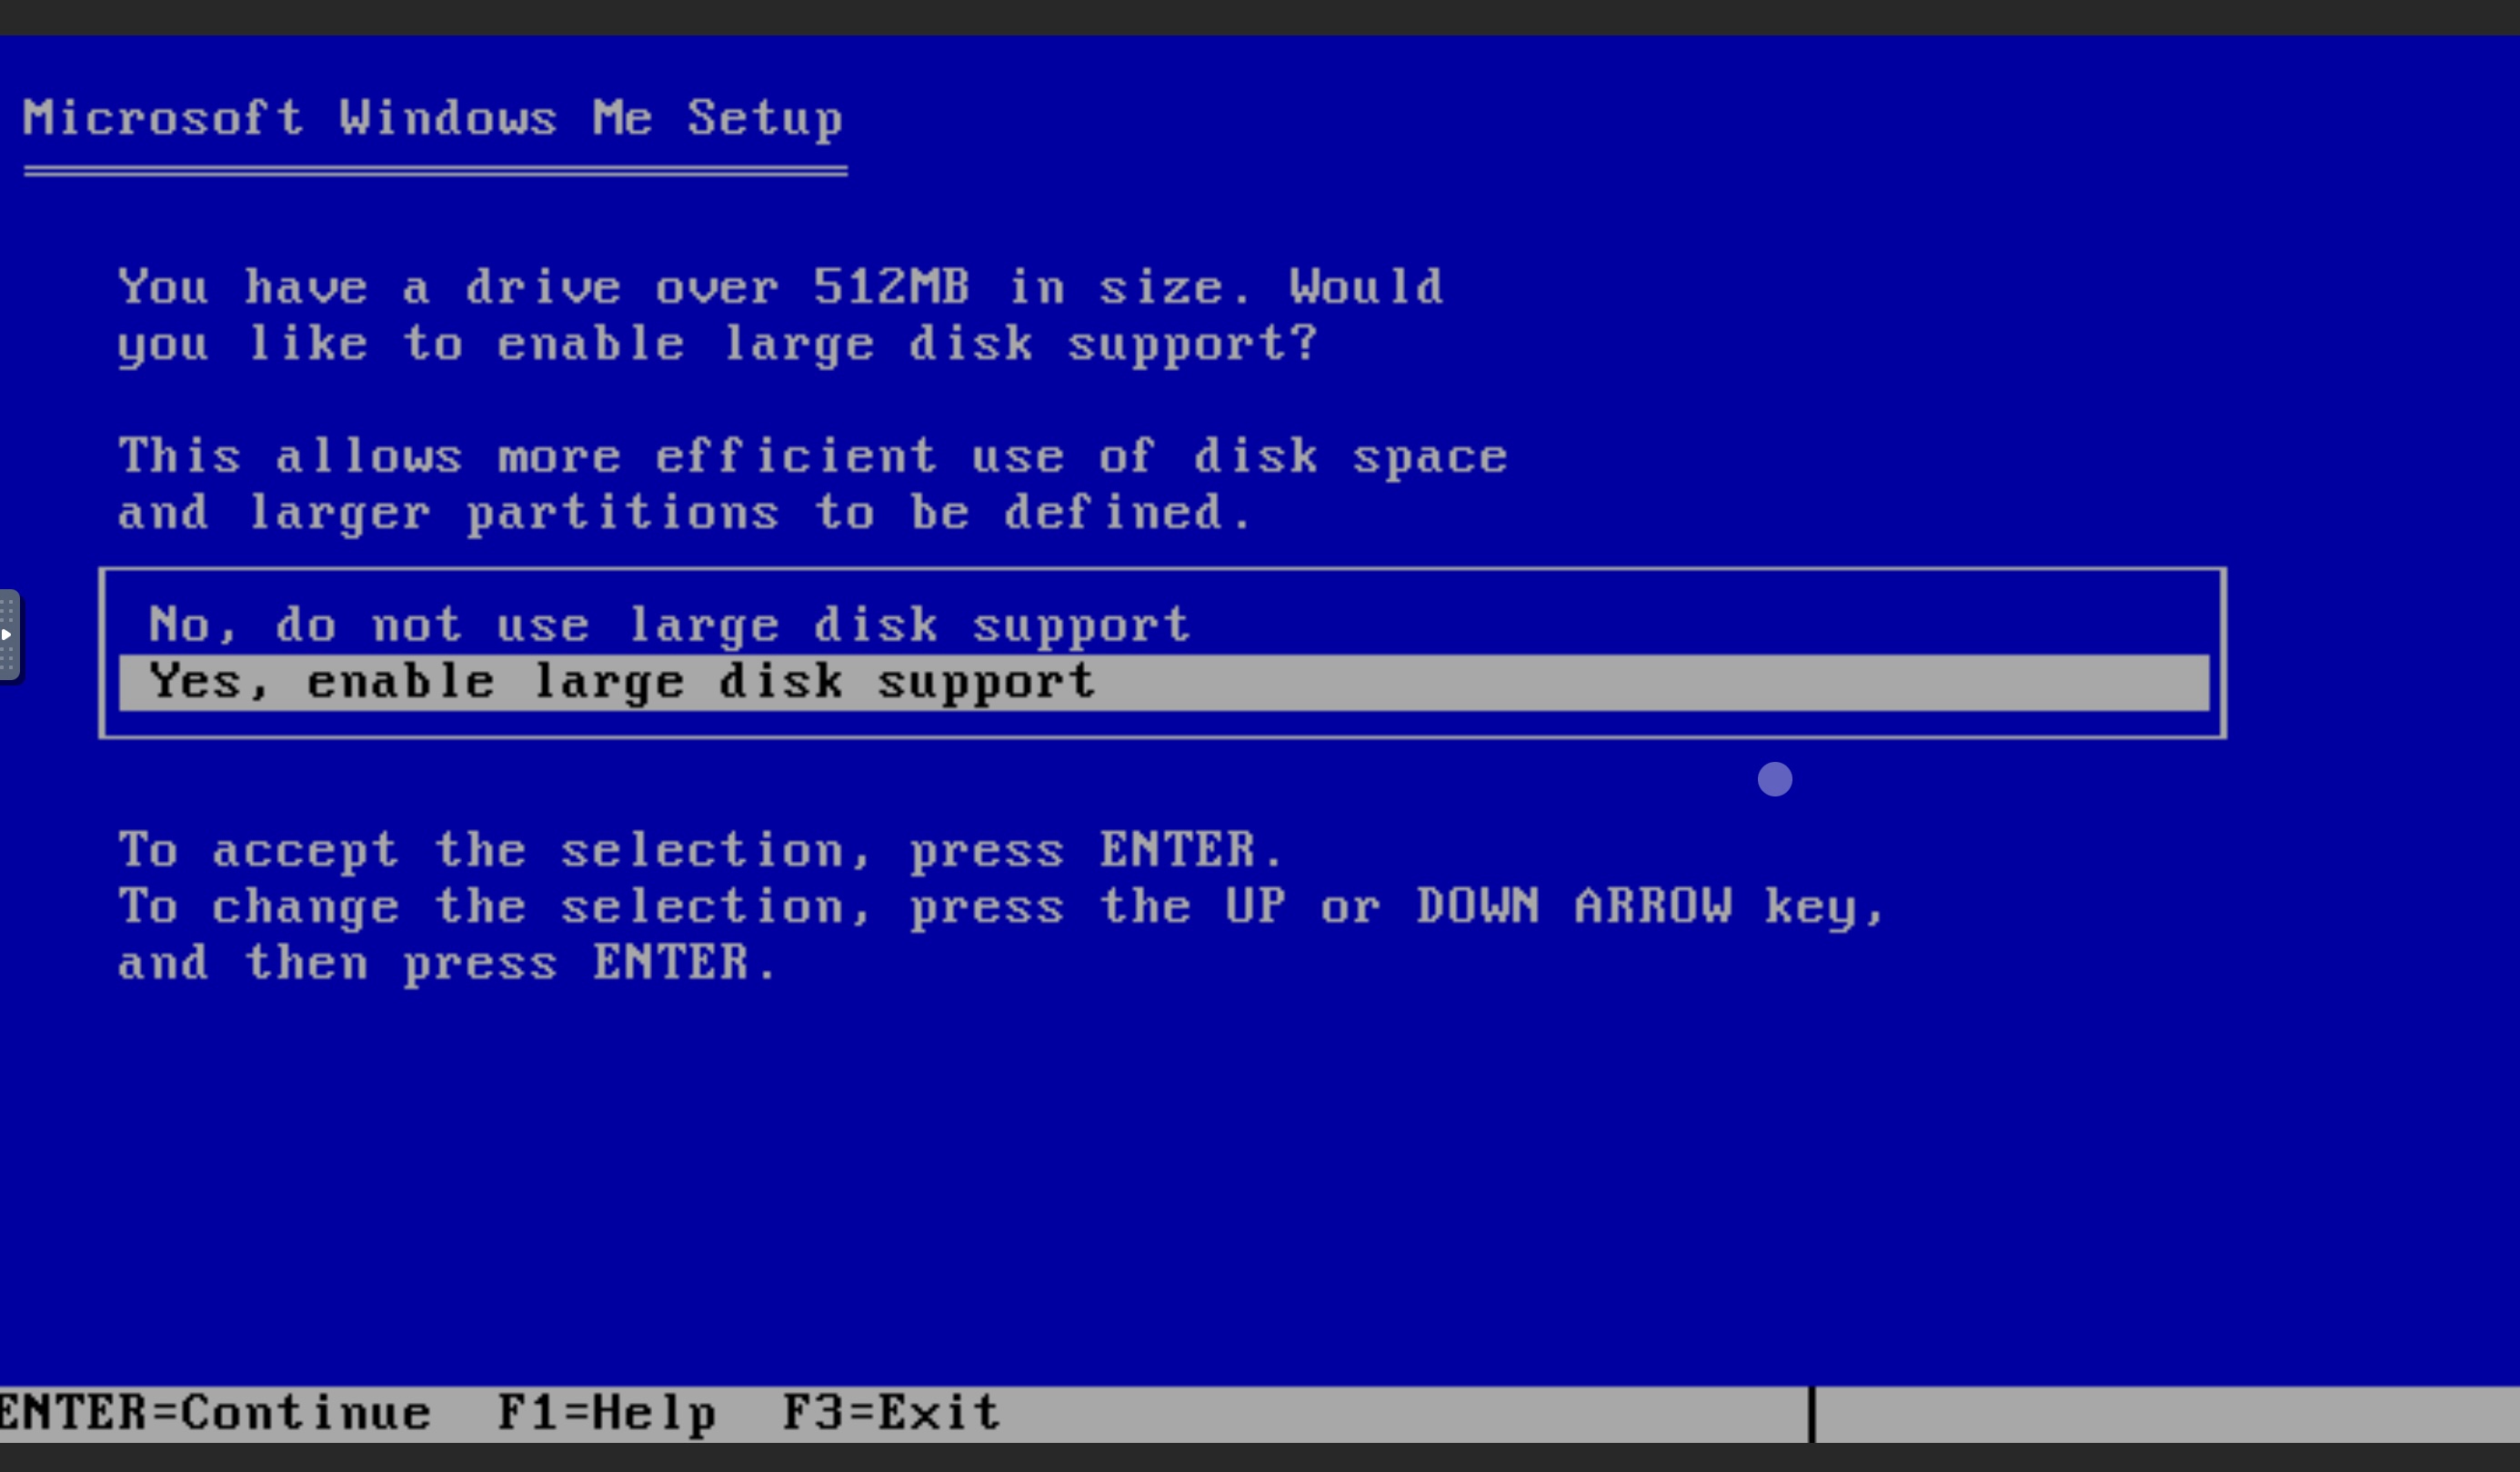
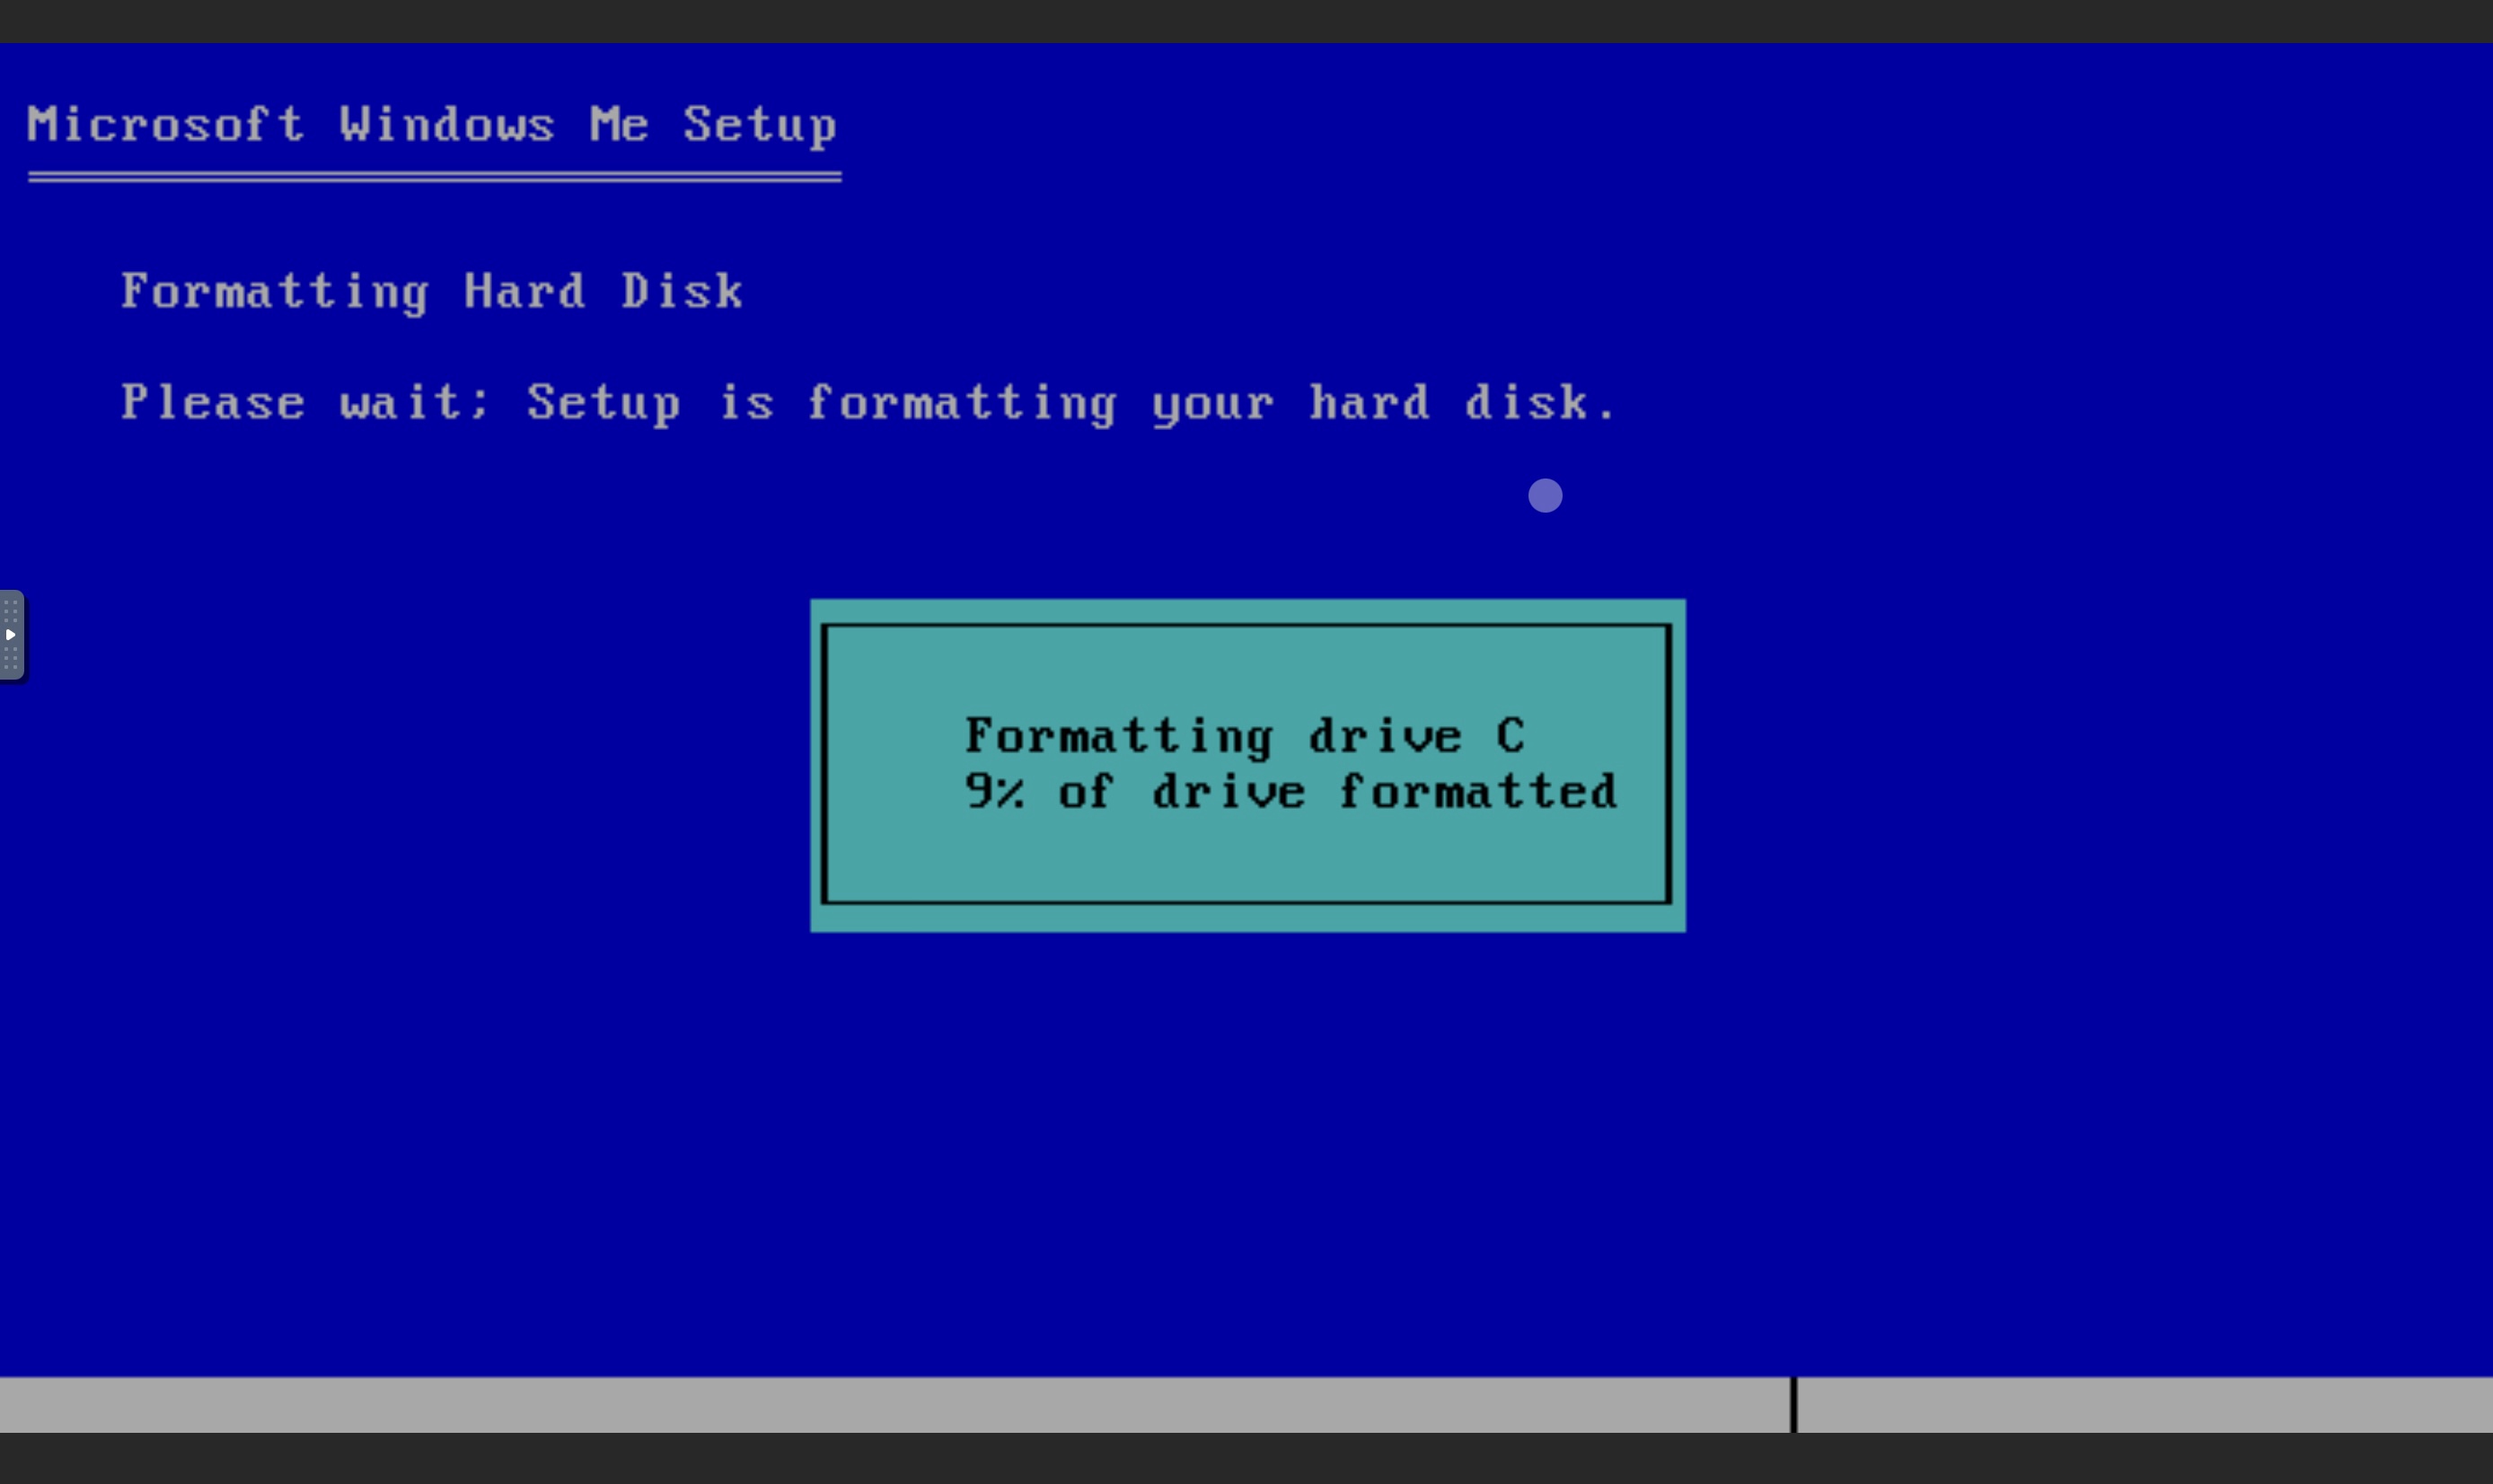
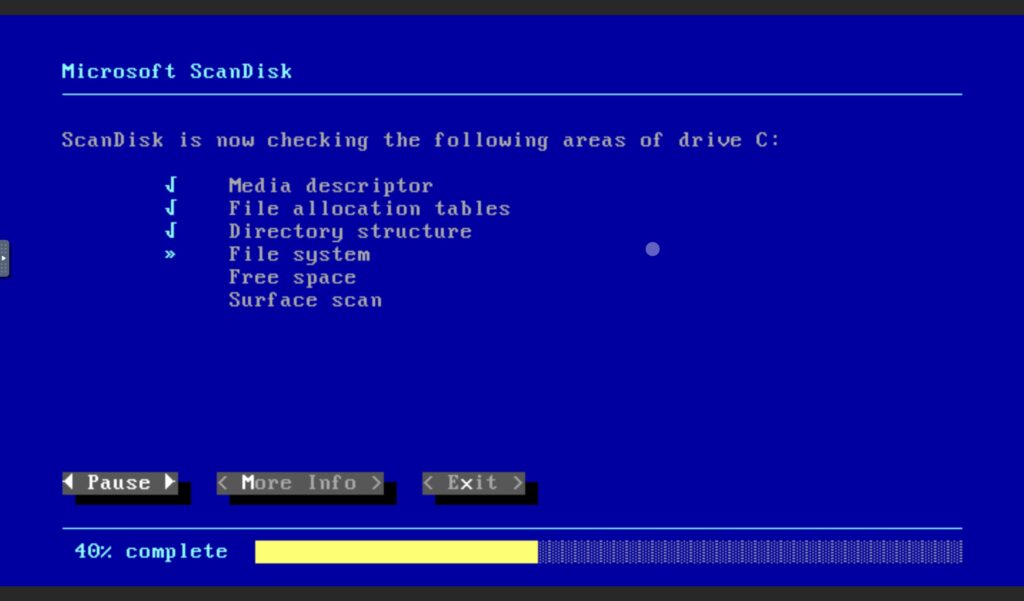
Windows Millenium Edition, enable Large Disk SupportFormatting Hard DiskWindows Millenium Edition, Microsoft ScanDisk, Checking File System
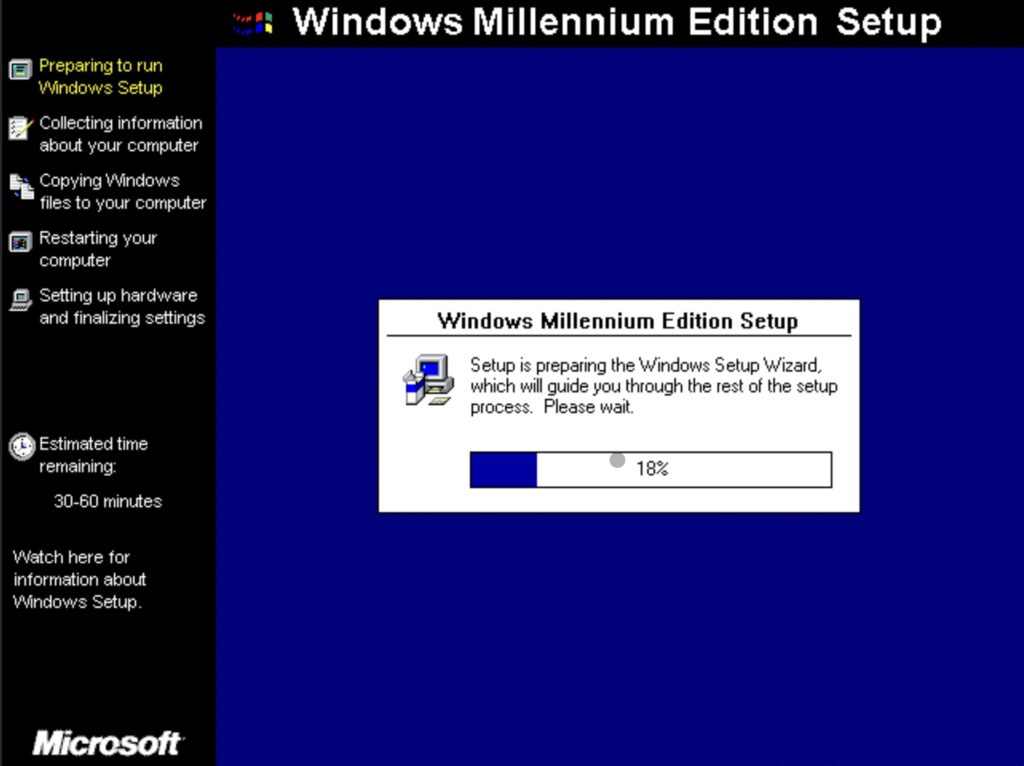
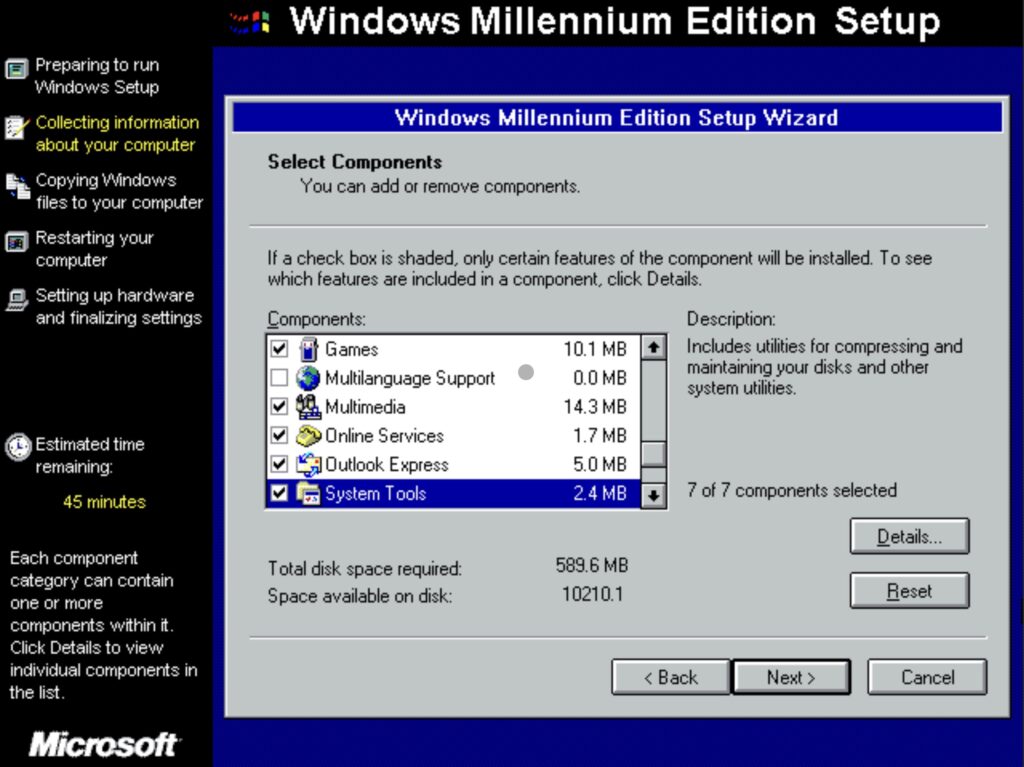
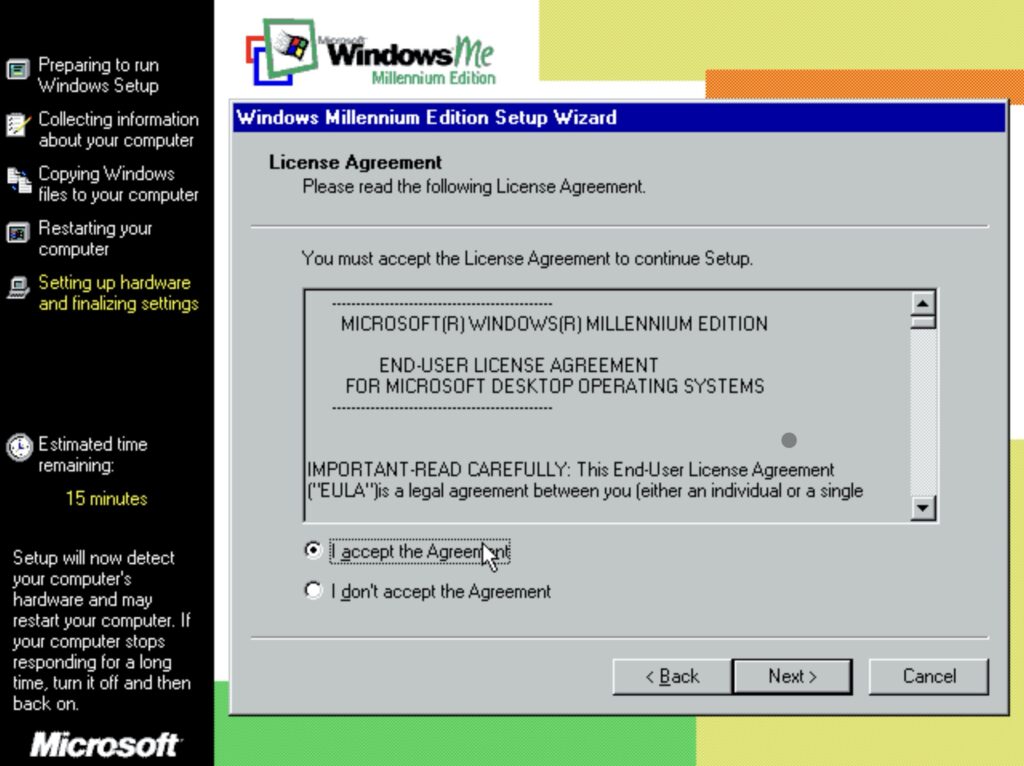
I could feel myself going crazy when the setup GUI came up; thankfully, the mouse & keyboard worked without any tinkering. The installation process and steps were quite similar to Windows 98.
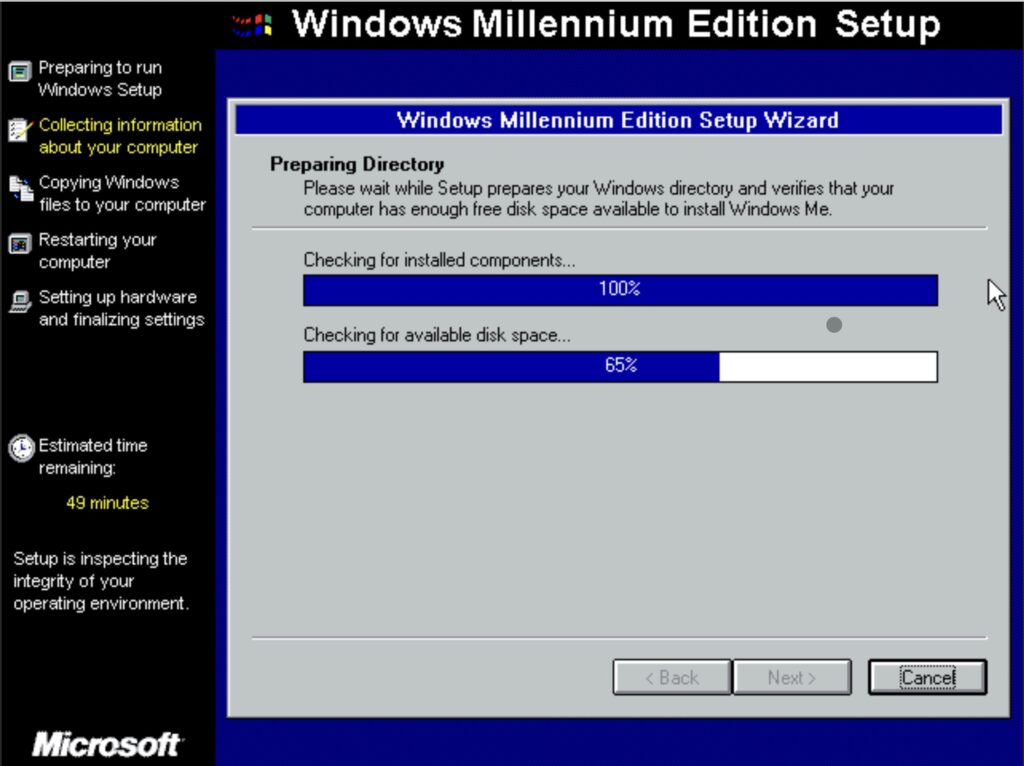
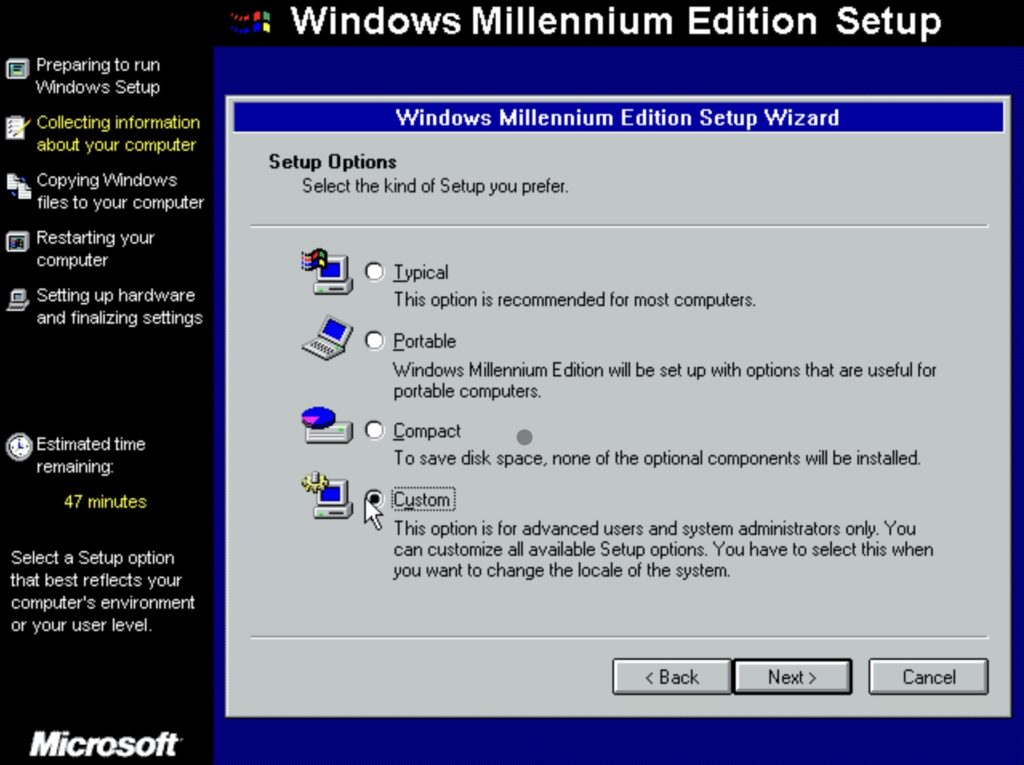
Windows Millenium Edition SetupTo begin Setup, click NextWindows Millenium Edition, Preparing DirectorySelect the kind of setup you preferWindows Millenium Edition, Select Components
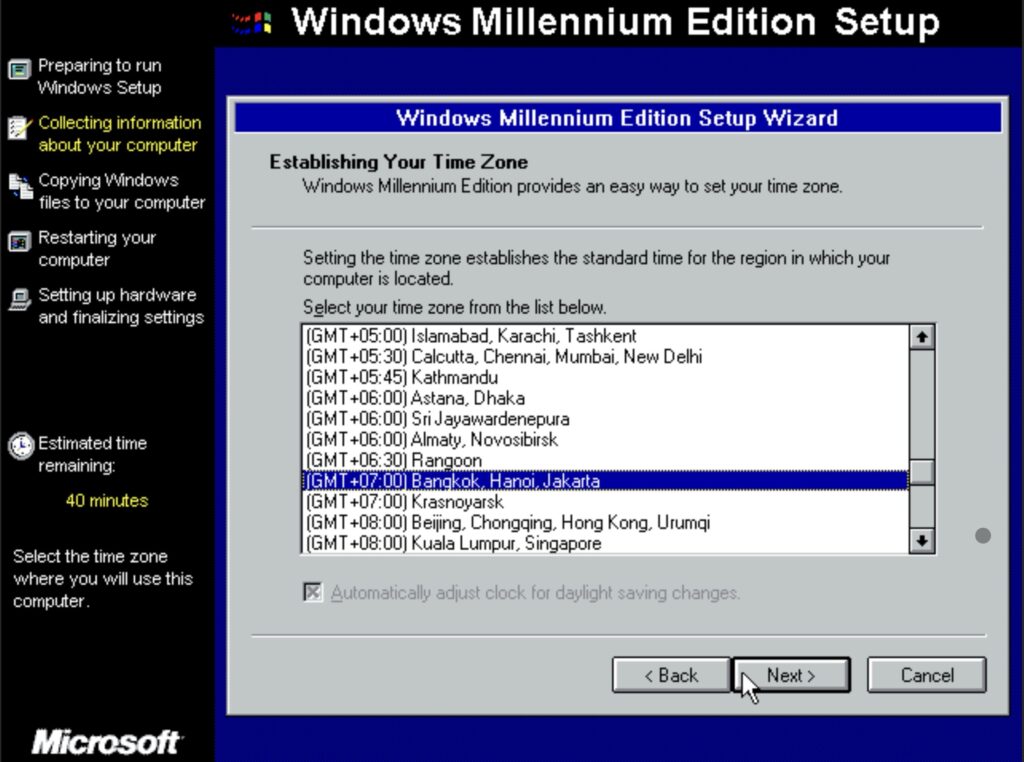
The whole process was much faster than Windows 98 SE, because VMs run natively on the Synology, which has official/proper Hypervisor support.
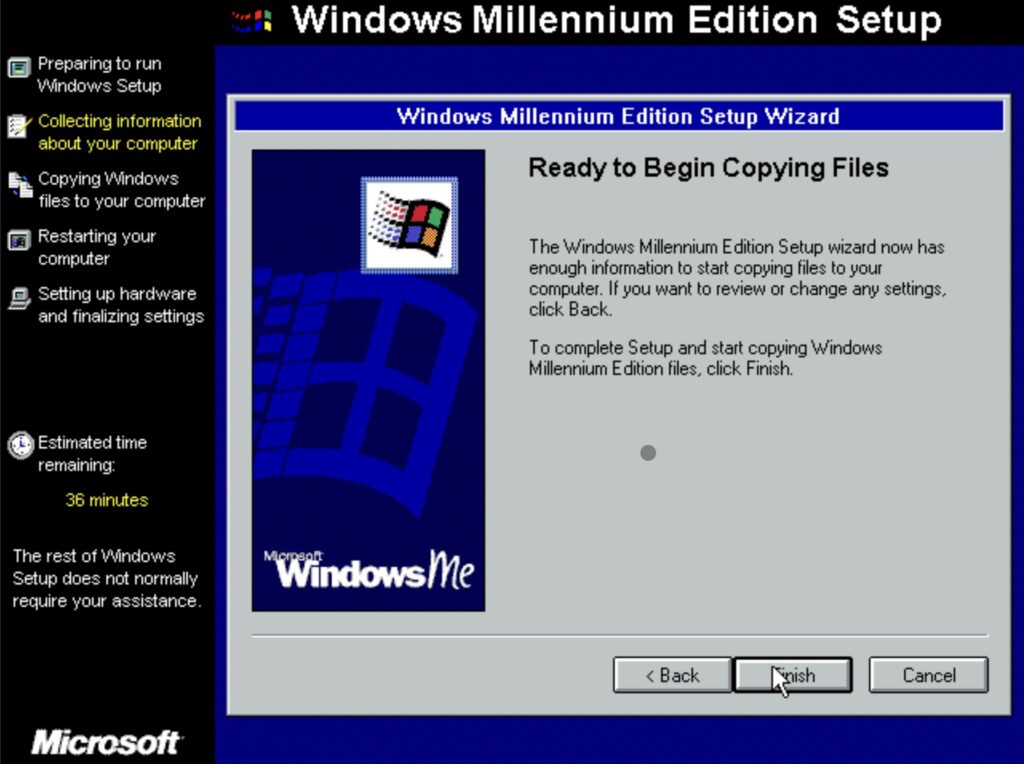
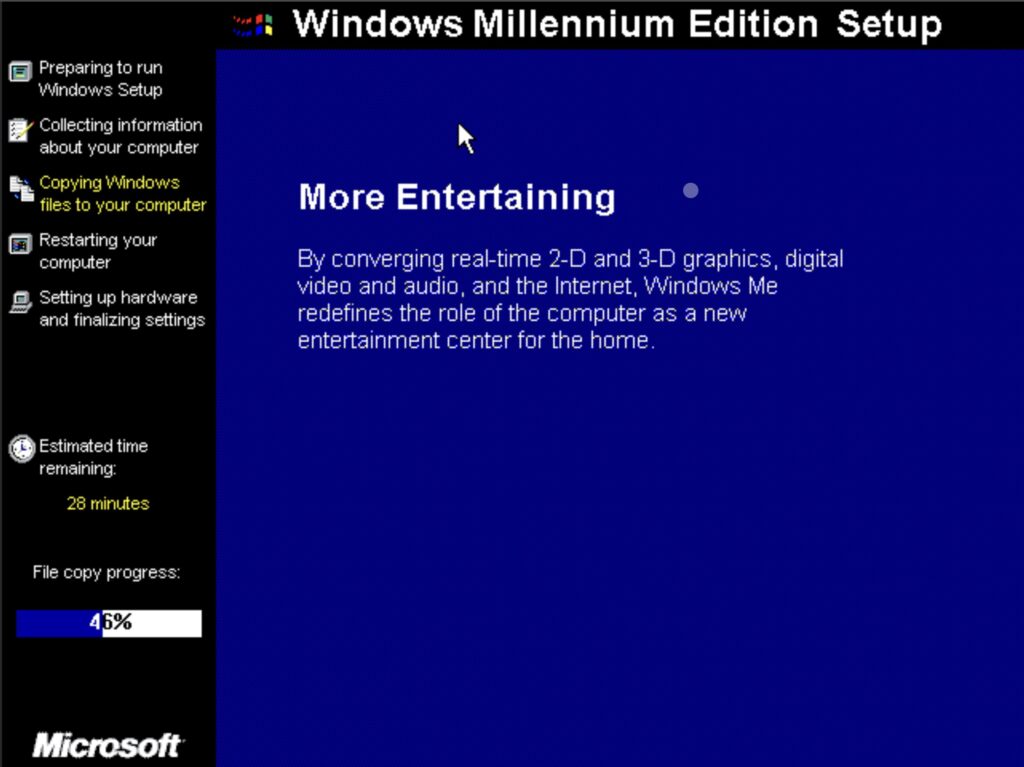
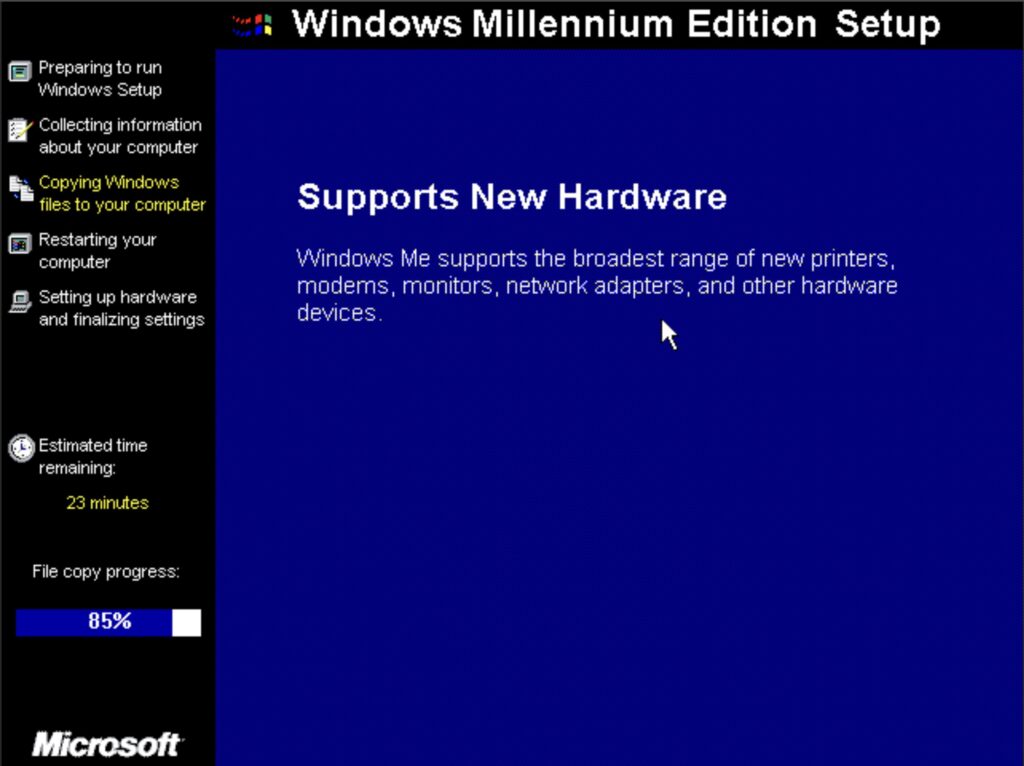
Windows ME, select Time ZoneReady to Begin Copying FilesWindows ME, Please sit back and relaxMore EntertainingWindows ME, Supports New HardwareThank you!
After the first reboot, I was presented with the famous “first time” Windows ME boot splash screen. Another huge dose of nostalgia.
Windows Millenium Edition Boot Screen
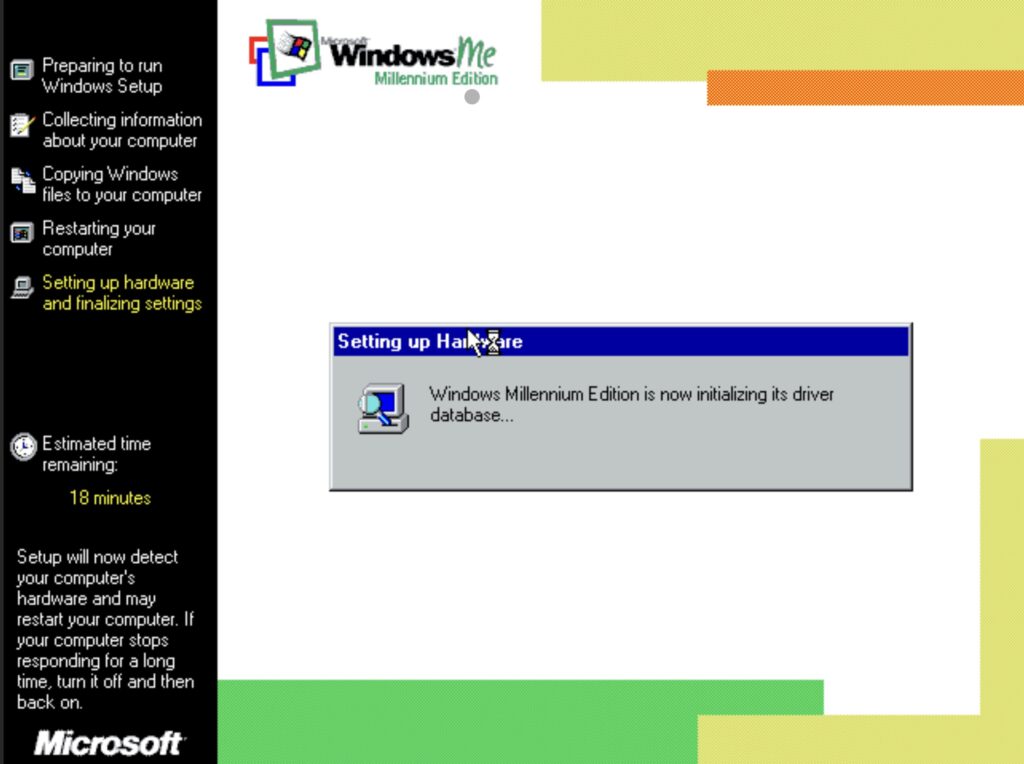
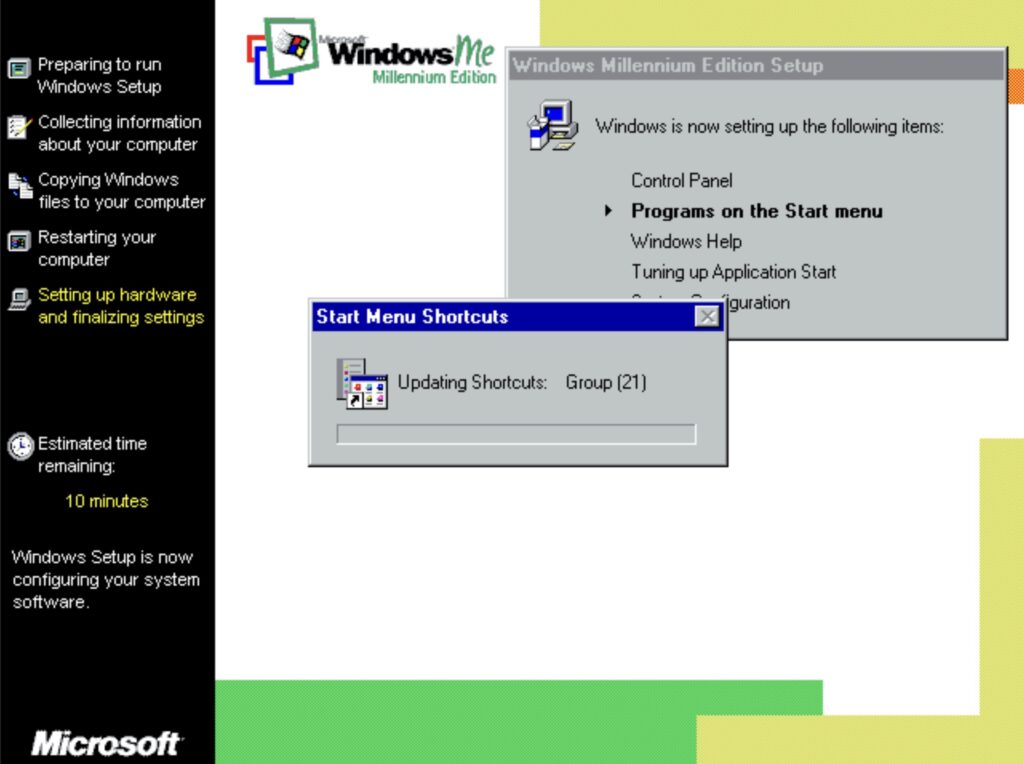
The second phase of setup has much different graphics compared to the first phase, a bit more bright & modern.
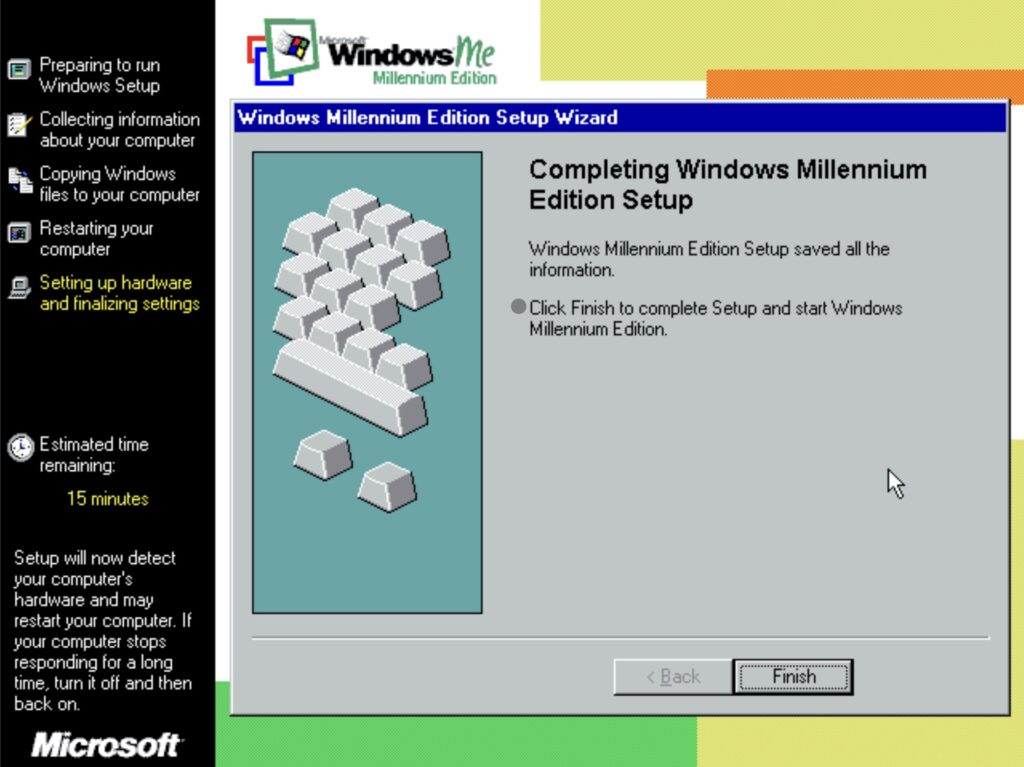
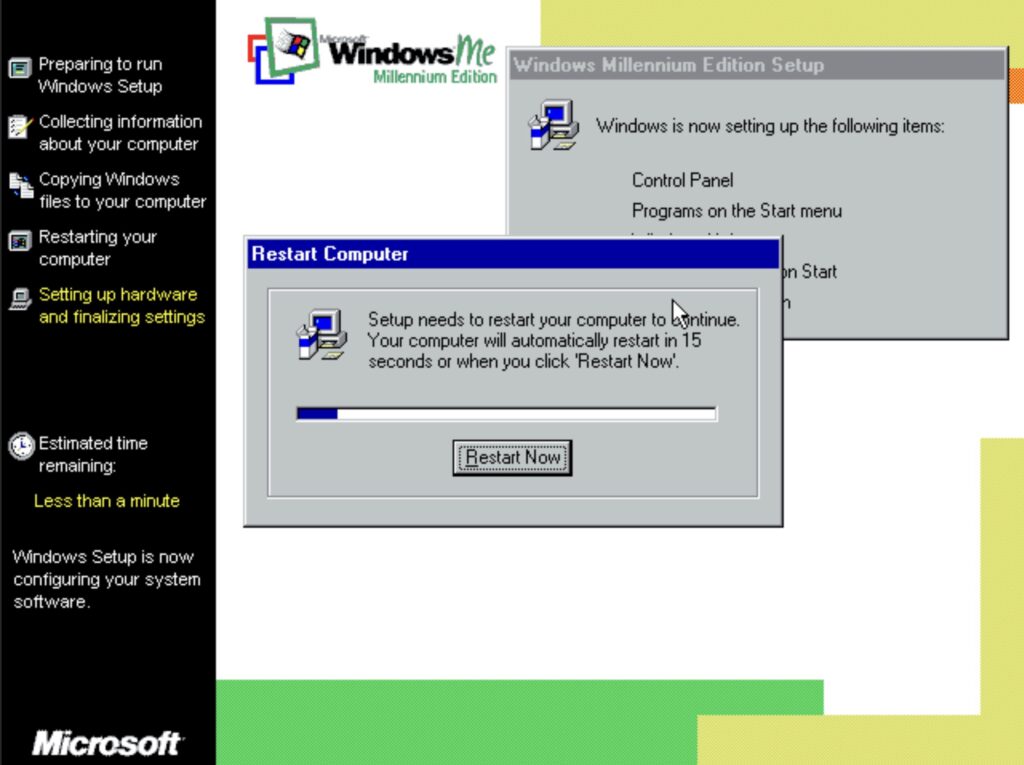
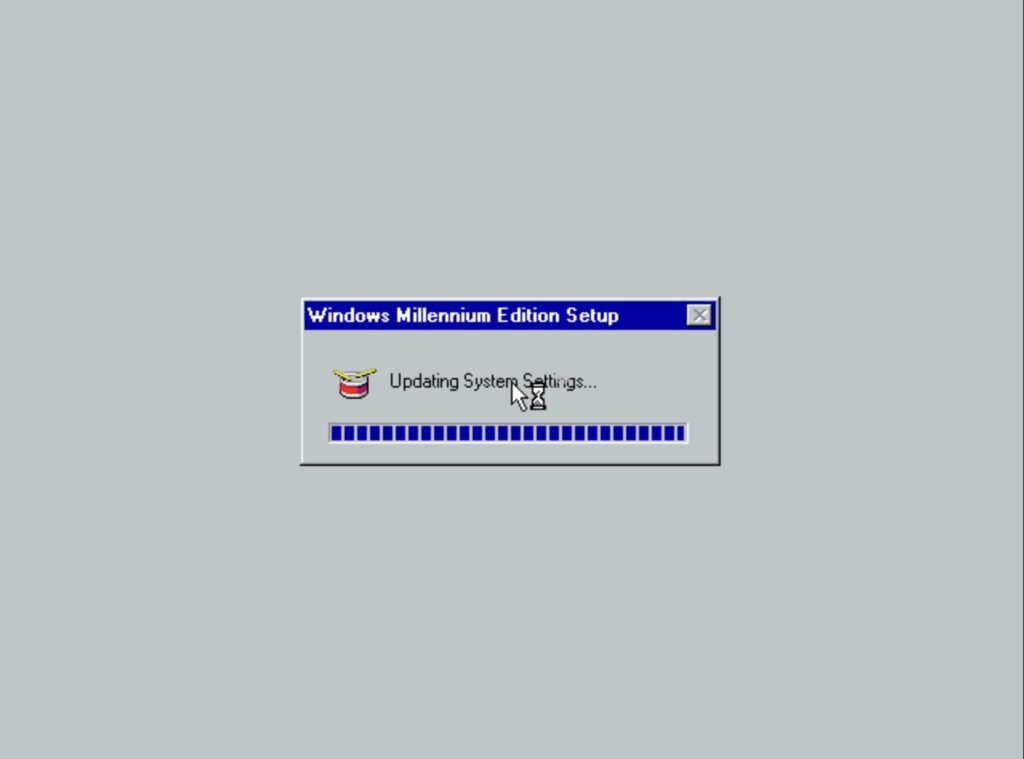
Windows ME is now initializing its driver databaseUser InformationWindows ME Setup, License AgreementClick Finish to complete SetupWindows ME Setup, Updating ShortcutsUpdating System SettingsWindows ME, Restart NowUpdating System Settings with drumroll
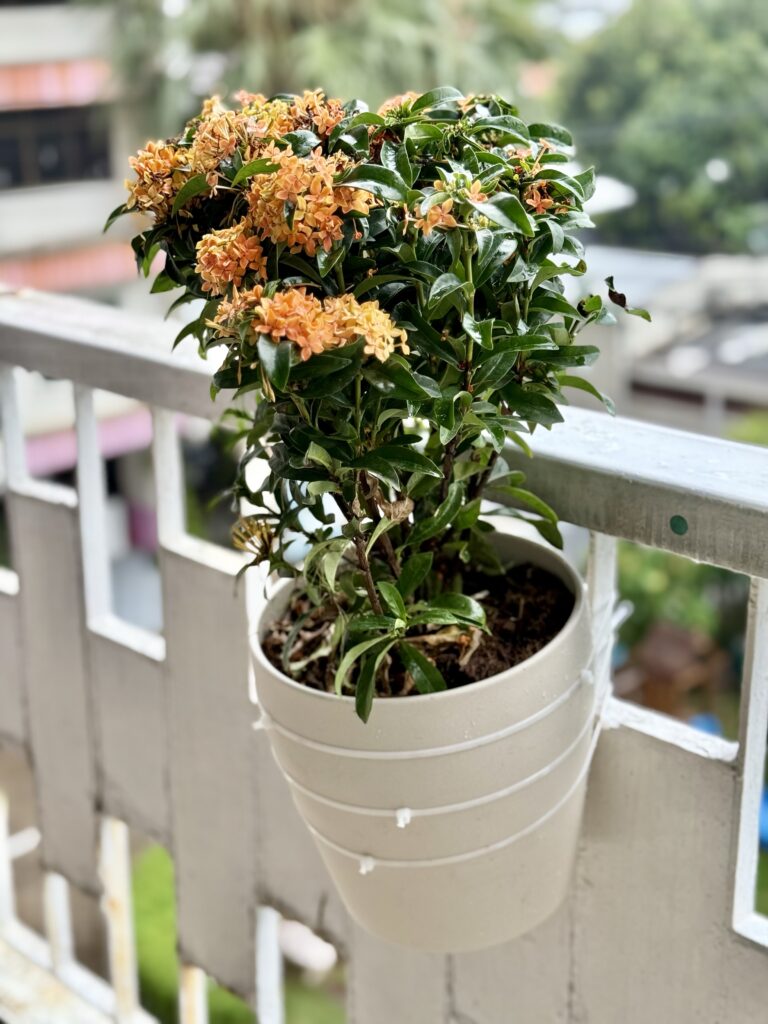
Continuing my series, this post is about the Jungle Flame plant that we recently bought.
The Jungle Flame, scientifically known as Ixora coccinea, is a vibrant, evergreen shrub native to Southeast Asia. Commonly referred to as Flame of the Woods, Jungle Geranium, or Maui Sunset, this plant is celebrated for its clusters of small, tubular flowers that bloom in shades of red, orange, yellow, and pink, providing a striking display throughout the summer months .
What makes the this plant stand out are its dense clusters of small, tubular flowers that come in shades of red, orange, pink, and yellow—resembling tiny flames, hence the name. It blooms year-round in tropical regions, attracting butterflies and hummingbirds.
I keep this plant in direct sunlight, on our south-facing balcony, where it receives bright sunlight 2-3 hours a day.
This plant requires low maintenance, however, pruning the branches triggers growth and maintains the desired shape (Like a hedge).
I water it five times a week. It’s essential to keep the soil consistently moist but let the top soil dry out between waterings. I reduce the watering frequency if it rains.
I fertilise it every 2 months or when it shows signs of growth.
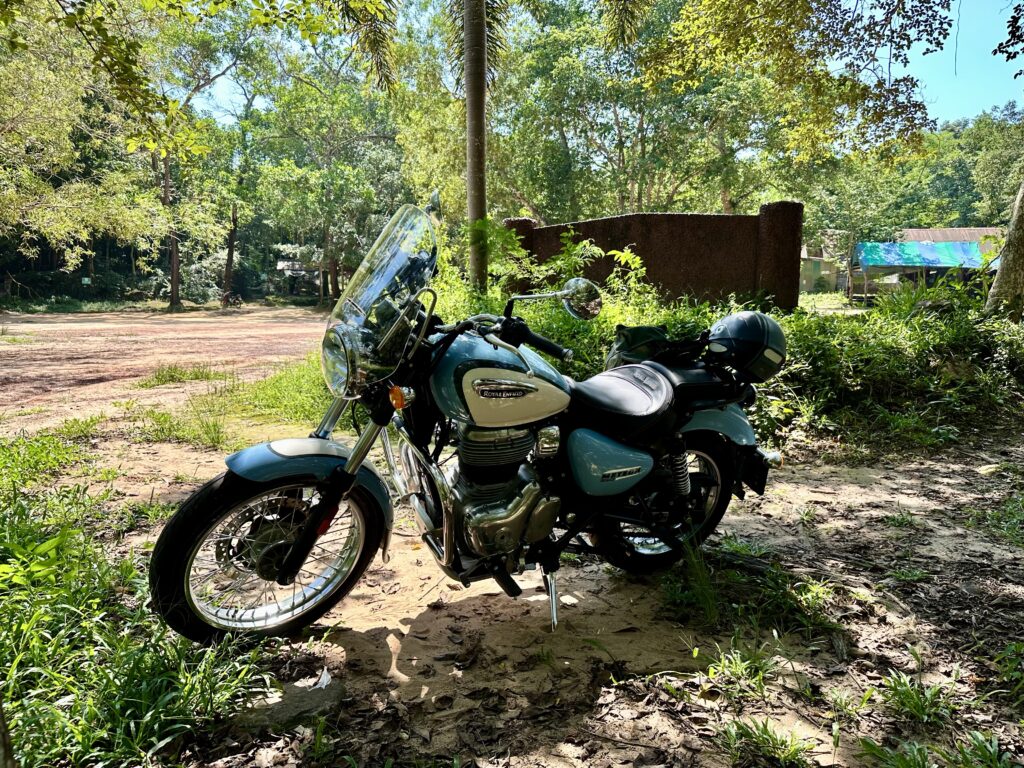
I wrote my first impressions of my bike after just a week of ownership. This is the second, short-term review of the Royal Enfield Meteor 350 after 5000km.
Meteor 350 At Khao I To waterfall
The Good
The engine doesn’t show signs of overheating, even without liquid cooling, even after long rides at sustained high speeds. However, I don’t do much stop-and-go city riding and that could be another story.
The power of the bike is perfectly suitable for asian highways, where the top speed for motorcycles is around 90 kmph. It reaches that speed with ease and still maintains reserve power for overtaking. However, I am most comfortable cruising at 80 kmph because:
Above that speed, the mirrors vibrate so much, everything you see in them is a blur
The engine starts feeling stressed around 100 kmph and there’s very little reserve overtaking power above that speed
The handlebar vibrations are a bit too much for my arms
Even up-hills, there’s enough torque to carry the bike upwards without downshifting much. I don’t see the appeal for the 650 cc twins, except in US and EU, especially since they don’t have the obligatory thump.
The touring seat is excellent and is a must for long highway rides. I remember on the Thunderbird, my legs started going numb after some time, no such thing on the Meteor.
Service and spares are so cheap, it is a bit unbelievable
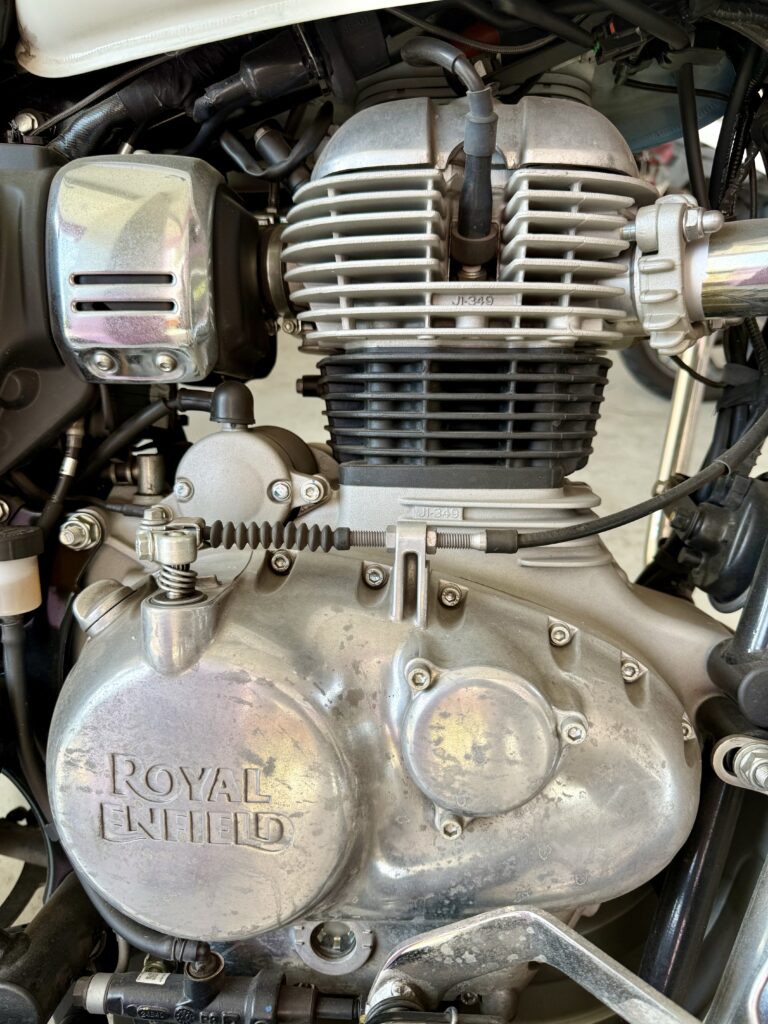
The engine is unbelievably refined for a Royal Enfield. No vibrations at regular speeds and no clanking sounds like the previous versions.
(Dirty) J Series Engine on a Meteor 350
The Bad
The entire fuel tank and related systems suck.
The fuel warning indicator starts flashing with a good 6-7 litres of petrol left and the dash starts playing a doomsday signal.
The tank is more wide than it is deep, so, while filling the tank, the fuel cut off gets triggered after only a few litres. Then I have to beg the operator to fill more manually. Overall, like this, I can only fill around 7 litres between the warning light and tank full.
The fuel meter in the digital cluster is unreliable. It has 6 markings and can change swing back or forth 3 levels in minutes.
That’s it, don’t have more complaints and am very happy with the motorcycle.
Last 4 years, I had been avoiding getting plants for our home here, because our stay in Bangkok felt temporary. Having realised now, that we’re not going anywhere any time soon, I decided to dive back into gardening. First up, Golden Pothos.
Golden Pothos, scientifically known as Epipremnum aureum, is a beloved houseplant known for its vibrant heart-shaped leaves that can bring a touch of nature indoors. Often referred to as “Devil’s Ivy,” this plant is praised for its adaptability and low maintenance requirements, making it a perfect choice for both novice and experienced gardeners. In India, it is more well-known as the money-plant.
It is native to the Solomon Islands in the South Pacific.
I have written about them before & I discovered that we already have one in our house here, that my wife has been neglecting.
Epipremnum aureum (Golden Pothos)
This one is in a glass pot, on our living room shelves, indirect sunlight.
Hanging Epipremnum aureum (Golden Pothos)
This one is in a hanging configuration, hanging in our south-facing balcony. There it receives direct sunlight 1-2 hours a day in the evenings.
This plant requires no maintenance at all.
I water the outdoor one thrice a week and the indoor one twice a week, reducing the frequency for the outdoor one if it rains.
I fertilise when it shows signs of growth which is mostly during spring and summer.
Below is a list of food that I miss dearly, because I can no longer eat them.
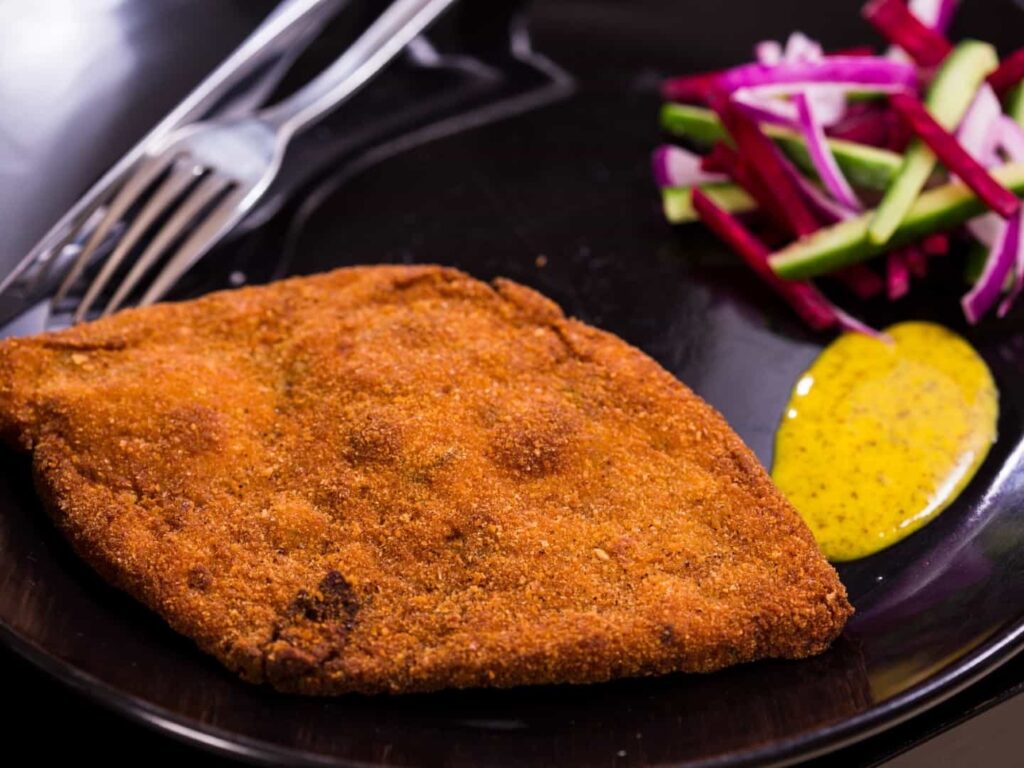
01-Chicken Cutlet
Chicken cutlet PC bongeats.com
Perhaps one of my favourite foods. It is simply minced chicken with spices crumbed with bread and deep fried. I don’t even remember when I first had it, but my earliest memory is eating it at one of my aunt’s house in Kolkata. I have had various kinds over the decades. Some of them have a bone sticking out of the corner.
Growing up outside Kolkata, it was rarely found anywhere, even at Bengali restaurants. Hence, I looked forward to my annual trips to Kolkata in those days.
It is best served with sliced onions, carrots/beetroot and cucumber with mustard sauce. I hate it that modern places have now started serving it with Lemon and Tartare sauce, equating it to a Schnitzel.
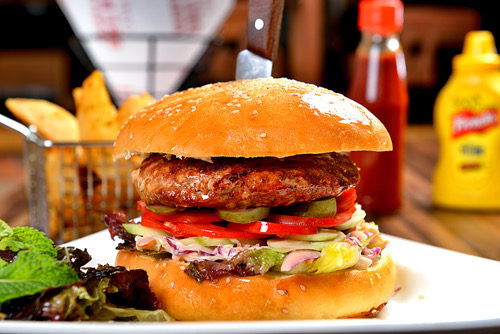
02-Juicy Lucy Burger (Cafe Delhi Heights)
Juicy Lucy Burger, Cafe Delhi Heights, PC : bornofweb.com
I normally don’t like eating mutton, but the Juicy Lucy burger, Cafe Delhi Heights’ signature burger was an exception. This burger was famous for being too big for most people and I would often go to eat it with my friends to compete with them on who can finish one.
PS: K & Rajat could always finish at least 1.5. I think I can now, too.
It was served with breadsticks and butter.
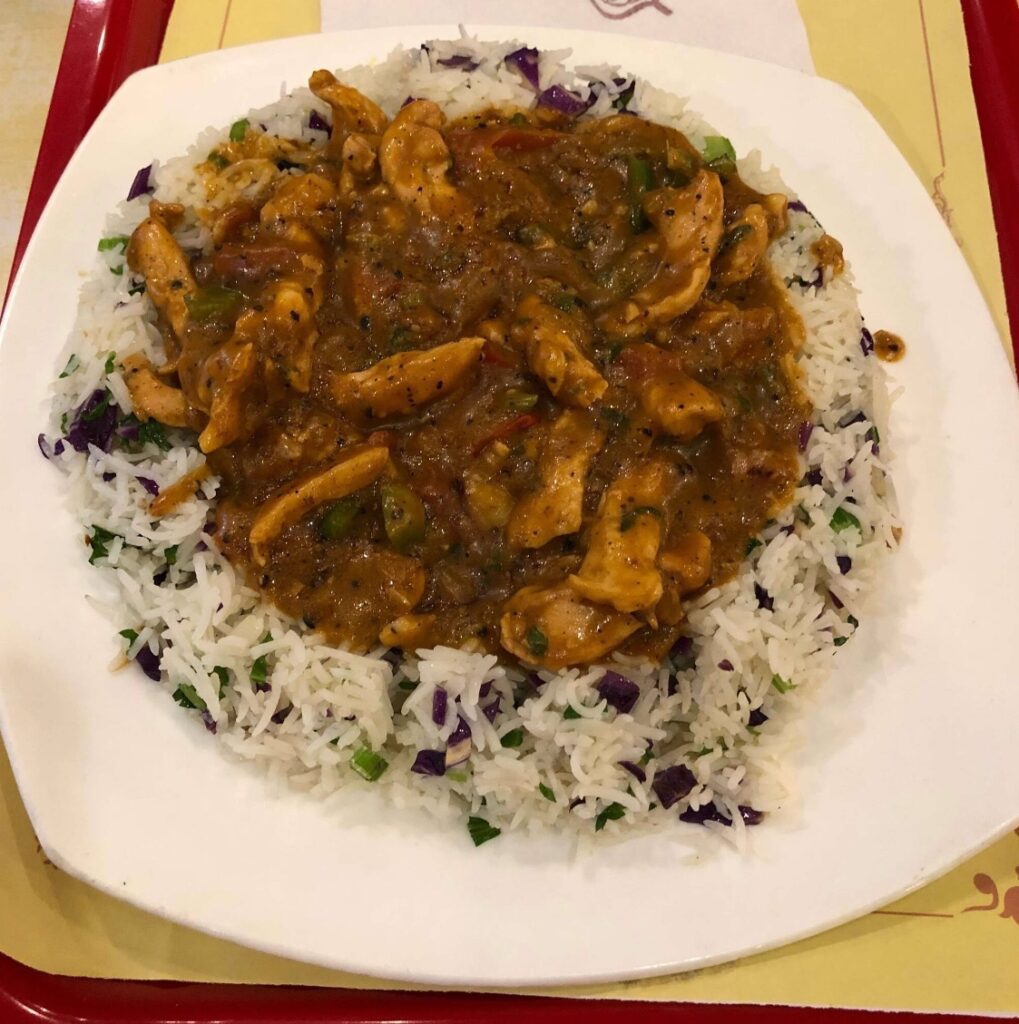
03-Chicken Stroganoff (Bisque)
Chicken Stroganoff, Bisque, Gurgaon
Bisque is a little known bakery in Central Arcade, DLF Phase 2, Gurgaon. We came across it when we used to live nearby. I have had many Stroganoffs, but none like the Chicken Stroganoff here. For me, this was and is, the ultimate comfort food.
Ther purple onions and bits of black pepper complement the softness of the chicken and rice perfectly.
Smokey’s BBQ and Grill was a restaurant in DLF Cyber Hub in Gurgaon. We used to go there often from work & I always ate the Six Chilli Chicken burger.
Unlike most places which put hunks of chicken inside the burger, Smokey’s put a minced chicken patty, interspersed with 6 types of chilli. The burger was delicious. So were the sides of salad, baked beans and fries.
Unfortunately, this place closed down even while I was there.
05-Vegetable Chop
Vegetable chop, PC colorandspices.com
The Bengali vegetable chop, defying the definition of what a chop actually is, is a delicious dish. Unlike the Chicken Cutlet, it is stuffed with vegetables (beetroot being most common) but like the cutlet, it is breaded and fried. Also, not readily available outside Kolkata while I was growing up.
PS; Extra points if there are bits of groundnut inside.
06-Anything at Banani’s Kitchen
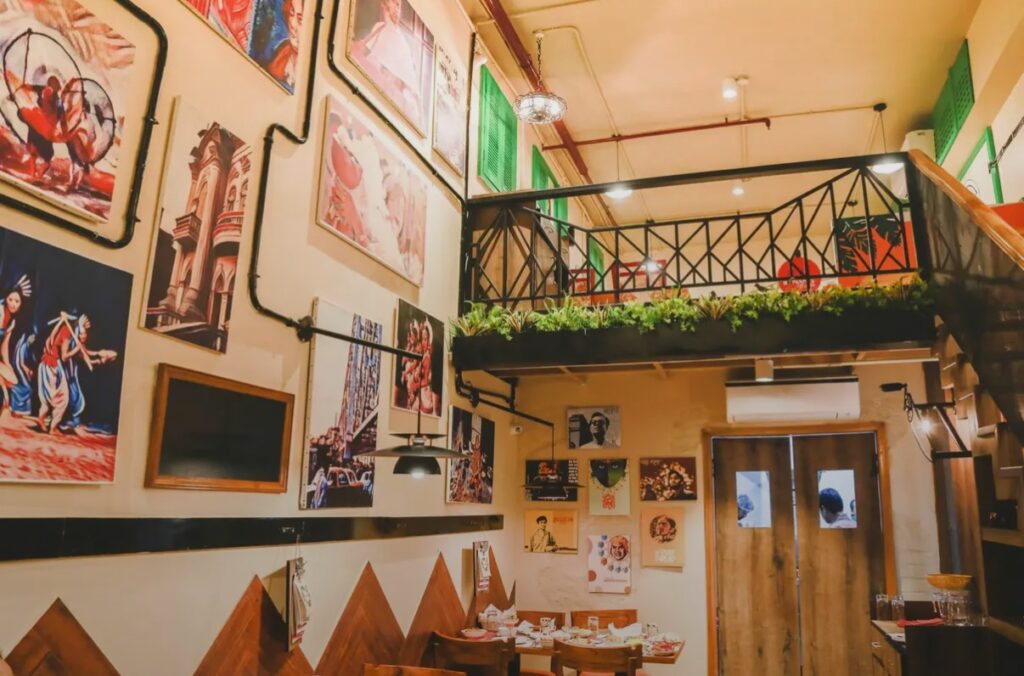
Banani’s Kitchen, Gurgaon
Banani’s kitchen was a Bengali and Dhakai restaurant in Gurgaon. Unlike most Bengali restaurants, which did not do snacks like chop and cutlet, this place did. They did everything I liked about Bengali food and there was not one bad dish at this restaurant.
The ambience was nice and cosy and since it was directly opposite our daughter’s school, we often ate here after picking her up from school. This was also, the only place where we allowed ourselves to go and eat during weekday nights.
Pizza purists will start swearing at the thought of this desi-fied Pizza, but this Pizza is too good to be insulted. It has bits of Chicken Tikka, crunchy & juicy onion rings and a coriander based sauce, giving it it’s desi taste.
I used to pour the accompanying garlic oil on top and ate it. I have not had a pizza as good since then.
The last time I visited Ambience Mall, I made sure I ate it.
08-Berry Pulao at Soda Bottle Opener Wala
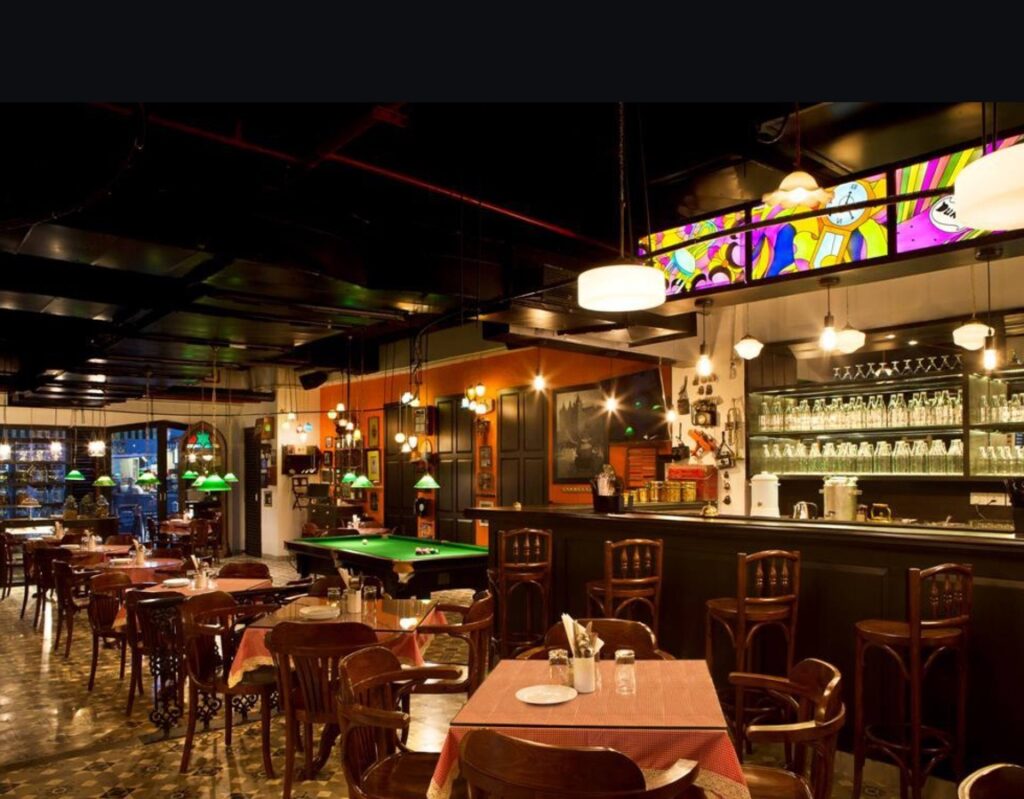
Soda Bottle Opener Wala was one of our favourite places in Gurgaon, located in Cyber Hub.
Soda Bottle Opener Wala, Cyber Hub, Gurgaon
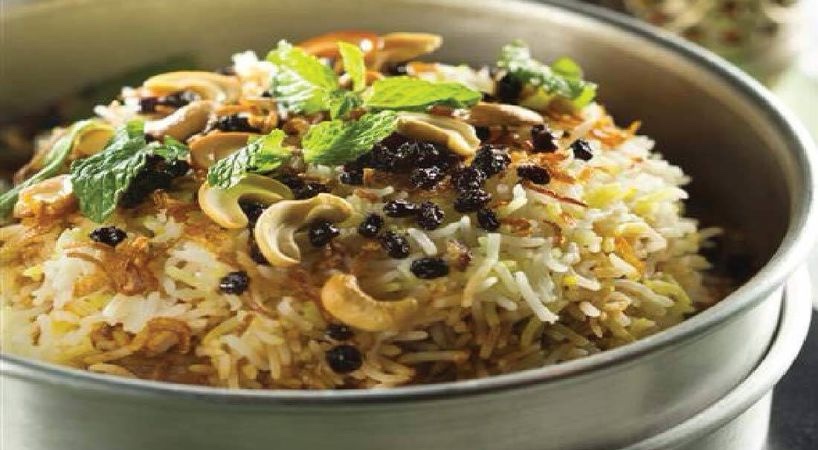
Their signature dish is berry pulao. which is Pulao with berries and cashew nuts, soaked in ghee. Already quite heavy in itself, if you pair it with something like Paneer Sanju baba or Akuri, you will be in food coma the rest of the day/night.
Berry Pulao at Soda Bottle Opener Wala
I still go to there South City Mall branch, when I visit Kolkata.
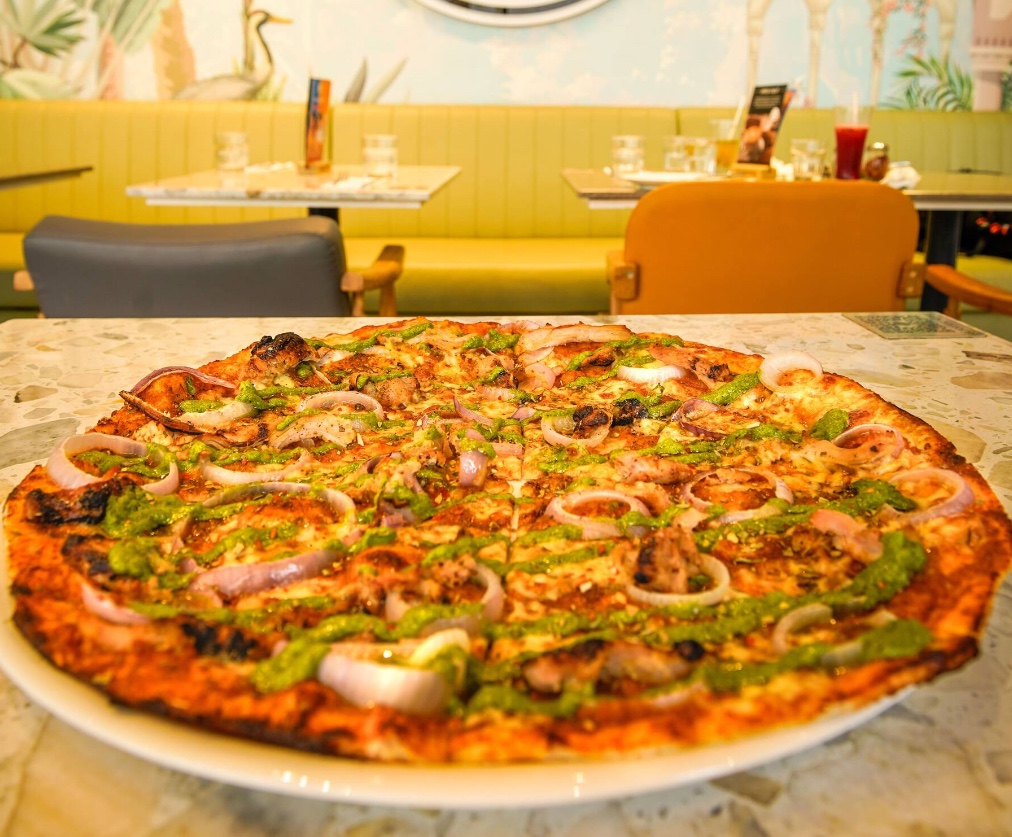
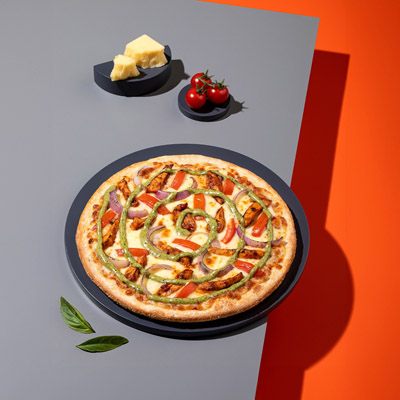
09-Classic Pesto Chicken Pizza (Tossin Pizza)
Classic Pesto Chicken Pizza, Tossin Pizza
This is another one of those comfort foods, which you order at the end of a rough day, because Roti and Dal just won’t cut it. I remember it coming with a hemisphere of lemon, too.
10-Dal Bukhara (Bukhara, ITC Maurya)
Dal Bukhara, Bukhara, ITC Maurya, Delhi
I remember I purchased the Times Food & Nightlife Awards book with my parents at Ambience mall and Bukhara was number 1 in that list for Delhi. Years later, I took my (extended) family to ITC Bukhara for my birthday treat &it was such a proud moment for me.
Slowly, as my purchasing power grew, we started going there for less special occasions. Rajat & me used to treat each other here for referring each other to their respective companies.
The Dal Bukhara is unique in the way that it has a strong flavour of garlic and tomatoes. It is gently simmered over a charcoal flame for 24 hours & is best had with Naan Bukhara and without any other dish.
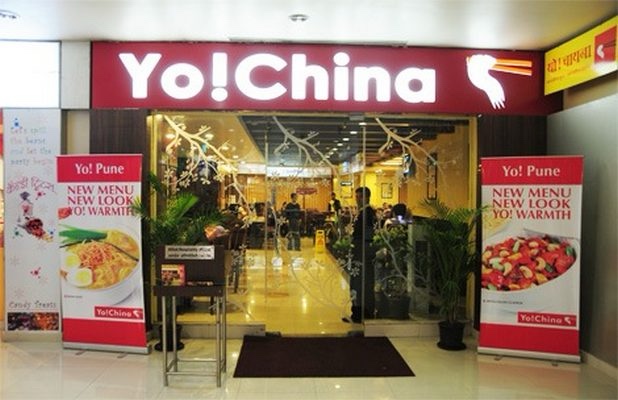
11-Kung Pao Chicken (Yo! China)
A Yo! China outlet
Yo! China was a chain selling low-cost indo-chinese food. While any Chinese will inadvertently faint if you showed them the food here and called it Chinese, their King Pao chicken was delicious. When I had newly shifted to DLF Phase 2 and stayed alone, I often ordered this because of how cheap and delicious it was.
I remember that it came in an earthen pot, something unthinkable for low-cost places like these.
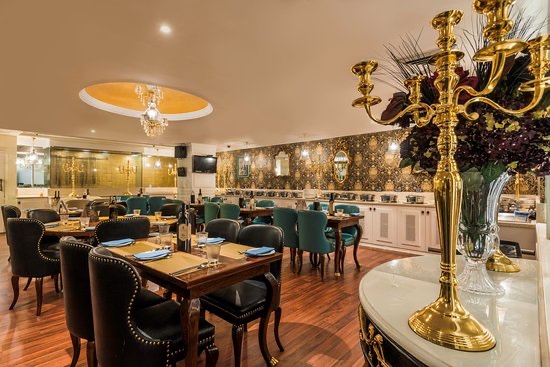
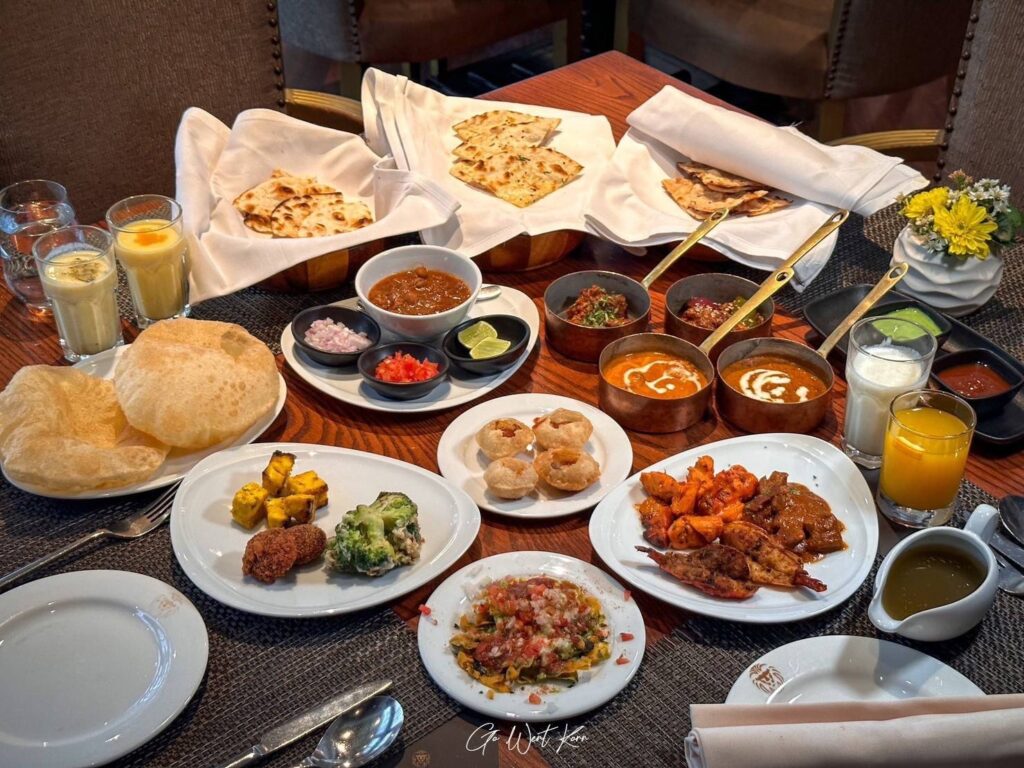
12-Anything at Punjab Grill
Punjab Grill, Ambience Mall, Gurgaon
Punjab Grill was open of those fancy places at Ambience Mall we saw every weekend but rarely went to, because it was too expensive. But when we did, the food was so, so tasty.
North Indian spread at Punjab Grill
Recommended is their buffet which often has all their signature dishes, including Seekh Kebab, Dal makhani and Tandoori Broccoli.
This is one of the few places in this list which is also in Bangkok, but we seldom go there because of well, how expensive it is.
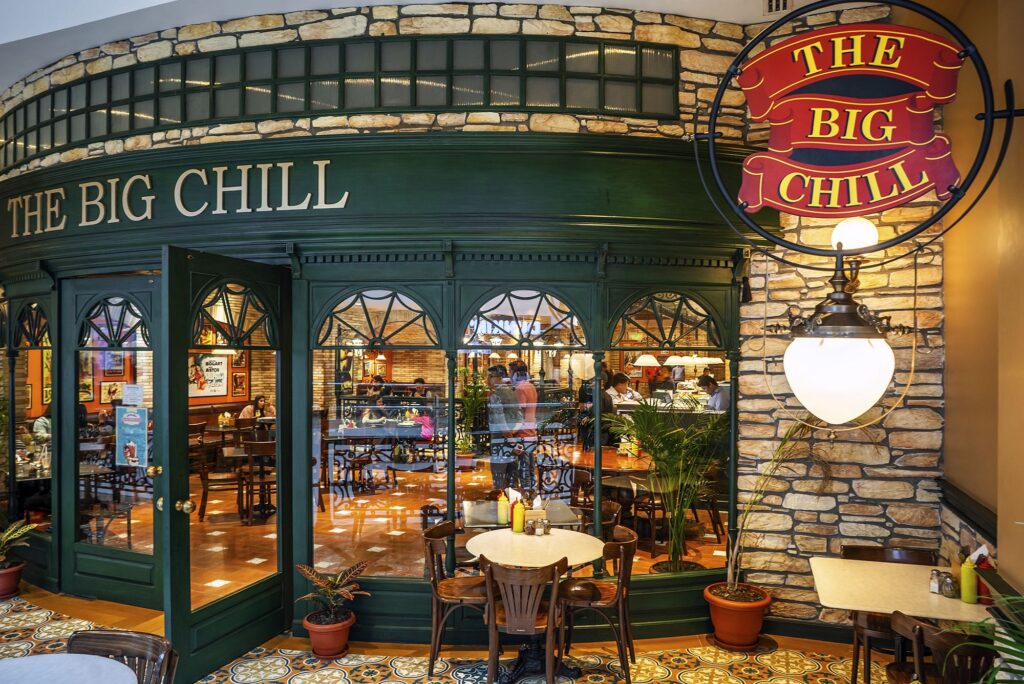
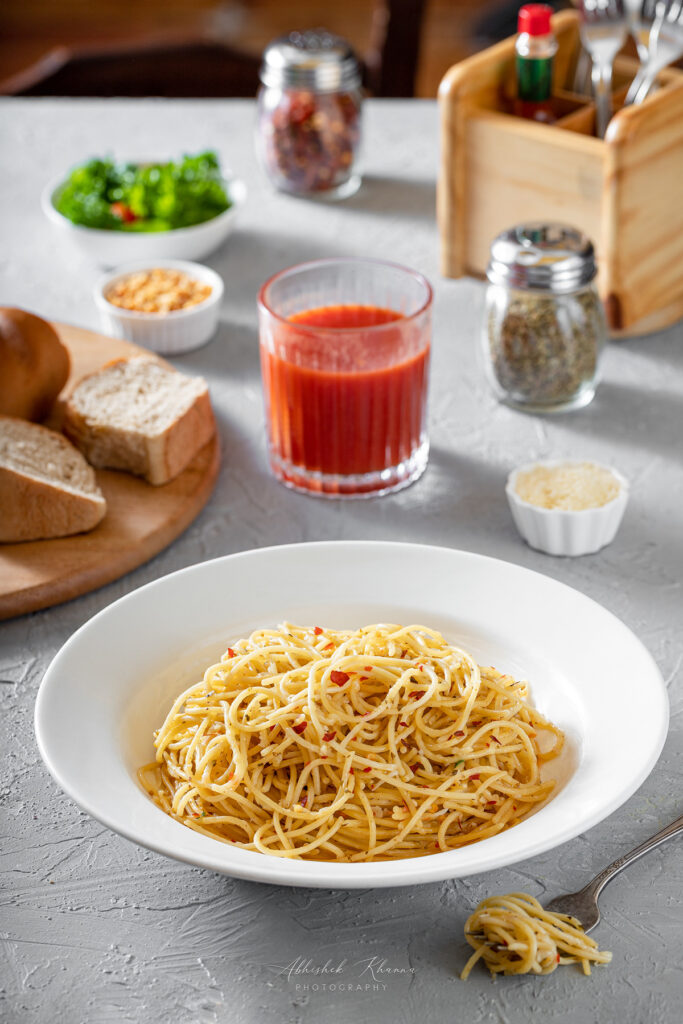
13-Pasta (The Big Chill Cafe)
The Big Chill, Delhi
When we moved to Delhi, The Big Chill Cafe was this legendary place which we visited all the way in Saket. Eventually, they did open up more branches and one even in Gurgaon.
Their pastas are just amazing. Each and every one of them.
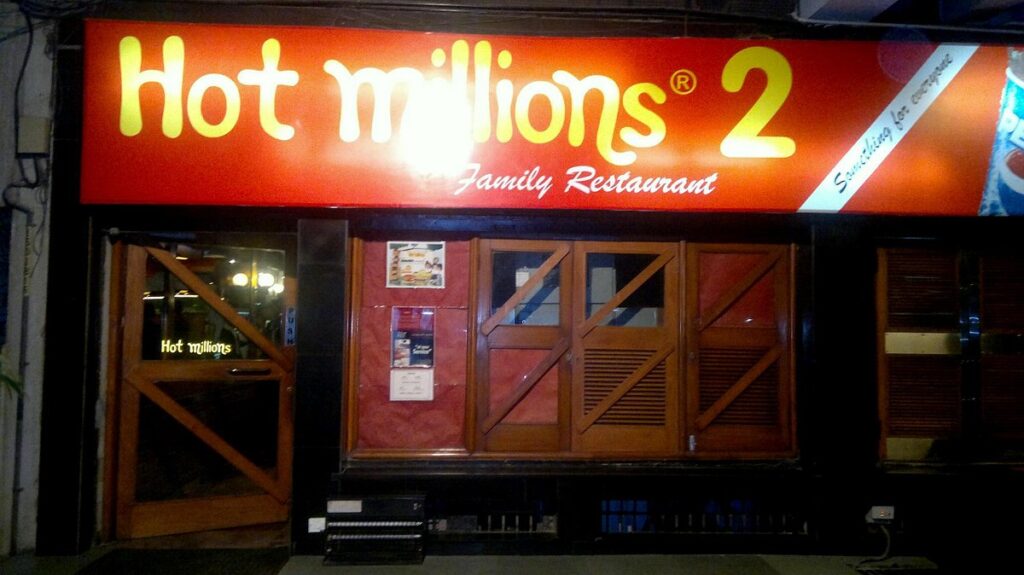
Long before anyone in the tri-city area had even heard the name McDonalds, we had Hot Millions. It had Pizzas, Footlongs and best of all burgers. I used to eat/order from here regularly when we lived at Panchkula.
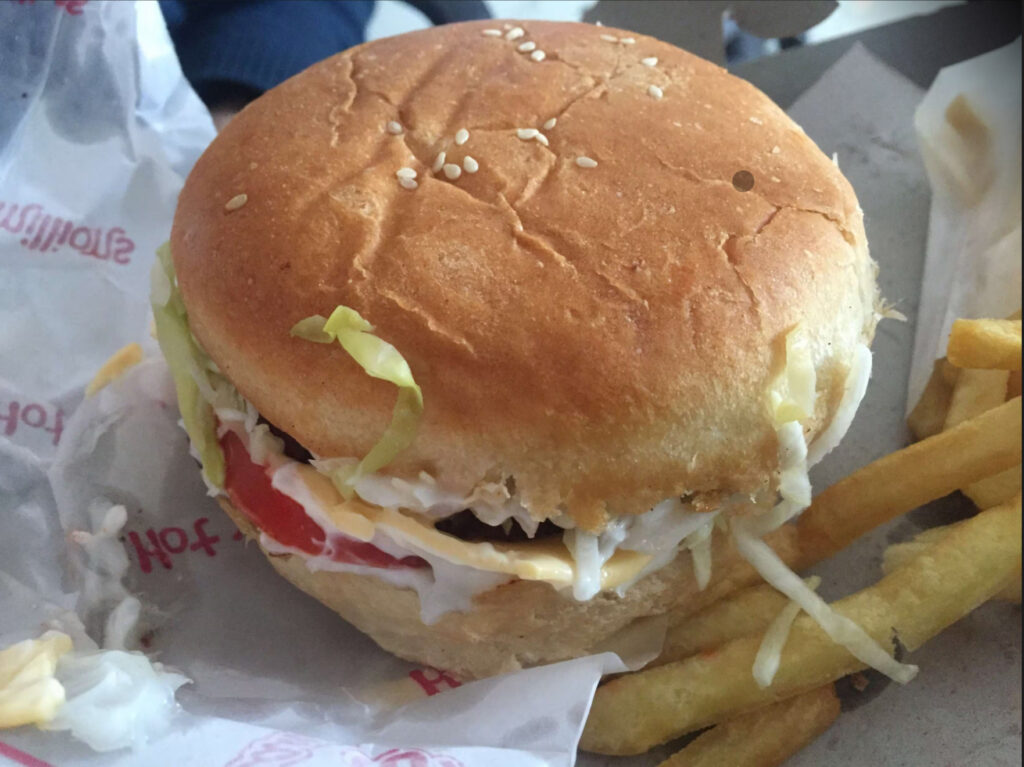
Chicken Burger at Hot Millions
Their Chicken Burger had a greasy bun, with a greasy minced chicken patty inside, slightly burnt, but crispy. With loads of mayonnaise and vegetables, this is perhaps the best burger I have ever had.
The last time I went there, I ate 3 of them and then cried.
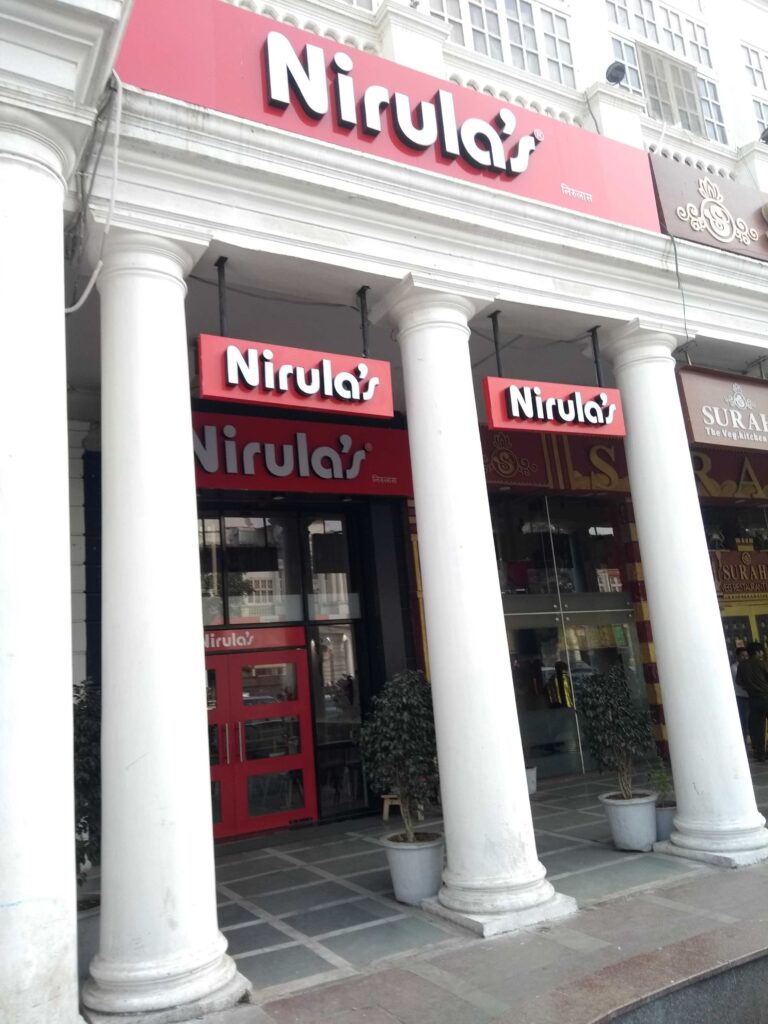
15-Anything at Nirula’s
Nirula’s, Connaught Place, Delhi
Saved the best for the last. The timeless classic, the oldest fast food chain in India, Nirula’s. I have been eating here since my childhood. I rediscovered this chain. when I moved back to Gurgaon for work.
Although the main branch is at Connaught Place, luckily we had an outlet near our office and frequently, we ordered from here.
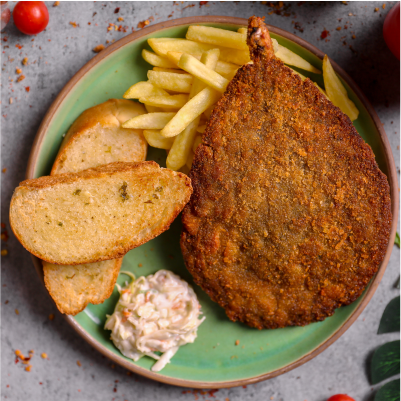
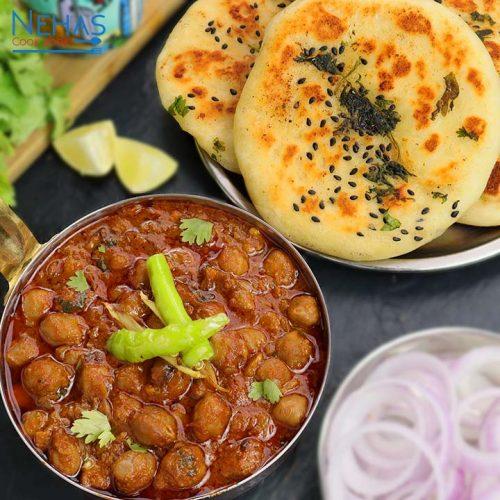
I almost always chose between their Chicken Chop (Not to be confused with a Bengali chop) or Chhole Kulche or both.
Chicken Chop at Nirula’sChhole Kulche
The Chicken Chop came with such mouth watering coleslaw, I still cannot believe it.
The chhole kulche came with a hemisphere of lemon wrapped in a smash muslin cloth.
I just checked their latest menu and it has been modernised a lot and most of the classic items are now gone.
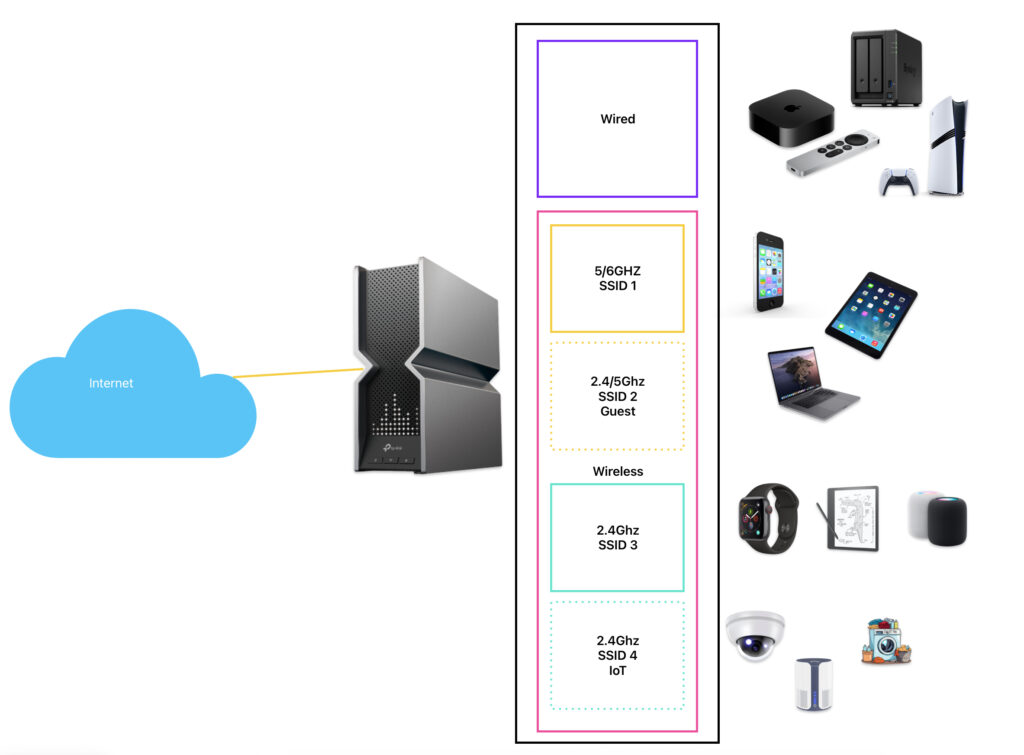
Recently I was describing my home network to someone and decided to document it for posterity. Below is the main network design.
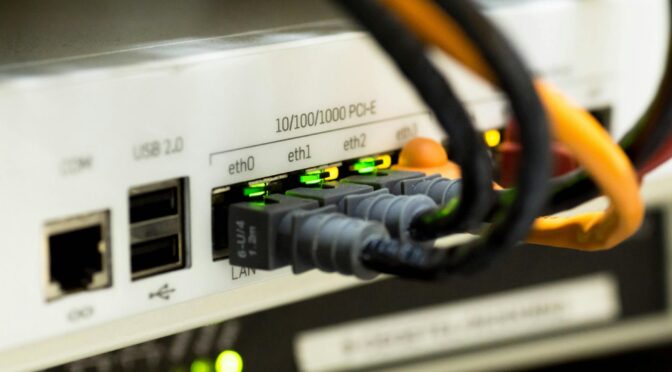
The Router
My Router is a TP-Link BE800, which is a decent router, theatrics aside. I got a good deal on a used unit and am quite happy with it. I am using the following features on the router
PPPoE (IPv4 and IPv6) for WAN authentication and negotiation
IPv4 NAT (with ALG) & Firewall
IPv6 Access Lists
DNS Proxy
On the LAN
IPv6 SLAAC
DHCP server with DHCP Bindings
Layer 2 multicast for mDNS
The router is capable of connecting to TP-Link’s cloud, which means you can manage it remotely using their app without having/knowing a public IPv4.
Local Area Network
My Home Network Design
I have my LAN set up as shown above. Everything is one /25 subnet.
Wired (Main)
All devices that need guaranteed high throughout and low latency connect to the router via 1/10Gbps ethernet port. The devices include, but are not limited to
Playstation
Apple TV
Syology NAS
Obviously this puts constraints on where I can place these devices especially the ugly NAS, which I am not too happy having on the living room shelf.
Wireless
I have different SSIDs on the wireless network depending on the requirements of each device.
SSID1: 5/6Ghz (Main)
All high throughput, low latency requiring wireless devices connect to this SSID and the router automatically switches the clients between 6Ghz (WiFi 7 and WiFi 6e) and 5Ghz (WiFi 6). This includes the below family devices
iPhones
iPads
MacBooks and work Windows Laptops
SSID2: 2.4/5Ghz (Guest)
All devices which don’t belong to our family, go into this network. This includes friends, helpers, workers’ devices etc.
This network is isolated from the main networks, only has access to the internet.
SSID3: 2.4Ghz (Main)
All low throughput, but trusted wireless devices connect to this SSID. This includes
Apple Watches
HomePods
Kindles
SSID4: 2.4Ghz (IoT)
All low throughput, un-trusted wireless devices connect to this SSID. This includes
Air Purifiers
Washing machine
HomeKit cameras
This network is isolated from the main networks, only has access to the internet, with the exception of a specific port allowed to the Apple TV (Which is the HomeKit Home hub).
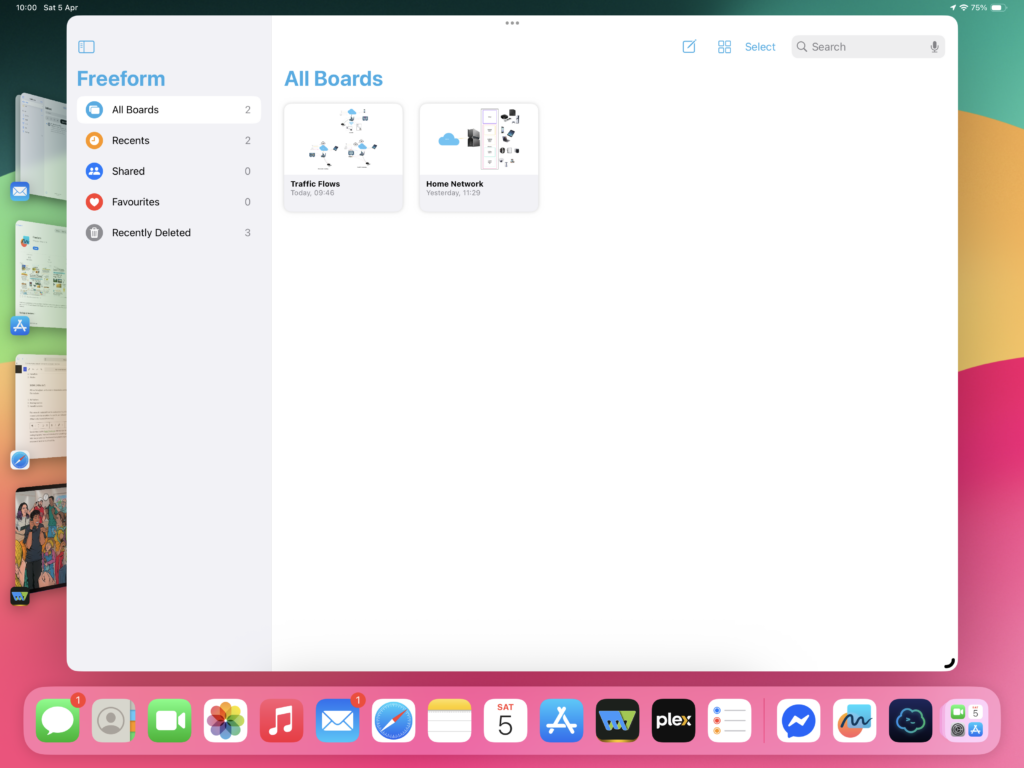
Apple Freeform
Special shout out to Apple Freeform, which is now my go-to tool for making diagrams. I was on the lookout for something similar to Microsoft Visio for personal use. Freeform not only meets expectations, but surpasses Visio in terms of usability.
I have had a long & complicated history with various devices in the iPad lineup over the years. Don’t get me wrong, the iPad is a fantastic device for what its made for. Is just not made for some of the things I want to do; which is making it work like a real computer.
What it is good at
After using iPads (Mostly Pro versions) over many years, I have realised that the iPad is good at:
Media consumption – Great for watching movies, TV shows on the go, browsing through photos. The mini-LED Display is great with high contrasts and peak brightness.
Reading magazines and newspapers.
Sketching stuff & taking hand-written notes.
Looking at websites.
Photo and Video editi…
I love the sexy slab design and the folio cover. But spending this amount of money just for the above items doesn’t make sense (at least, to me).
What it is bad at
Again, not blaming Apple. The iPad can do exactly what Apple claims it can do. The fault is squarely on me for expecting the iPad Pro to act and behave like a real computer.
Why did I even have these expectations? Because I assumed that surely a device this expensive would be able to do some of the things that a computer can do. Why else would you put an M4 processor or 16GB RAM in a tablet? Also, after Apple bought Stage Manager to the iPad, I hoped they would bring more features. Obviously, I hoped wrong.
Over the last year, my frustrations kept mounting till I felt compelled to write this post.
Virtual Machines
You can read about my tryst with UTM SE here. The powerful CPU/GPU are so severely crippled by iPadOS that a 27 year old OS runs slower on it, than it used to, back then.
Again, this is not what the iPad is built for, so my fault for expecting this.
Mouse/Keyboard
The iPadOS technically does support mice, but the experience is severely crippled (stupid round shaped pointer, jumping from element to element, no pointer acceleration).
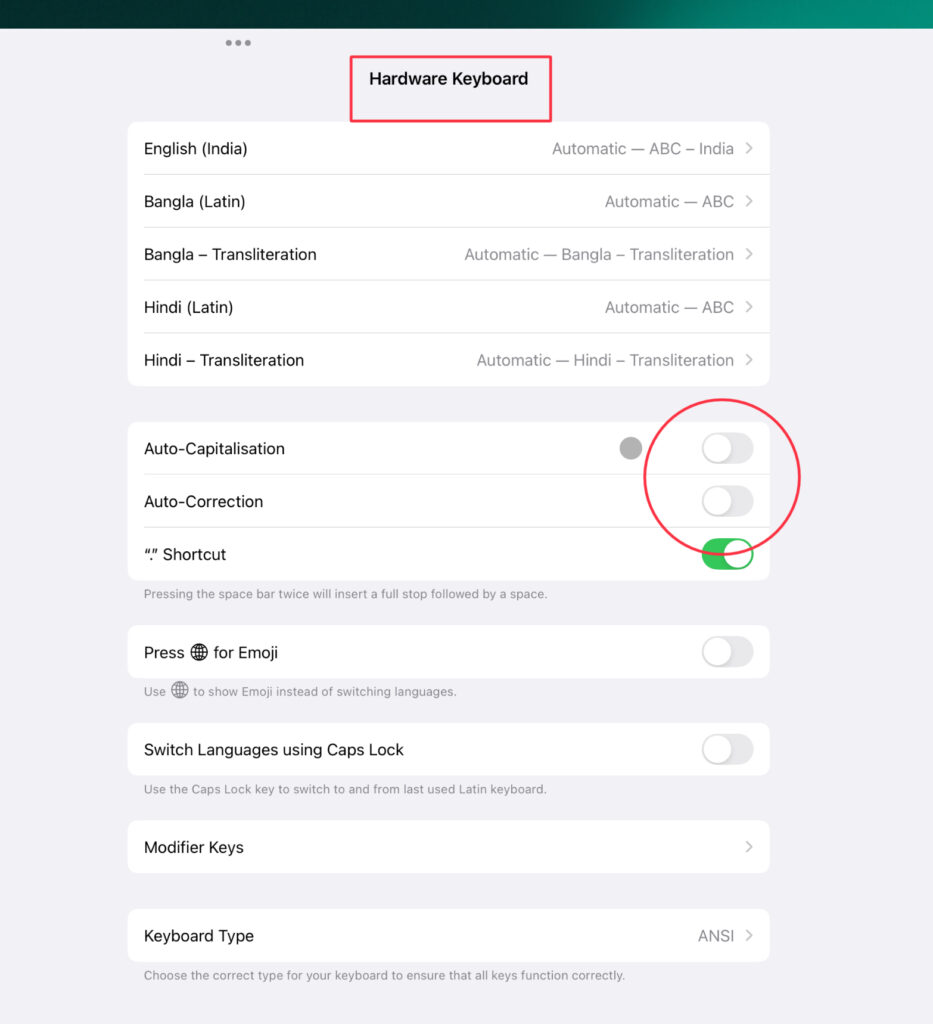
My frustrations with the external keyboard experience on the iPad is unrivalled. It would keep capitalising the first alphabet of each new sentence, even for things like URLs etc. You can disable this globally, but then it also gets disabled for the on-screen keyboard.
Correction – I found a way to disable this, just for the hardware keyboard.
Disable Auto Correct for Hardware Keyboard on iPad
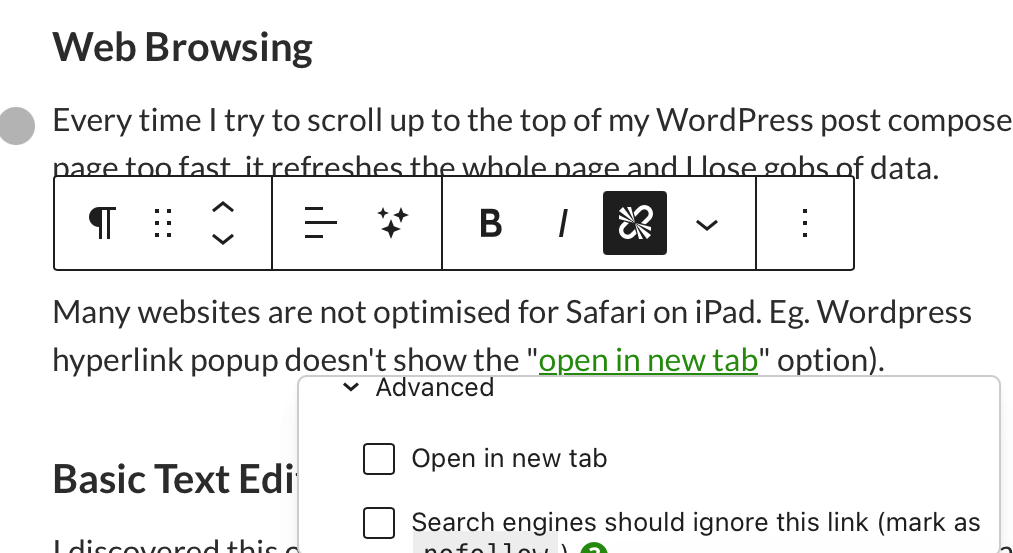
Web Browsing
Every time I try to scroll up to the top of my WordPress post compose page too fast, it refreshes the whole page and I lose gobs of data. Strangely, this problem didn’t exist on the Magic Mouse 2.
Many websites are not optimised for Safari on iPad. Eg. WordPress hyperlink popup doesn’t show the save option (Is hidden below the window).
WordPress hyperlink popup on Safari, iPad
Wordress also frequently gets stuck on saving a post with the page unresponsive and the button greyed out.
WordPress stuck autosaving, Safari iPadOS
Basic Text Editing
I discovered this one when recently trying to make a small change to an HTML file. To open an html file from files, you need a 3rd party option and there are no good free ones. They either all require you to pay or have loads of intrusive ads.
Don’t blame developers for this, they have to go via Apple’s App Store and hence pay fees to Apple, why should they release apps, even basic for free?
I know, I know, the iPad is not meant for application development. But all I wanted to do was upload my website landing page, some 200 files in different folders.
I was horrified when I found out that there’s no support for uploading multiple files and folders to GitHub from the files app. GitHub’s iPad app is just a glorified mobile app, not the Desktop equivalent.
Working Copy to the rescue, which is paid, but very powerful.
Proper File Management
Recently I transferred 400GB of data from mega to my NAS. Although the Files app does have basic file management, I couldn’t find a way to get all 400GB to my iPad to further transfer to the NAS.
Mega (Like most other file sharing apps) does support the connector in the files app, but the experience is buggy at best and times out after a few GBs and needs to be started from scratch.
Eventually, I had to use my daughter’s notebook to get it done. She laughed at me.
Proper Photos management
The only reason I got the 512GB variant of the iPad was because I wanted to store all my photos offline and in case Apple terminated my account for some reason, I would be able to export everything out. However, the only way to export all the photos from the Photos app is to start selecting photos and hold your finger at the bottom of the app for more than an hour for it to select all the photos.
The fun part? Even when you manage to do that, export fails and it knocks you out of the selection mode to start again from scratch.
What, then?
Switch to a Macbook? Even that doesn’t tick all the boxes.
Task
iPad Pro
MacBook
Reading Books/Magazines
Excellent
Poor
Watching Videos
Excellent
Average
Virtual Machines
Poor
Excellent
Mouse/Keyboard
Poor
Excellent
Web Browsing
Average
Excellent
Text Editing
Average
Excellent
File Management
Average
Excellent
Photo Management
Average
Excellent
Display
Excellent
Average
I really don’t want to also buy a Macbook to complement or replace the $2000 iPad Pro.
My opinion is that if not for the Pro Motion (120Hz) Display, the iPad Air is perfectly sufficient for most purposes and there’s very little market for the Pro model.
I can just hope that iPadOS matures enough to do some basic computing tasks in the future and makes use of the powerful hardware.
The most recent movie I watched is Mickey 17. I had read the reviews, so walked in with low expectations.
Robert Pattinson plays Mickey Barnes, a dumb loser who cannot do anything right. He joins a space colonisation mission organised by a cult leader Kenneth Marshall (Mark Ruffalo), in a bid to escape debt collectors. In the mission, he has the role of an expendable, which means he is assigned increasingly dangerous and fatal tasks. When he dies (mostly in very painful ways), his body is 3D printed and his memories restored from backup.
Each of his clones, till Mickey 17 are identical to the previous Mickey incarnation. However, when they print Mickey 18, assuming Mickey 17 is dead (he’s not, just left for dead), the consciousness of the 18th iteration diverges. Unlike the Mickeys before him, Mickey 18 is assertive and strong-willed. When they both come across each other, hijinks ensue.
Mark Ruffalo’s character as a genocidal cult leader is a bit over the top and hard to digest. Naomi Ackie as Nasha Barridge, Mickey’s girlfriend was my favourite character from the movie. The remaining characters are all forgettable.
Overall, even though the premise of the movie is interesting, the story does not feel coherent with random things happening; a far departure from Bong Joon Ho‘s most well-known work, Parasite. Most characters are not very well fleshed out and often do contradictory things. Pattinson’s acting is not notable.
However, there are still fun moments in the movie, like when Nasha tries to to initiate a threesome with both the Mickeys. Marshall’s wife’s obsession with creating the perfect “sauce” based on increasingly bizarre ingredients is also noteworthy.
Overall, I can’t recommend this to anyone except Sci-Fi fans.
I had dabbled with CDN before (LiteSpeed, Jetpack), but a recent requirement around my NAS required me to move my DNS service to Cloudflare. So I thought, why not use their CDN, too and compare the before and after performances?
For web traffic, you can use Cloudflare in two modes
DNS only
DNS plus Proxy
As the names say, the first option uses Cloudflare servers as your authoritative name servers, but your traffic goes straight to your original server. There’s no caching and there’s no CDN.
Turning on the proxy is where the real benefits are supposed to be visible. I used their free plan for testing.
As you can see, I used various tools to test the difference in performance.
Network Latency
Being a network engineer, the first thing I tested was network latency difference between my web server and Cloudflare’s proxy.
I tested from Thailand, and as expected, Cloudflare’s proxy has significantly lower latency compared to my web server, which is based in the US. The benefits may be lower if tested from the US itself.
Web Server vs Cloudflare proxy Proxy Ping Results
Average 224ms latency vs 36ms.
This means that my users can experience better Round Trip Times to my website globally by connecting to their nearest CDN, instead of all focusing on one server in the US.
But ping is only part of the story. For real-life results, I used the below tools.
I ran all the tests raw with Cloudflare paused and WordPress plugin disabled. Then I re-ran the tests again, one day after enabling both.
Google PageSpeed Insights
Google PageSpeed Insights is an important tool, especially because Google uses this score as a metric to calculate its search engine Page Rankings. It is a bit simplistic, as in it doesn’t let you select a source server. But it does show results for both mobile and desktop.
Google Pagespeed Insights Mobile, Raw vs Cloudflare
Google Pagespeed Insights Desktop, Raw vs Cloudflare
As you can see, there’s a minimal performance gain, which makes sense because Google’s servers are likely in the US, similar to mine.
DebugBear
DebugBear is similar to Google, but also shows a helpful graph of the different activities happening during your page load. Again, only US is available as a location for free.
DebugBear Mobile, Raw vs Cloudflare
DebugBear Desktop, Raw vs Cloudflare
As you can see, there’s an insignificant decrease in the load score for mobile, although desktop being perfect to begin with couldn’t be improved on.
Solarwinds Pingdom
Pingdom has an advantage over the last 2 tools in that it allows you to select a server location to test from. I chose Australia, being far from USA.
Solarwinds Pingdom, Raw vs Cloudflare
As you can see, there’s an insignificant amount of decrease in Pingdom’s score, but the load time and the number of requests are down significantly.
Wattspeed
Wattspeed’s lighthouse tool allows you to test for Desktop and Mobile separately, but doesn’t let you select a source server.
Wattspeed Lighthouse Mobile, Raw vs Cloudflare
Wattspeed Lighthouse Desktop, Raw vs Cloudflare
Significant increase in scores for both Desktop and Mobile.
Overall Verdict
Test Tool
Raw Results
Cloudflare Results
Google PageSpeed (M)
80/100
84/100
Google PageSpeed (D)
99/100
99/100
DebugBear (M)
71/100
91/100
DebugBear (D)
100/100
100/100
Pingdom
75/100
74/100
Wattspeed (M)
82/100
99/100
Wattspeed (D)
76/100
84/100
The verdict is clear, in most cases, Cloudflare provides significant and measure-able improvements in page load times. Considering that the service is absolutely free, it is a no-brainer to use it.
However, performance benefits are not the only advantages
Cloudflare will stop DDoS attacks on your website.
Cloudflare allows you to set up firewall rules to block certain traffic to your website (eg on the basis of geolocation).
Even if your website ever goes down, Cloudflare can continue exposing your website from its cache.
Signing up for Azure’s free tier was pretty painless (If you don’t count opening each link within their portal in a new tab). Although, a few terms are a bit technical and require doing a bit more research.
I chose the below starting specs for my parent VM:
Zone: Asia Pacific (Central India) OS: Windows Server 2022 Datacenter Edition CPU:2 vCores RAM: 8Gb Disk:HDD 32Gb, 500 IOPS, 60Mbps
*I chose Central India as the Datacenter, because I also wanted to use this VM to access Indian websites, geolocked outside India.
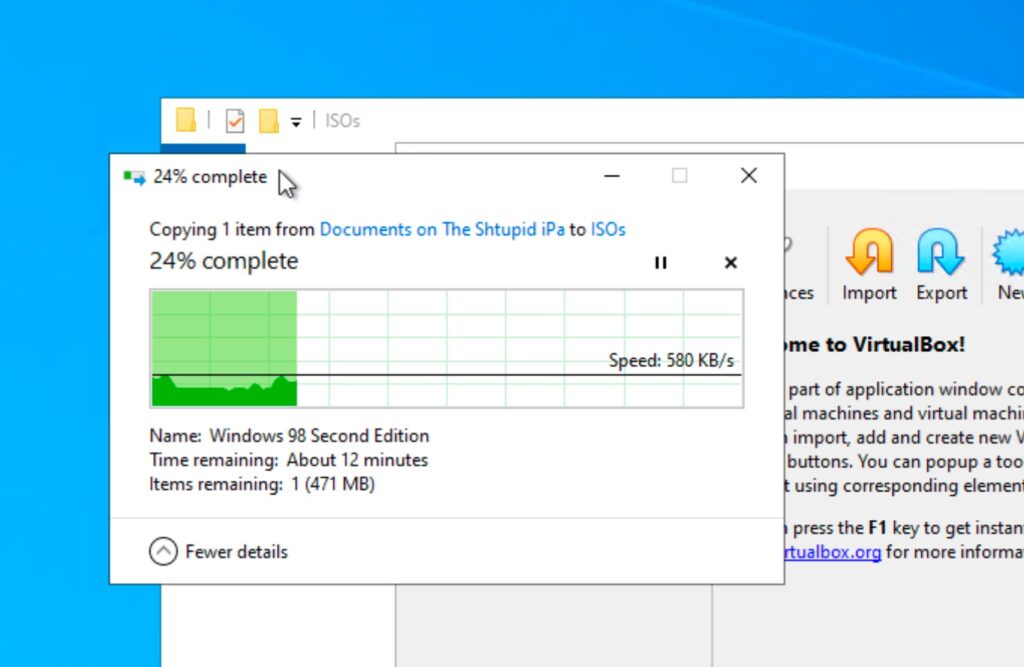
I used the Windows app to remote-in to the parent VM and installed Oracle Virtual Box to host my child VMs. Luckily, the Windows app supports transfer of files from the iPad to the VM, but it is painfully slow (400-700 KBps).
Slow file copy via the Windows iPad app
Eventually, I ditched this approach, because
The on-going costs were more than I was willing to spend on this project (Especially because there is no way to accurately predict how much you will be charged)
The software is quite powerful and except clustering, almost all the features are free.
However, the Hypervisor doesn’t seem to be optimised to run such old OSes. I could get the Windows 98 installation to complete, but I couldn’t get the OS to boot however much I tried.
It was safe to assume even older OSes like Windows 95 and Windows 3.1 would never work. So I gave up.
My Retro Computing plans are on hold for the time being.